How to create a bootable Windows 10 USB flash drive

Even with the rise of cloud storage, the USB flash drive is still vital for cases where the Internet won’t cut it, especially as CDs and DVDs die off. Not only are USB drives typically higher in capacity than disc media, they are faster for copying data such as setup files, and have much quicker access times as well. In short, installing software as large as Windows 10 from a USB drive is simply much faster than from a DVD (and of course the only viable option for PCs without an optical drive).
Unlike with previous Windows releases, Microsoft sells Windows 10 on USB drives. If you’d rather make your own, however, this guide will show you two different ways to create a USB flash drive that works just like a Windows 10 DVD.
To be clear, both these approaches will only show you how to put Windows 10 on a USB flash drive. If you want to actually install Windows 10, you’ll still have to use the USB drive, Windows Update, or the manual method.
Windows 10 Media Creation Tool
You’ll need a USB flash drive (at least 4GB, though a bigger one will let you use it to store other files), anywhere between 6GB to 12GB of free space on your hard drive (depending on the options you pick), and an Internet connection.
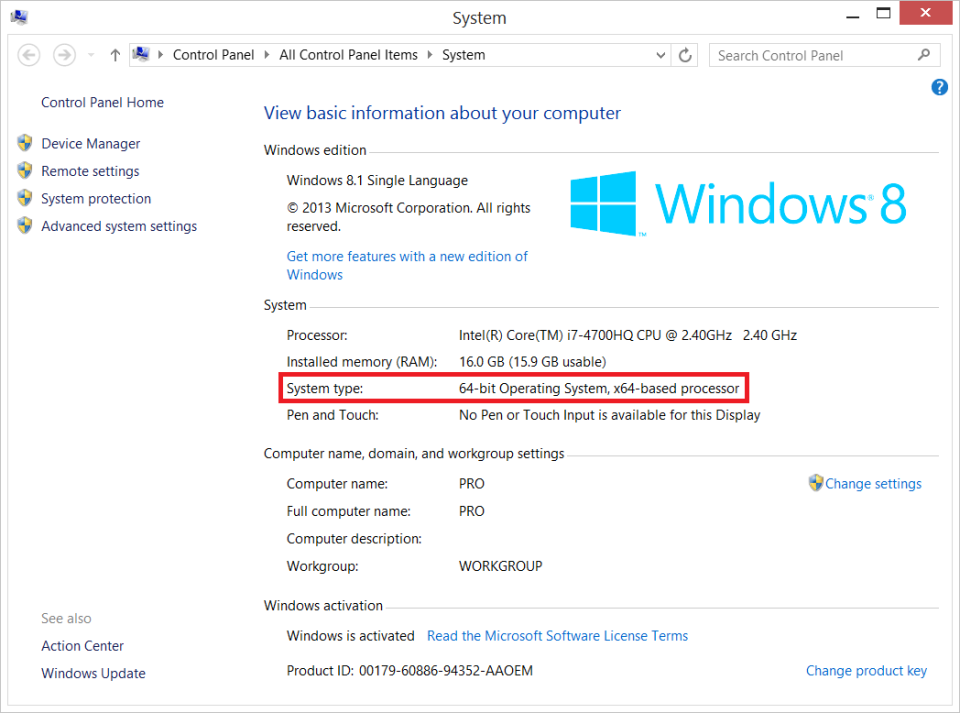
If you’re running a 32-bit copy of Windows, download the tool from here. If you’re running a 64-bit copy of Windows, download the tool from here. If you’re not sure, hold the Windows key and press the pause/break button. See what it says under “System type.”
You should see the following after downloading and launching the tool:

Choose “Create installation media for another PC” and hit the Next button.
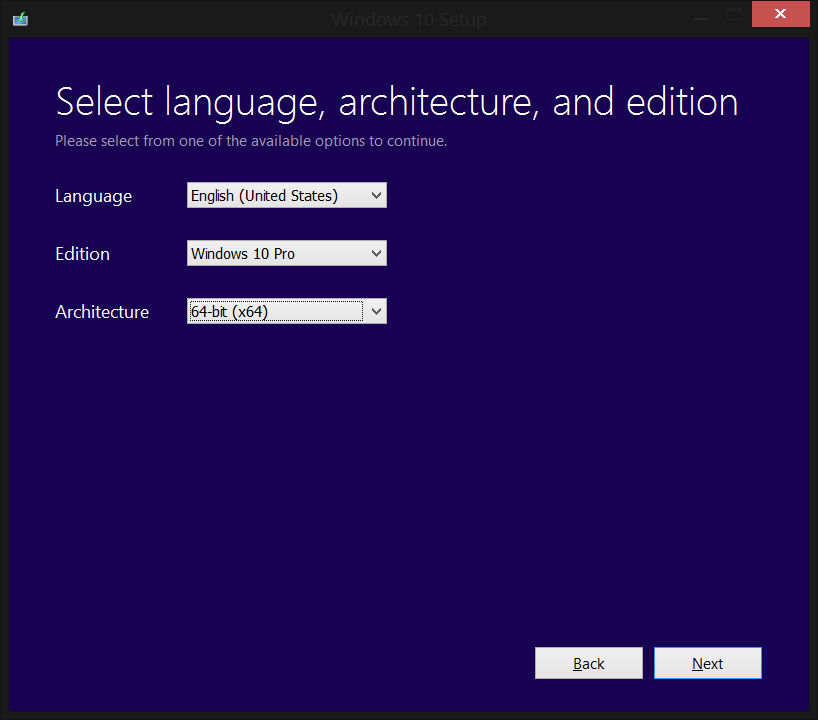
Pick your language and one of the following editions: Windows 10 Home, Windows 10 Home N, Windows Home Single Language, Windows 10 Pro, or Windows 10 Pro N. The N variants only differ in the fact they don’t include Windows Media Player.
If you’re upgrading from an older version of Windows as opposed to doing a clean install, you’ll want to pick the equivalent edition for the upgrade to work. As for Architecture, pick either 32-bit (x86) or 64-bit (x64) just like before — you can also choose “Both” but I typically just end up going with 64-bit since almost every computer nowadays is 64-bit. Hit Next.
The tool will now check that you have enough space on your hard drive, based on previous choices. If you don’t, you’ll have to start the process again.
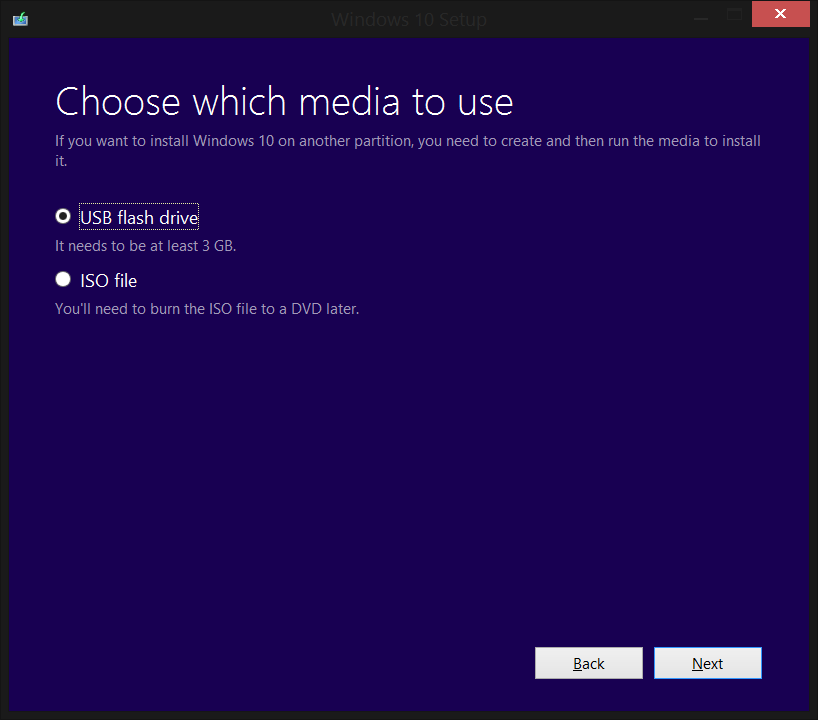
Keep the first option and insert your USB drive now. Hit Next.
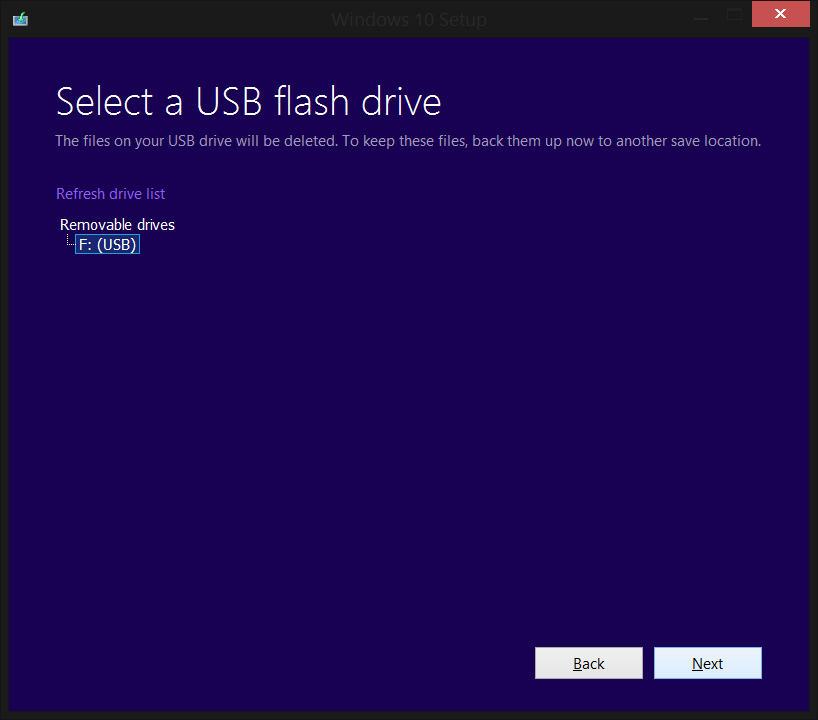
Pick your USB drive from the list. Remember, this process will overwrite everything on the drive. If you have data on the device, first move it to your computer, another USB device, or somewhere else, and then resume when you’re done. Hit Next.
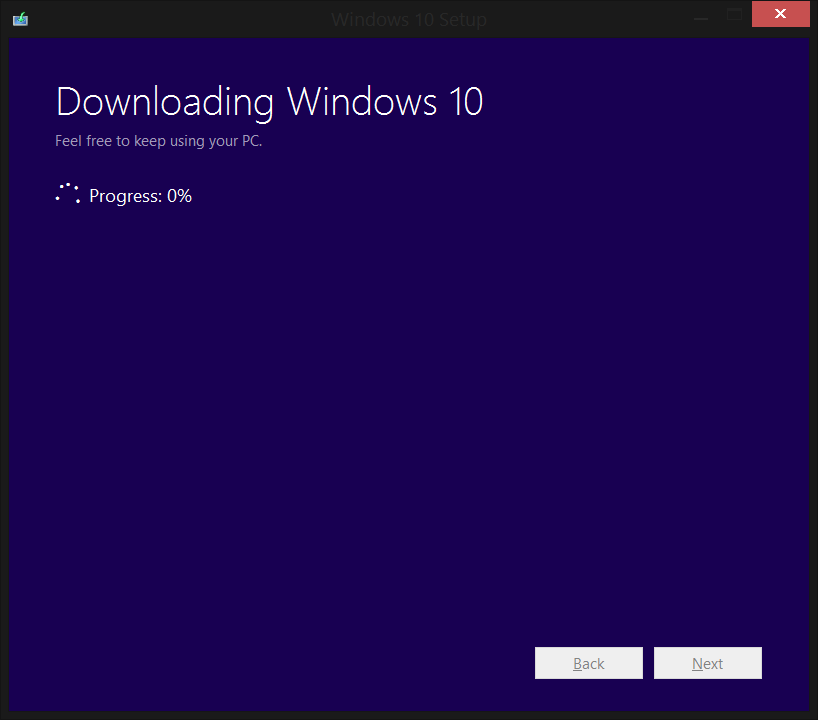
Windows 10 will start to download, which may take a while if you’re on a slow connection.
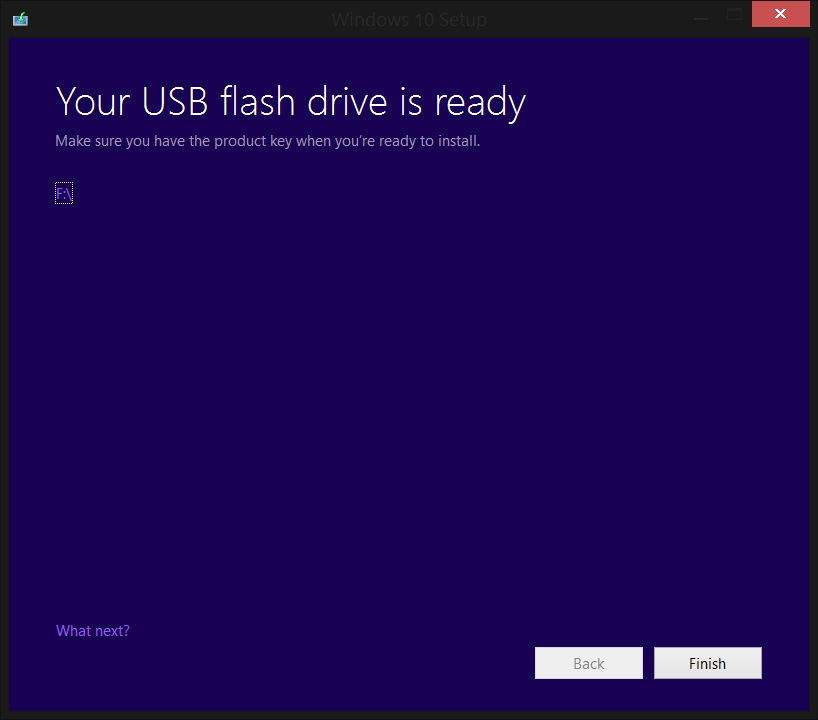
You’re done. You can now install Windows 10 from your USB drive, either by booting from it or from within a current installation of Windows.
If you want to be able to do the above manually, see the next section.
Manual creation
Maybe you don’t like having a tool automate the process for you, or maybe you just love using the command prompt. Regardless of your reasons for creating a bootable Windows 10 USB drive manually, here are the steps on how to do it.
Before you start, you’ll need the .ISO file for Windows 10 — you can get this from various unofficial sources, but there are many official ones as well (the aforementioned Windows 10 Media Creation Tool can make one for you). If your Windows 10 installation image is in a different DVD image format, convert it to an .ISO file.
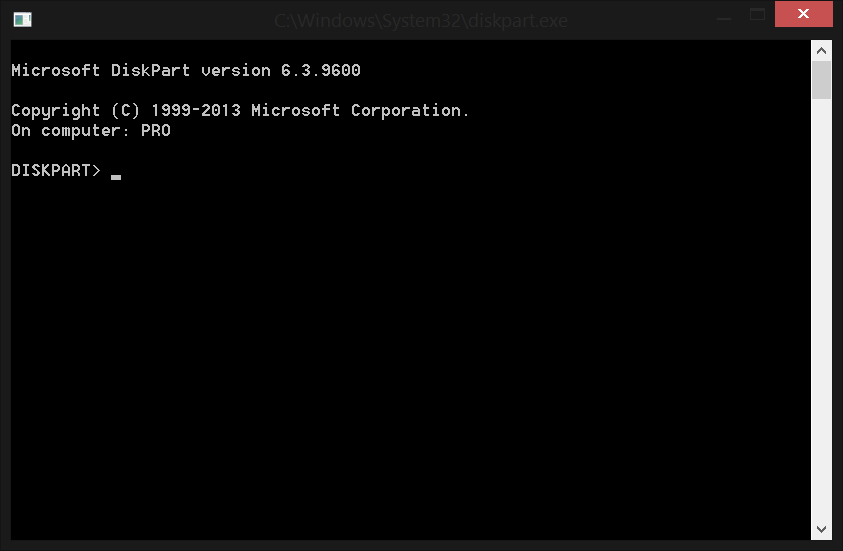
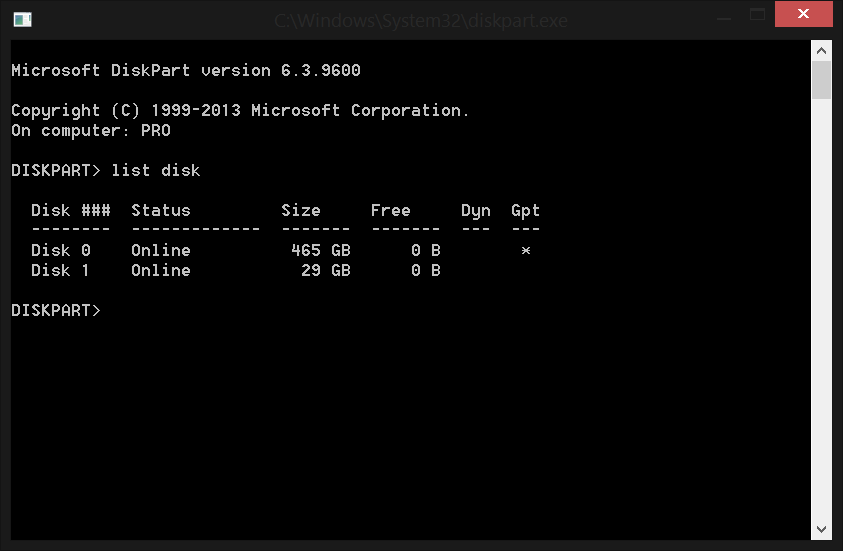
Open the command prompt as the administrator (search for cmd, right-click, and choose “Run as administrator”), type “diskpart” without the quotes, and hit enter. Alternatively, open up the Start Menu, type “diskpart” without the quotes, and click Yes if prompted by UAC to give the program permission.
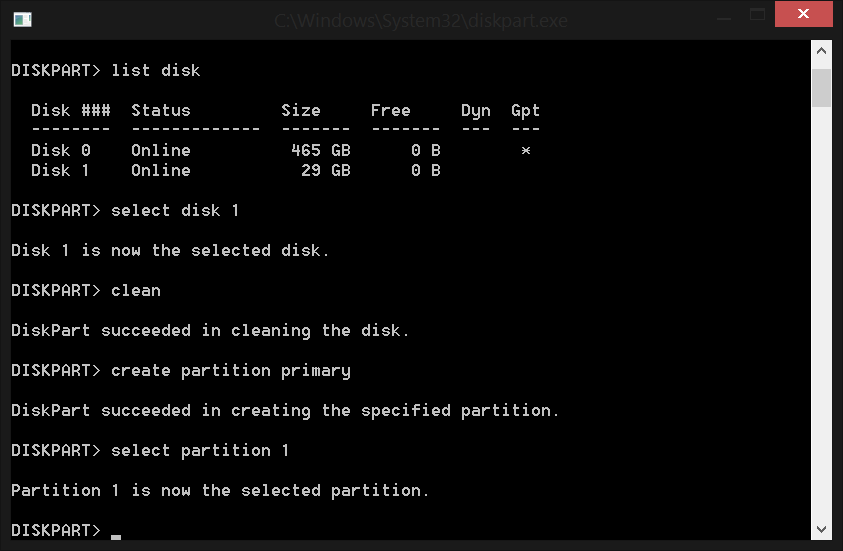
Plug in your USB drive. Type “list disk” without the quotes and hit enter. Take a look at the Size column and figure out which disk number your USB drive is.
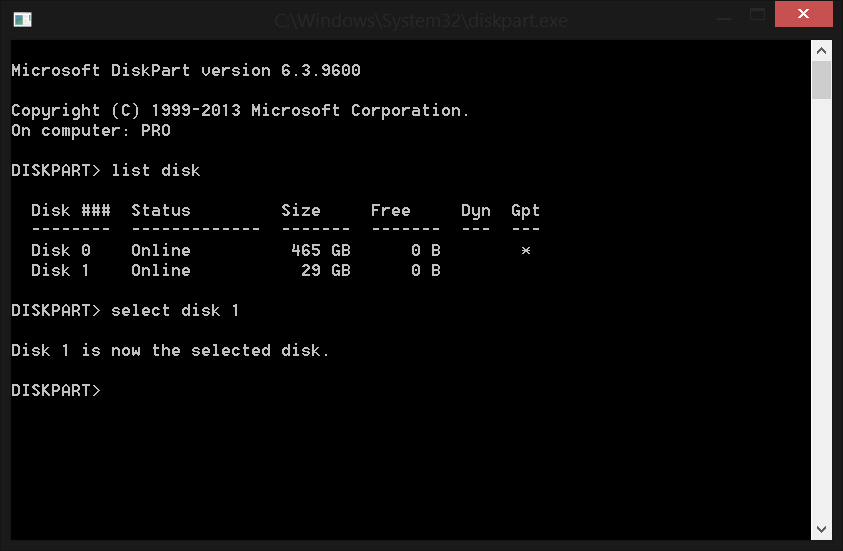
Ours is number 1, so we’re going to type “select disk 1” without the quotes and hit enter. Adjust your disk number accordingly.
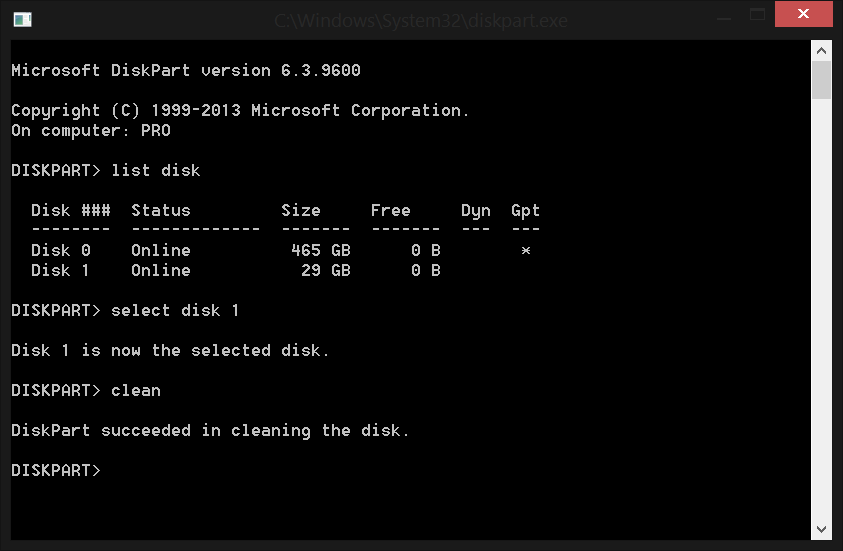
If you haven’t done a backup of the contents on your USB drive, now is your last chance. Now wipe the drive by typing in “clean” without the quotes and hitting enter.
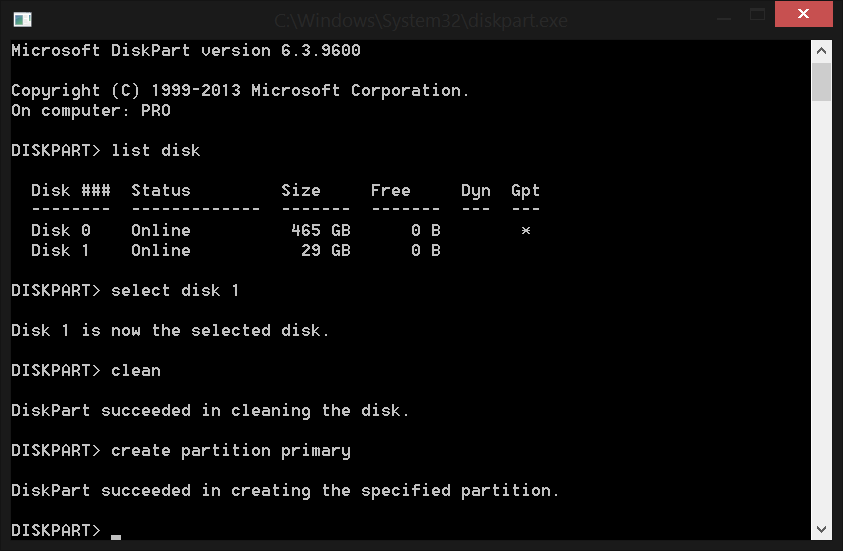
Now we want to prepare the USB drive for the Windows 10 files and ensure it is bootable. Type “create partition primary” without the quotes and hit enter.
Then type “select partition 1” without the quotes and hit enter.
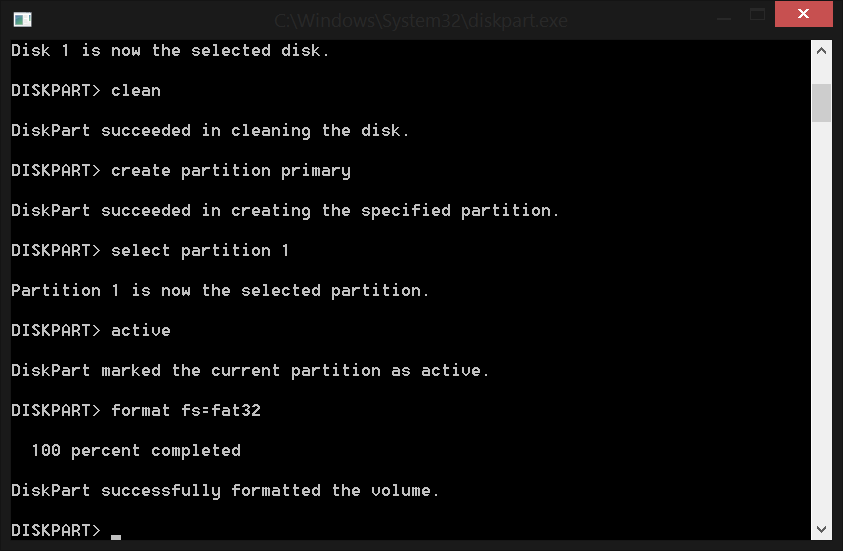
Next type “active” without the quotes and hit enter.

Finally, type “format fs=fat32” without quotes and hit enter. This will format your USB drive in the Fat32 format using the Quick routine. (If you choose to use NTFS instead, you’ll later have to run a different command to put boot manager compatible files onto your USB drive to make it a bootable device.) This process will take some time, depending on the size and speed of your USB drive.
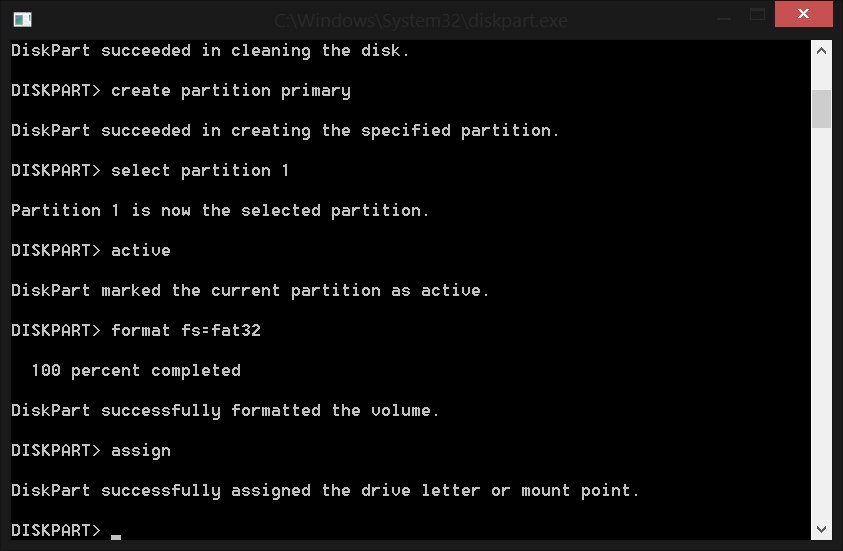
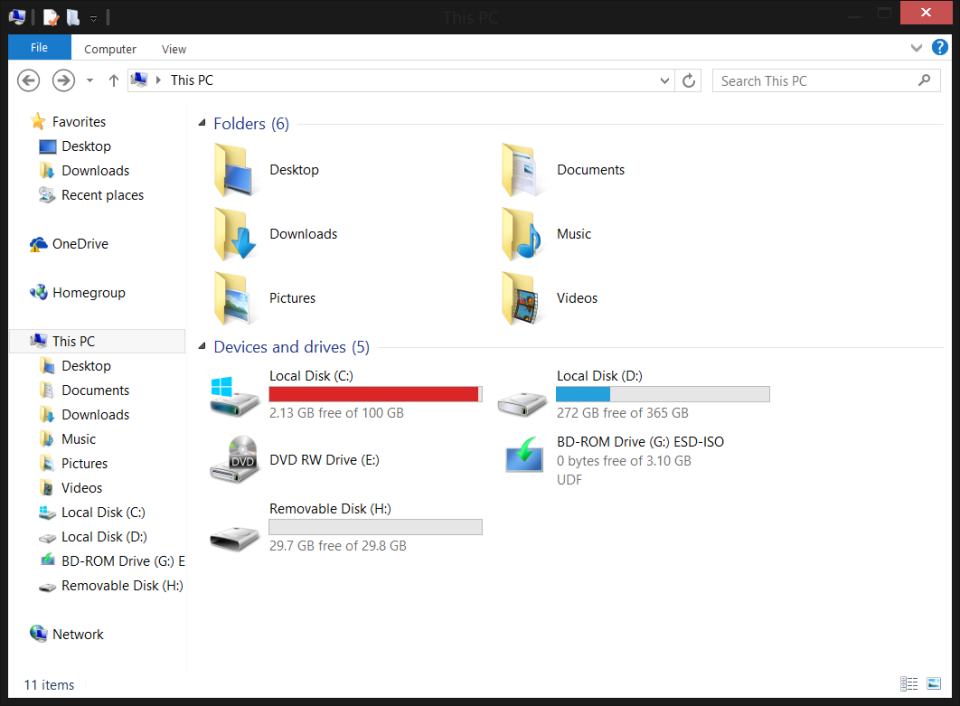
When that’s done, type “assign” without the quotes and hit enter (this will assign a new drive letter to the USB flash drive, making it accessible). Your USB drive will likely automatically open (if it doesn’t, find it in My Computer or This PC). Remember the drive letter (in our case it is H).
You now have two options. You can extract the contents of the .ISO image file (open them in Windows Explorer or using your favorite extraction tool, and copy them directly to the USB drive) or you can mount the .ISO (use your favorite mounting tool) and let command prompt do the work.
We’ve been using the command prompt up to this point, so we’ll do this last step using it as well. Close diskpart and open up cmd again. Type “xcopy g:*.* /s/e/f h:” without the quotes, where “g:” is the drive letter for your mounted .iso file and “h:” is the drive letter for your USB flash drive. Don’t worry if install.wim takes a while to copy: It’s easily the biggest file on the disc.

Type “exit” without the quotes and hit enter. You’re done. You can now install Windows 10 from your USB drive, either by booting from it or from within an existing installation of Windows.
