Creative covers for containers make easy gifts
The "holiday season" may fall in December, but between graduations, weddings, Father's Day and the like, you're hardly off the hook for gift giving this time of year. Don't worry, I've got you covered, with a variety of ideas that all involve clever covers for recycled cans, bottles or jars.
Sure, gift cards are an easy, though impersonal, option for last-minute presents. Pairing them with small, handmade items, however, makes for a more memorable gift, without taking up much of your time or money. This collection of decorative yet useful items can be easily customized for different recipients, from dads to grads, teachers to brides.
The simplest idea is also the most elegant — wrap bottles or jars with white birch bark and turn them into rustic vases or candle holders. If you're lucky enough to have an intact, tube-shaped piece of bark, just slip it over the container. If not, cut a flat piece of bark so it's large enough to wrap around the container with a bit of overlap and hot glue the ends together (a rubber band helps hold the bark in place until the glue dries).
These are perfect for couples, especially if you "carve" their initials into the bark. Use a small knife, or even the end of a small, flat-head screwdriver to (carefully!) scrape letters into the bark, and fill them in with a fine-point brown marker to make them stand out.
While I'm lucky enough to live in New Hampshire, where the white birch is the official state tree, and there's easy access to bark from fallen branches and limbs, there are online retailers who sell the bark in sheets and tubes as well.
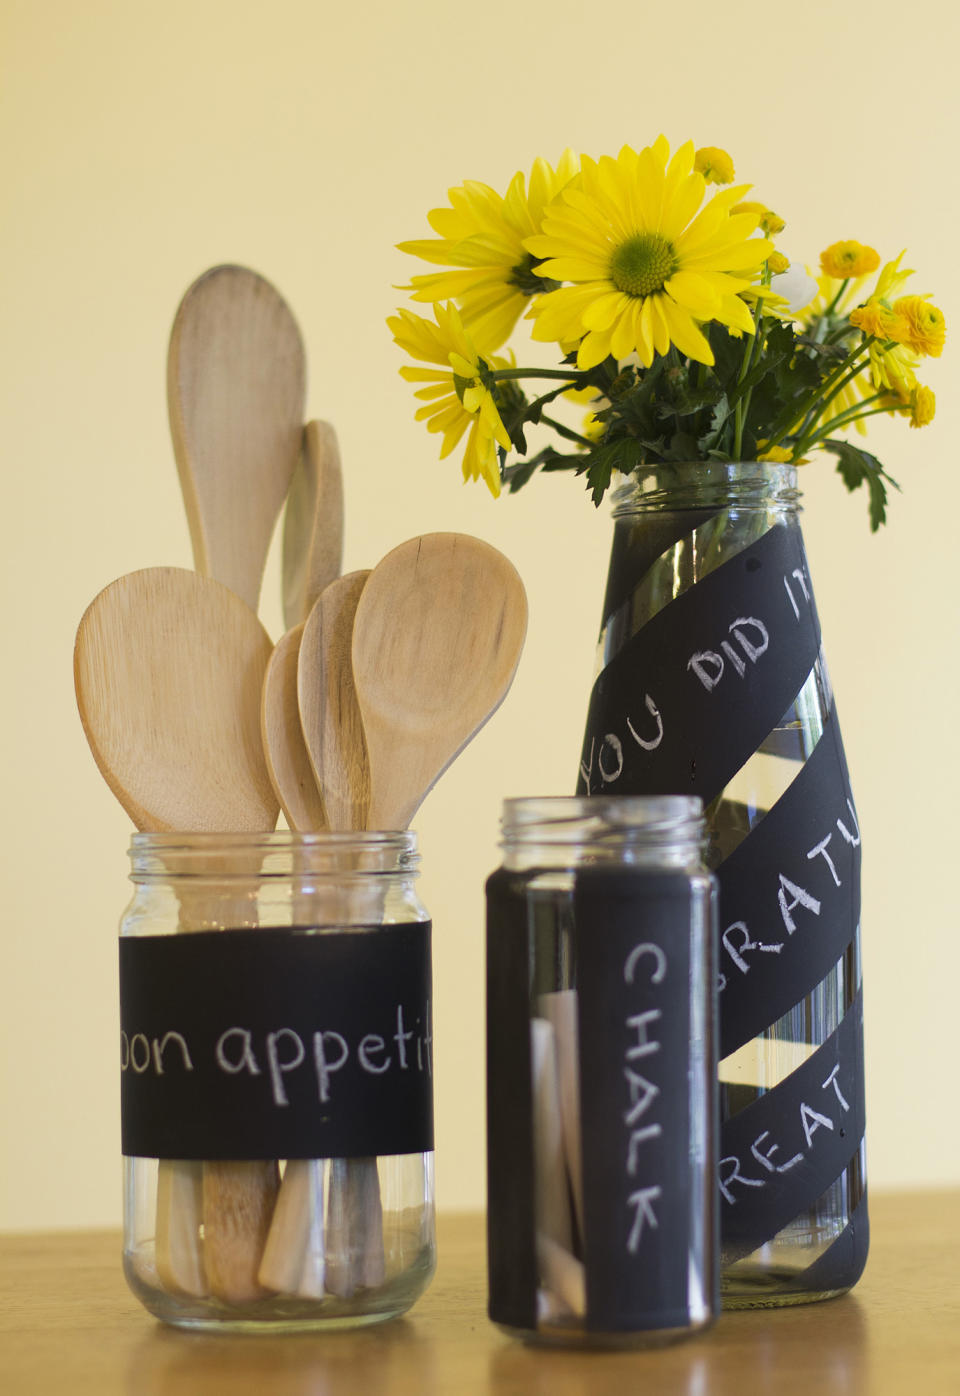
For teachers, consider giving glass containers a modern twist on that old classroom standby — the chalkboard. Use painters' tape to mask off any sections of bottles and jars you want to remain transparent, then apply several coats of chalkboard spray paint. Once it's dry, you can write on the surface, either to label the future contents or just to scribble a message for the recipient. For example, a congratulatory note on a vase of flowers or a "Thanks for a great year!" message for a teacher.
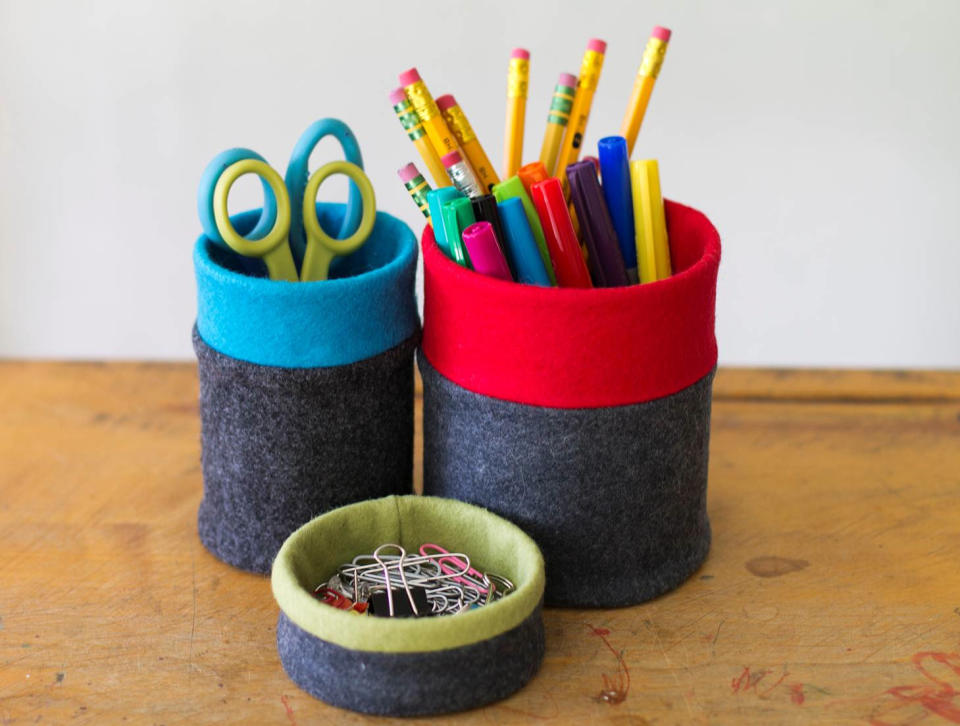
And speaking of teachers, why not help them organize their desks with a set of stylish, felt-covered accessories? Dads with desk jobs also would appreciate these, and they'll never guess that these modern, color-blocked containers started out as tuna fish, soup and tomato cans!
FELT-COVERED DESK SET:
MATERIALS:
— approximately 1/4 yard felt in two colors, a main color and a contrasting color that will become a band around the outside of the container and the lining. (The felt off the bolt at the fabric store is thicker and sturdier than the sheets you'll find in the craft section, even if you use acrylic felt instead of the pricier wool-blend or 100 percent wool felt.)
— assorted recycled cans, washed well and labels removed
— sewing supplies: sewing machine, scissors, pins, etc.
— measuring tape
INSTRUCTIONS:
1) Measure the height and circumference of the can. Call these measurements "H'' and "C."
2) Cut a strip of your main-color felt that measures half an inch longer than the circumference and 1 1/2 inches shorter than the height. (C+ 1/2") X (H - 1 1/2").
3) Cut a strip of the contrast-color felt half an inch longer than the circumference and 2 inches taller than the height. (C+ 1/2") X (H + 2").
4) Sew the two strips together along one of the long sides. You'll now have a large, two-colored rectangle.
5) Press (use a press cloth if you're using acrylic felt to avoid scorching/melting it) the seam allowance open.
6) Fold the rectangle in half, right sides together, and, matching up the seams, sew along the raw edges, creating a tube of fabric.
7) Turn the tube right side out and slide it over the can (it will be snug), with the main color toward the bottom. If desired, fold under the bottom edge of the tube to make a more finished edge.
8) At this point, you will have a long tube that extends above the top of the can. Fold the top of the tube down into the can, so part of it makes the stripe of color around the outside top of the can and the rest gets pushed down into the can to create the lining.
9) Cut a circle of felt to fit the inside bottom of the can. You can glue this down, but the felt tends to stay in place pretty well without glue.
10) That's it! For an even simpler version, just use one color of felt and cut one piece tall enough to cover the entire height of the can's exterior and fold down into the interior.
