
How to deploy captured images with DeployStudio
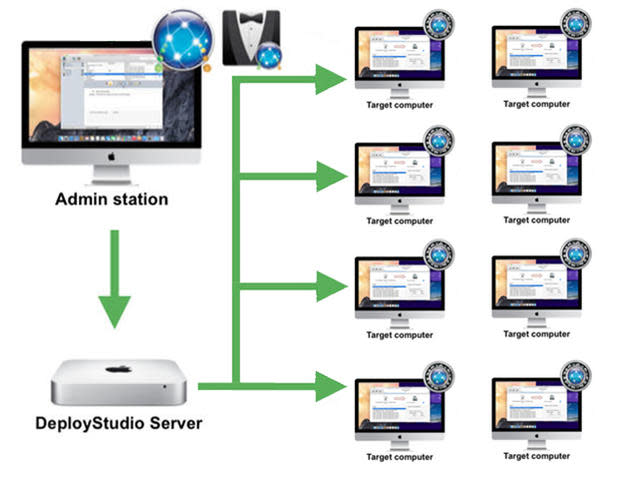
In a previous article, I explained how to capture a master image from a reference workstation with DeployStudio. Now, we'll take a look at how to configure a workflow that's used to redeploy the captured image to a client workstation (or multiple clients) across a network.
The deployment process in DeployStudio is intuitive and modular, so it's easy to set up a workflow that stores all of the configuration scripts used by the Runtime app to execute various commands. For now, however, our focus will be on configuring the workflow properly and pushing out the master image to a client desktop. We'll discuss how to customize workflows in upcoming articles.
Before you dive in, familiarize yourself with the requirements necessary to perform the deployment, taking extra care if using the multicast protocol to deploy the image to multiple clients at once.
Apple computer running OS X Server (10.6.8+)
DeployStudio installed and server service configured
NetInstall service configured
NetBoot created using DeployStudio Assistant
DeployStudio created image
Switched network *
Static IP
Broadband internet access (ethernet)
Apple computer to deploy image to (client)
* Note: If you're planning to deploy the image to more than one node, multicasting must be enabled in the DeployStudio Server (more on this below) and the switch must support multicasting protocol. If you're unsure about the network equipment supporting this feature, contact your net admin for support. Additionally, great care should be taken to ensure that the network can withstand the bandwidth utilization by multiplying the size of the image times the number of devices it's deployed to. This isn't a wholly scientific way of determining available bandwidth, but it will provide enough information at a glance to help better plan a deployment so that it doesn't negatively impact the production environment.
Let's review the steps necessary to create a workflow for redeployment of captured images.
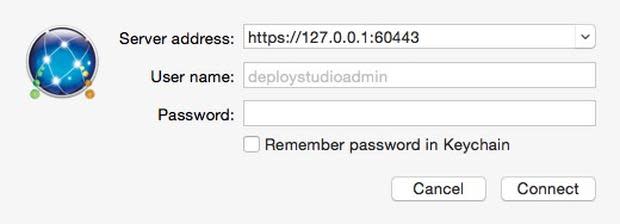
On the DeployStudio Server or Admin station, launch DeployStudio Admin.app and authenticate with administrative credentials to connect to the server (Figure A).
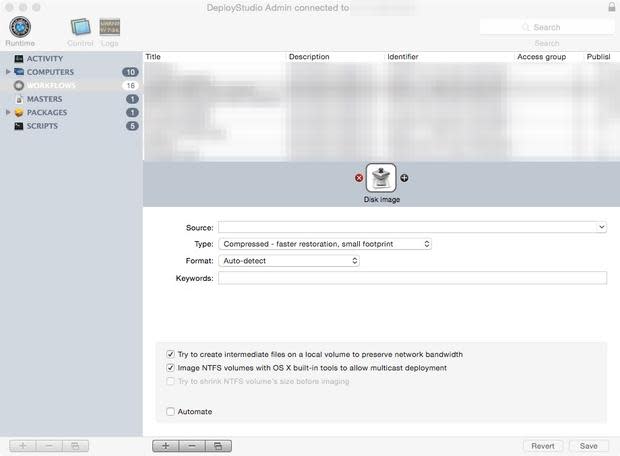
Figure AFigure A Click on the Workflows section to bring up a list of saved workflows. These will serve as the configuration files, if you will, to execute specific tasks or chain them together to achieve certain goals when deploying in mixed environments (Figure B).
Figure BFigure B Clicking on the plus sign [+] along the bottom under the Workflows section will create a blank template for a new workflow.
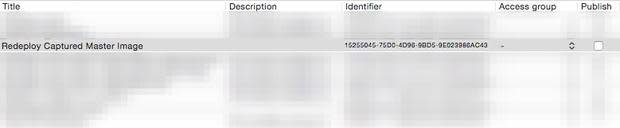
The new workflow will appear in the list above. Double-click it to enter a unique, yet descriptive name, which will generate a new ID (Figure C).
Figure CFigure C By default, newly created workflows are not published. This means that they won't show up in the Runtime app used to select the workflow that's linked to the image you wish to deploy until it's manually enabled. To do this, checkmark the Publish box next to the workflow you wish to enable (Figure D).
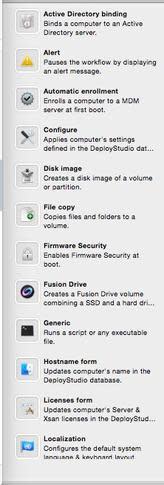
Figure DFigure D To begin creating a deployment workflow, click the plus sign [+] next to the Drop Tasks Here section. This will open a small pop-up window that contains many preloaded scripts for creating one or several workflows, each with varying tasks that can be linked together. The tasks range from installing packages to binding directory services (Figure E) to creating multi-boot environments.
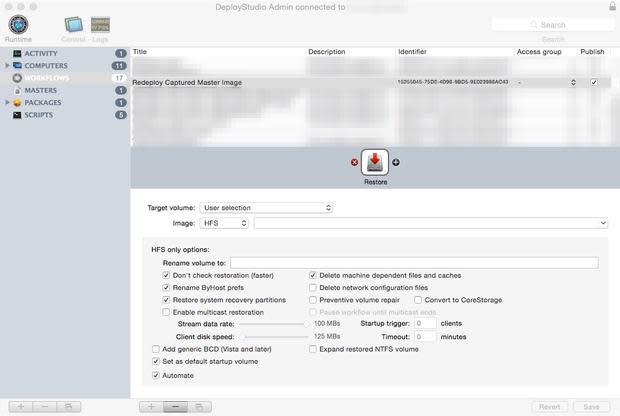
Figure EFigure E For the purposes of this restorative workflow, drag the Restore task from the list and drop it onto your newly created workflow. The window settings will change to accommodate the parameters of the Restore task (Figure F).
Figure FFigure F Target Volume is the first entry to look at. The default User Selection will prompt the sysadmin to select the Hard Disk or partition to be used on the client computer. Next, ensure the Image type is HFS. In the drop-down menu next to that section, you should find the previously created master image that's stored in the DeployStudio repository. By default, the Restore task comes preconfigured with the most useful/necessary settings selected. However, if deploying to multiple computers at once, multitasking will need to be enabled within the workflow as well. To achieve this, checkmark the box next to Enable multicast restoration, and adjust the sliders for the Stream data rate and Client disk speed, as needed. Furthermore, you may wish to modify the Startup trigger or Timeout as these allow the sysadmin to preselect a set number of clients that will connect to the session or set a countdown in minutes before starting the deployment process. Lastly, you'll notice a checkbox titled Automate. For now, uncheck this box (Figure G), however, make a note of it as DeployStudio is quite flexible. Among its strengths is the ability to automate functions, tasks, and workflows to create an almost zero-touch deployment.
Figure GFigure G Save the recently configured workflow by clicking the Save button. You're now ready to deploy your first image.
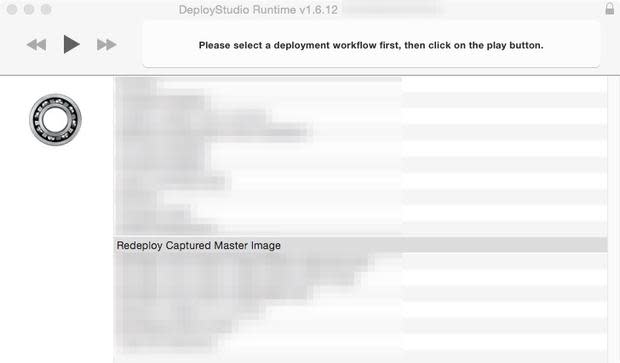
Boot the client computer to the NetBoot image created in DeployStudio. Once the client boots into the DeployStudio environment, select the workflow you created in the previous steps, and click the triangle to execute the workflow (Figure H).
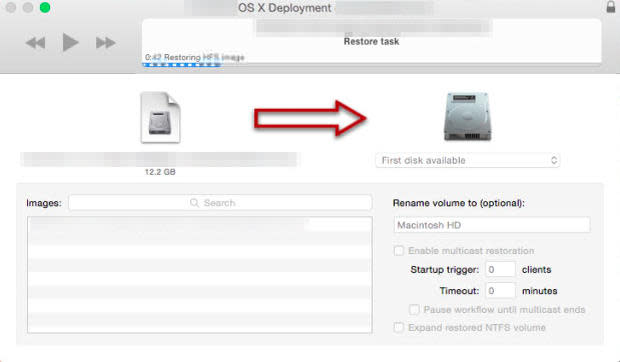
Figure HFigure H Select the destination hard disk on the client computer and click the triangle button again to execute the restore task (Figure I).
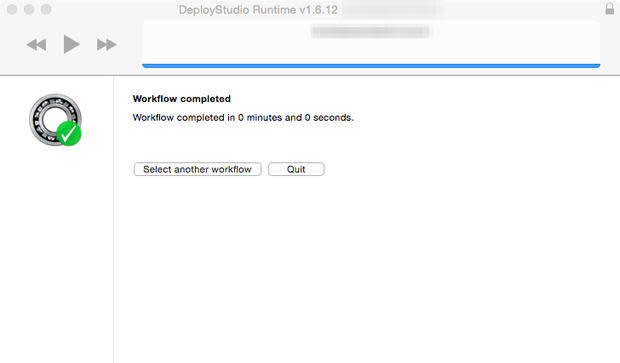
Figure IFigure I Upon successful completion of the workflow, you'll be greeted by the Workflow Completed message. Click the Quit button to disconnect from DeployStudio. Restart the client desktop and initiate booting into the newly reimaged desktop (Figure J).
Figure JFigure J Since the image being deployed was a clone of another computer's hard drive, everything that was present in that initial desktop should be available on the client computer, bit-for-bit.


With a successful deployment complete, the client desktop is now ready for any post-install settings or configurations, such as binding to directory services to finalize the desktop for production use.
In the next few articles, I'll perform a deeper dive into DeployStudio, particularly in creating multiple workflows to manage post-installation tasks, software installs, and chaining tasks together to create a very light touch installation.
