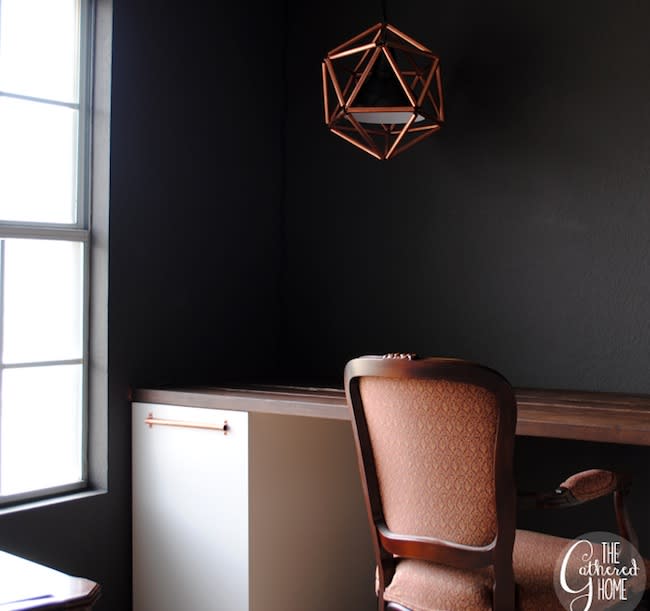
Genius! Copper Pendant Light
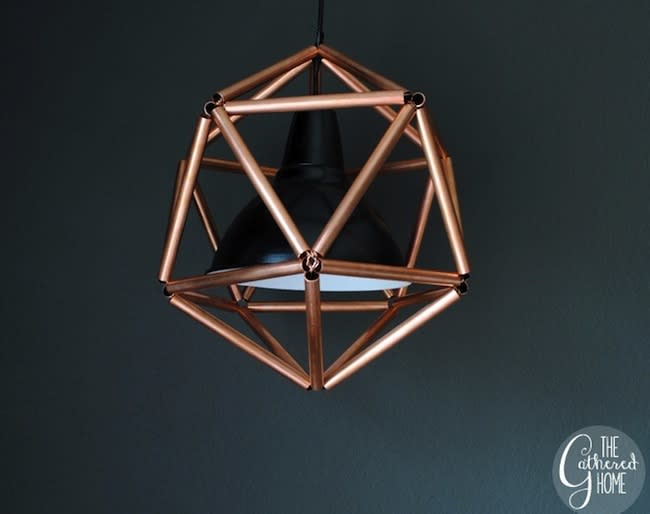
Necessity, they say, is the mother of invention—but so is thriftiness. When a $2,000 light fixture was out of the question, Brynne from The Gathered Home created her own icosahedron (that's 20 sides!) copper lamp for a price tag that was well within reach.
It can take guts to tackle a geometric project when you're not a math whiz; Brynne has called herself a fearful/fearless DIYer. When asked what allows her to work through her critical, perfectionist side to see a project through, she said, "A lot of research! I like to have my plans and expectations set before I dive into a project, so I spend a good chunk of time on the front end researching techniques and supplies online or running ideas past someone knowledgeable. Once I have a basic outline in my head of the steps I'll take to complete the idea, I feel much less intimidated to gather up the supplies and get started!"
That diligence has paid off as she's shared her DIYs on her website. "When I first started blogging, I really had no idea how inspiring and encouraging the online DIY community could be! I never imagined the support and friendship I would find among fellow bloggers and it's truly one of the best parts of doing what I do."
So now, we're sharing one of her tutorials with you, too. Read on to see how she brought this incredibly sleek knock-off to life.
MATERIALS & TOOLS
- 10" IKEA Foto pendant light
- (2) 10’ 1/2” copper pipe
- 25’ copper wire, 2 packages
- Spray paint
- Tube cutter
- Measuring tape
- Marker
- Steel Wool, 0000 grade
STEP 1
Math. To say it is not my strong suite would be an understatement. Truthfully, I had a little help with the geometry.
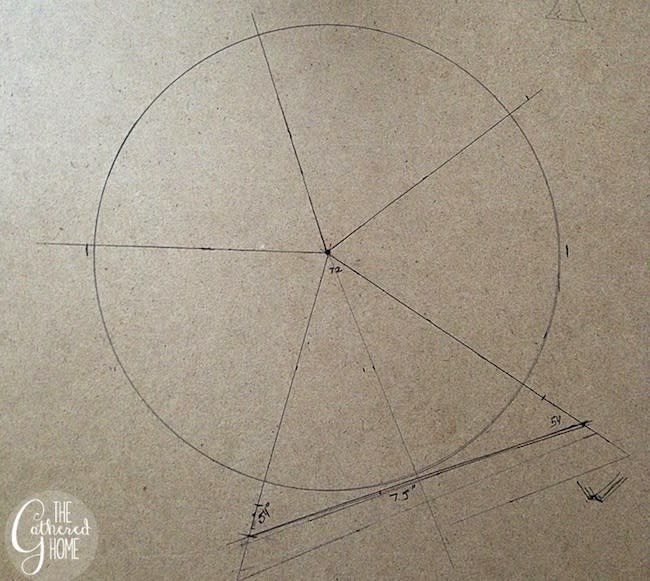
I began by tracing the base of my light fixture. I knew that I needed to fit the circle inside a pentagon, so we divided our circle into 5 sections with a protractor (72 degrees/section). In retrospect, once assembled, the entire icosahedron came out a little large for the IKEA pendant light, so I probably could have shaved the sides down to 7.25” or so.
STEP 2
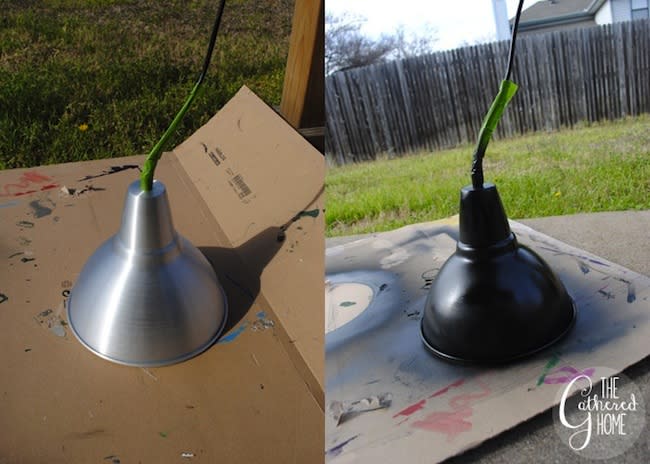
The 10” IKEA Foto lights from come in silver, green, red and beige, but I wanted/needed black, so I taped around the wire and did a few coats of glossy black spray paint.
STEP 3
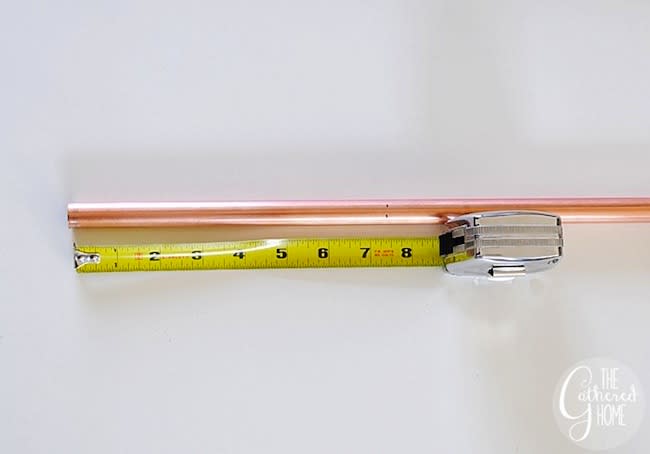
An icosahedron has 30 equilateral edges, so I needed to cut my copper pipe into thirty 7.5” pieces. A 10’ pipe will give you sixteen 7.5” pieces (plus 1/2” to 1” extra, I discovered, as they aren’t exactly 10 feet), which is why I needed to purchase two 10’ pieces. If a 10’ pipe is too long for you to safely transport home, and it very nearly was for me even in the bed of my truck, you could always cut the pipes in half at the 5’ mark before loading them into your vehicle, using a tube cutter.
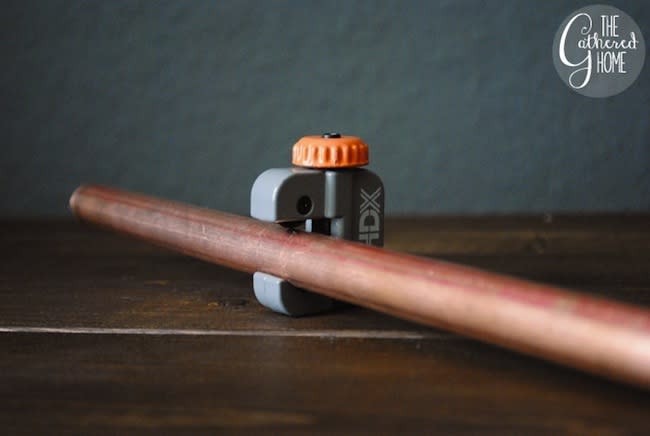
Although cutting all thirty pieces was a little tedious, this small copper pipe cutter worked just fine. First, I made dots at the 7.5” mark all around the diameter of the pipe with a marker. Then I lined the blade in the pipe cutter up with the marks, tightened it, and laid it on its back on a flat surface.
STEP 4
Once all 30 pieces were cut, I used some very fine 0000 grade steel wool to remove the red ink markings from the copper pipe. It worked like a charm—fresh, shiny, pure copper pieces ready for assembly.
STEP 5
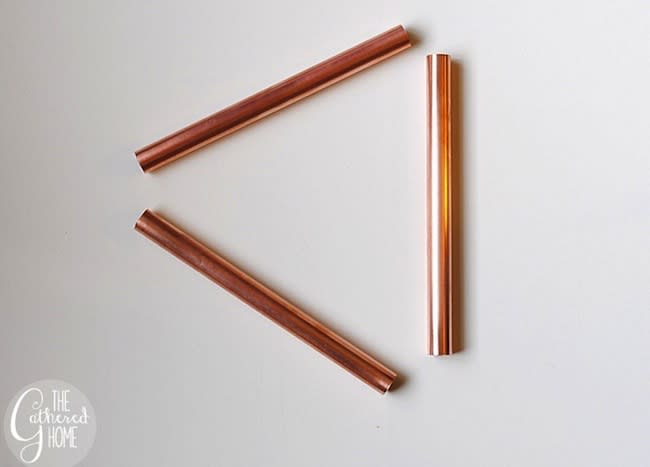
Assembly. This is the most detailed step, and the one for which I have the least amount of advice and helpful photos. I began with three copper pieces and as long a piece of copper wire as I could manage.
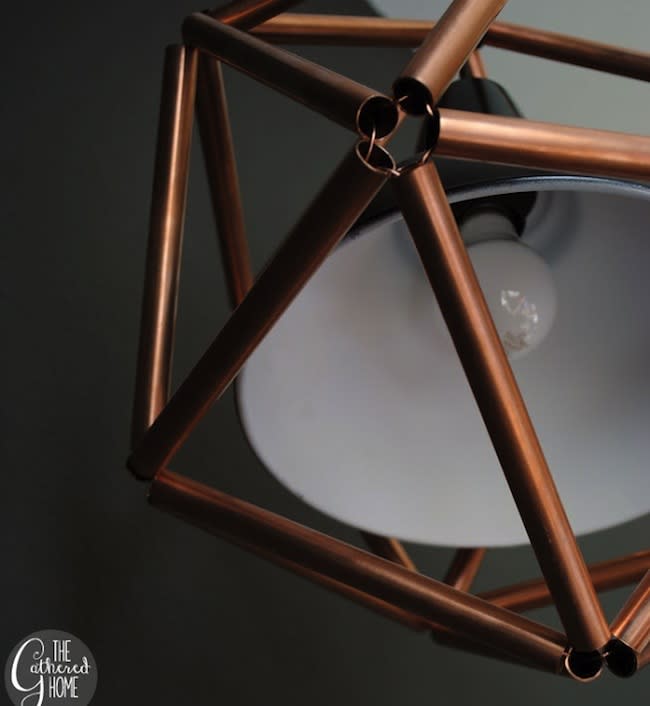
After I made one complete equilateral triangle, I kept adding triangles using one of the existing pieces as a side. While I wish I could be more informative, I’ll repeat that I do not have a geometrically inclined mind, so I had a hard time visualizing what exactly I was doing. I just kept in mind that each “point” of the icosahedron had five edges running into it, and the shape really did build itself.
Before closing up the icosahedron entirely, I made sure to fit my light fixture inside. I didn’t do this at first, but you will want to run the wire for the light fixture through the center of one of the points of the icosahedron, and then close it up around it. I forgot to do this at first, so I had to open up one of the points after the fact and re-thread my wire.
Thanks, Brynne! For more amazing DIY projects, like these Agate Slice and Copper Sconces, visit The Gathered Home.
Related Articles

