Spice up interfaces with Font Awesome's CSS-controlled icons
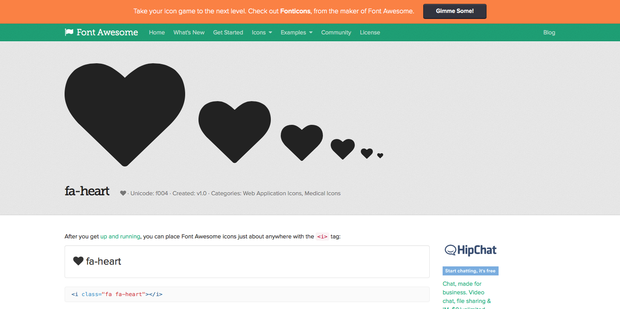
Font Awesome's element for the heart icon, which is one of 519 icons in 4.3.0.
Image: Screenshot by Mary Weilage
Web application frameworks are the foundation of web application development. For instance, developers use Bootstrap to quickly create a responsive frontend and combine it with JavaScript frameworks such as Durandal, WinJS, and Sails.js to build robust applications.
One of the best features of Bootstrap is the icons, because they jazz up any interface. Fortunately, you can use the icons minus Bootstrap via the Font Awesome toolkit.
Scalable vector icons at your fingertips
Font Awesome provides a customizable and scalable vector that can be used to enhance your user interface. You can control all aspects of the icons, including size, color, and drop shadow via CSS. That's right, this is pure CSS -- no JavaScript involved. The current version (4.3.0) includes 519 icons.
The toolkit is freely available for commercial use. You can download and place the necessary files on your web server. The download is a compressed zip file that contains css, font, less, and sass directories. The css and font directories are key, as all styling is contained in css that references definitions in the font directory. Figure A shows the directory structure on my Windows 8.1 development machine. Figure B shows the standard CSS file (font-awesome.css) open in Atom -- notice the first few lines (@font-face) reference font directory files.
Figure A
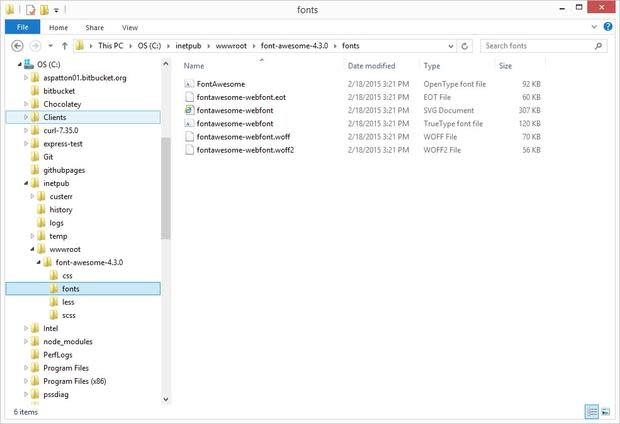
The directory structure when Font Awesome is installed locally.
Image: Screenshot by Tony Patton
Figure B
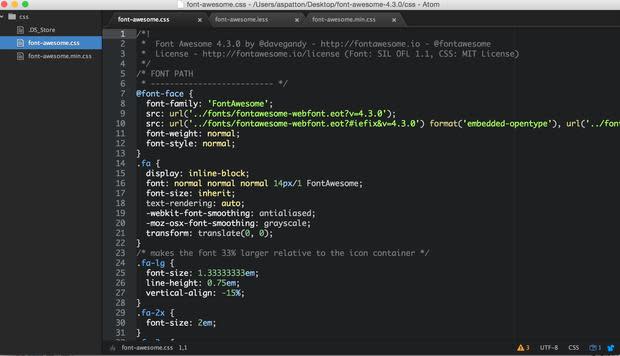
The standard Font Awesome CSS file open in Atom.
Image: Screenshot by Tony Patton
If you do not want to bother with downloading, installing, and maintaining the files on your server, an alternate approach references the necessary CSS file(s) via a content delivery network (CDN) such as Bootstrap CDN. You simply add a reference to the necessary CSS file(s) using the CDN address. For Font Awesome, the following line accomplishes this task by referencing the minimal file (it only includes the necessary CSS).
<link rel="stylesheet" href="//maxcdn.bootstrapcdn.com/font-awesome/4.3.0/css/font-awesome.min.css">
If you are a Ruby on Rails developer, you can use the LESS Ruby Gem or the SASS Ruby Gem. The Font Awesome getting started page has more information on these approaches as well as others. Once installed, or referenced, you are ready to put the icons to use.
Lots of icons available
When you scan the icon listing, you will notice the icons are categorized in a variety of ways. The following list includes the current icon categories, though these may grow as the toolkit evolves.
Web Application
Transportation
Gender
File Type
Spinner
Form Control
Payment
Chart
Currency
Text Editor
Directional
Video Player
Brand (this includes Git, GitHub, Visa, Discover, etc.)
Medical
Figure C shows the icons within the Web Application category. Since Font Awesome is a standard component of Bootstrap, it is easy to see these icons in action. Figure D shows the Newsweek home page, which features the heart, globe, social media, and more icons are from the Font Awesome toolkit.
Figure C
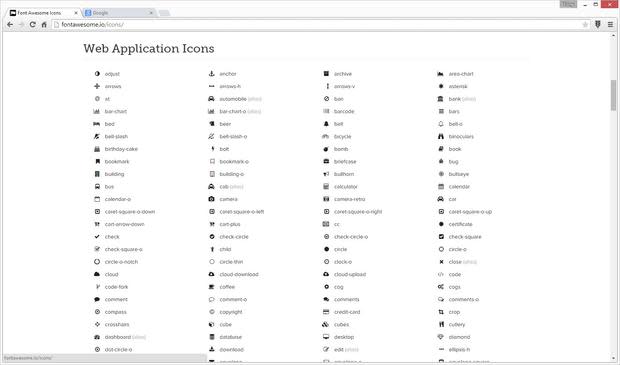
Font Awesome icons are categorized according to common usage.
Image: Screenshot by Tony Patton
Figure D
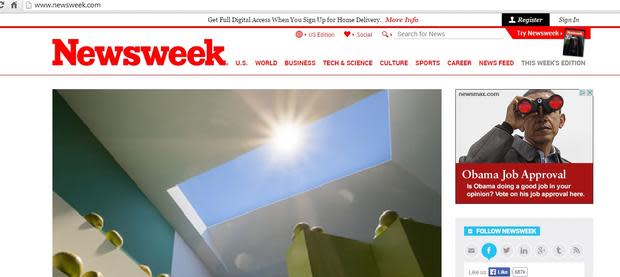
Font Awesome icons are visible on the Newsweek home page.
Image: Screenshot by Tony Patton
Using Font Awesome in your application
Whether installed locally or using a CDN, the icons are relatively easy to use. Once the reference to the toolkit is added via the previously covered LINK element, you can place icons within application pages using the <i> element. The Font Awesome documentation suggests using the <i> element for brevity.
This element is a placeholder where the specified class attribute signals the icon to be used in your markup. If we want to use the heart icon, the following element accomplishes it.
<i class="fa fa-heart"></i>
A great feature of the Font Awesome website is it generates the HTML elements. You click an icon from the online list and a page opens with the appropriate syntax. For example, this link generates the syntax for the heart icon. The basic syntax is the fa rule is listed first. Next, the fa prefix followed by the icon name, so in our example we have fa fa-heart.
The examples page describes many more options, including increasing or decreasing icon sizes; making the icons fixed-width; adding borders, animation, stacking icons, or using any other CSS font sizing tricks to customize the icons. The Font Awesome blog includes great tips, but it is updated infrequently. The team is more active on their Twitter account.
Numerous options
The number of freely available tools and frameworks can be overwhelming when you're trying to decide the direction for a new project; however, the user interface will always need to be appealing and useful. The Font Awesome toolkit is everything you need for icons. It is battle tested and industry accepted, so use it without worrying about its future.
I always wonder how companies make money with free products like Font Awesome. The recent announcement of the paid fonticons offering (currently in beta) provides an answer, as the Font Awesome team has extended its icon expertise to pay options -- you can develop custom icon sets, plus many more options, for your organization.
