The 9 Biggest Painting Mistakes We Make Without Realizing It
Diana N. Nguyen
Updated
Now that you know thesecrets to painting a finished wall, there are a few other things to keep in mind for a perfect paint job in your home. Surprisingly, the biggest mistakes with painting often seem to happen because of minor oversights, such as not taking the time to pick out a good brush or rushing to paint a second coat of color on a wall. And usually, in hindsight, the reasons for the bad paint job become so obvious. So, we've rounded up nine of the most common mistakes that happen when it comes to painting and how to prevent them. Check them out in the slideshow below. And, are there other seemingly obvious steps when it comes to painting that you think are often overlooked? Let us know in the comments below!
It's best to rip it off right after you apply, otherwise the dried latex may come up with the adhesive.
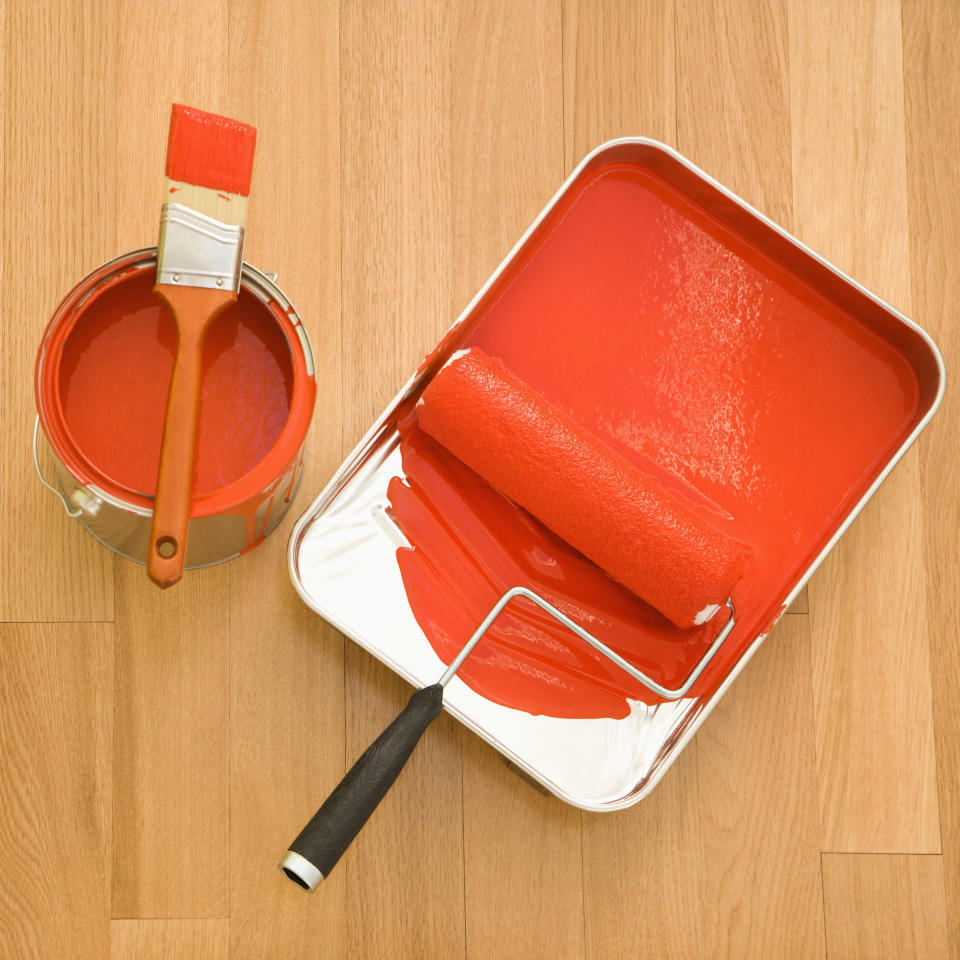
Underestimating how much paint you'll need.
You bought two cans of spray paint to give your metal patio set a new coat. It's probably not enough, especially if you are changing the color completely. Figure two cans of paint per chair, and maybe three for a large table.
The last time you repainted your home's exterior was fifteen years ago.
An exterior paint job usually only lasts ten years before it starts to show its age.
You scrub your brushes at the end of each day.
If you haven't completed your project, you can wrap them in plastic wrap and secure them with a rubber band. The bristles will stay moist and ready to go.
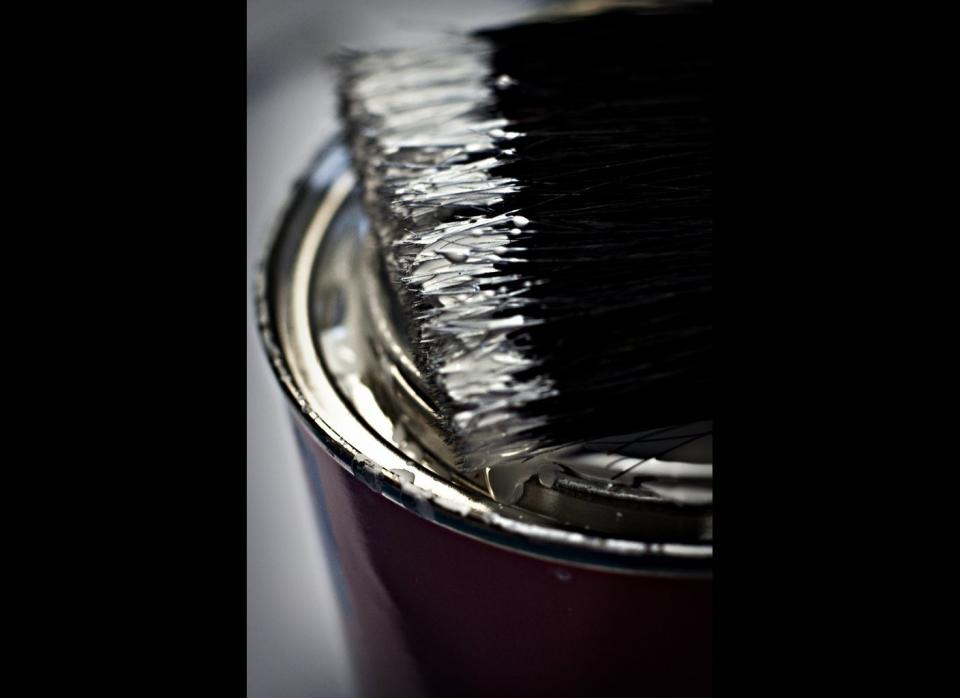
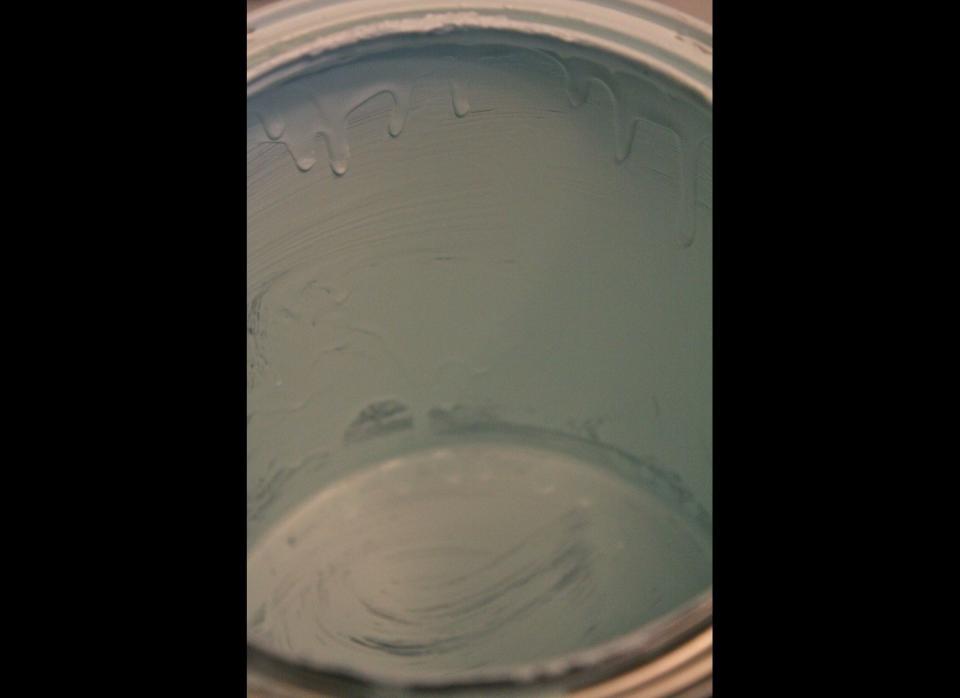
You dip your paint brush into the can too far.
There's no reason to dip it all the way to where the bristles meet metal. Only dip it one-third of the way into the can, otherwise you'll be wasting paint.
Using Latex Paint Over Oil-Based Paint
Unintentionally applying latex paint over an oil-based formula seems like a shortcut, but one that you'll pay for in the end with peeling and cracking. The tough answer: There's no getting around prepwork. In this case, sanding down the oil-painted surface before applying a new coat of a latex-based paint. Flickr photo by Nomadic Lass
Painting A Second Coat Too Soon
We admit it. When it comes to painting, we want things done ASAP. But applying that all-important second coat before the first layer dries will completely mess up the whole job. (Visible brush strokes, paint pulling off, etc.) Your paint can should tell you how long to wait between layers, but we say to keep it safe by holding off for 24 hours. Flickr photo by yugenro
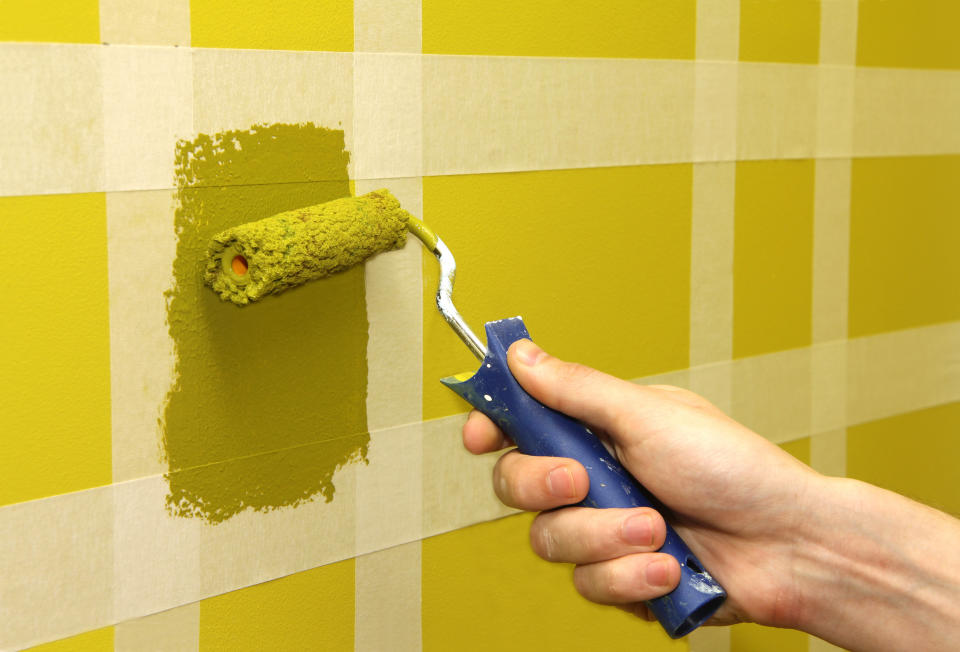
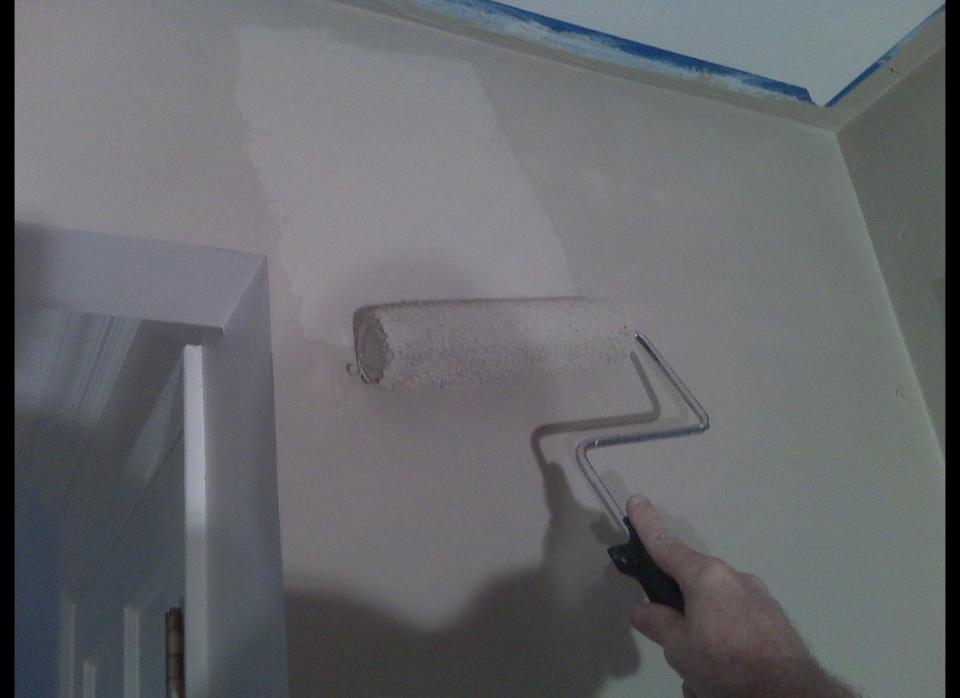
Over Applying Paint
It might seem like it would be better to apply just one thick coat to the wall and call it a day...but that's where gloppy drips come from. To evenly distribute paint, rolling off the excess is key. Start by dipping your roller in paint and moving it in a "W" shape across the wall. Then, go back over with overlapping up and down strokes to spread the paint across the wall. Flickr photo by Rookuzz
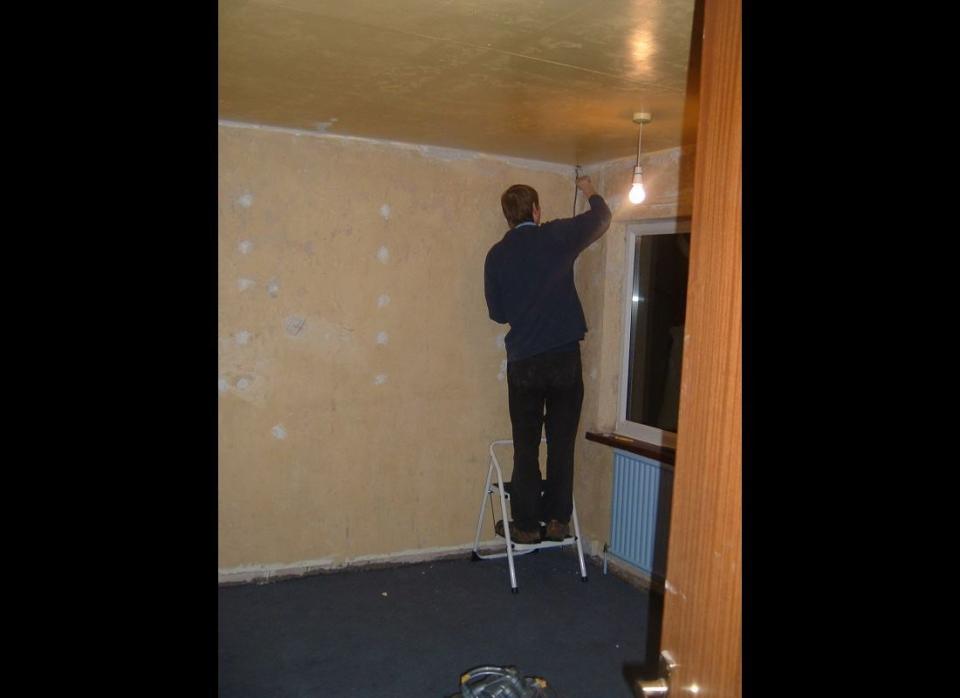
Not Using A Primer
Whether you're going from dark to light or just painting over a different type of surface (like wood), a primer really is a must. Here's our best reason: It'll help paint adhere to the wall, requiring less work. Sounds good to us. Flickr photo by wharman
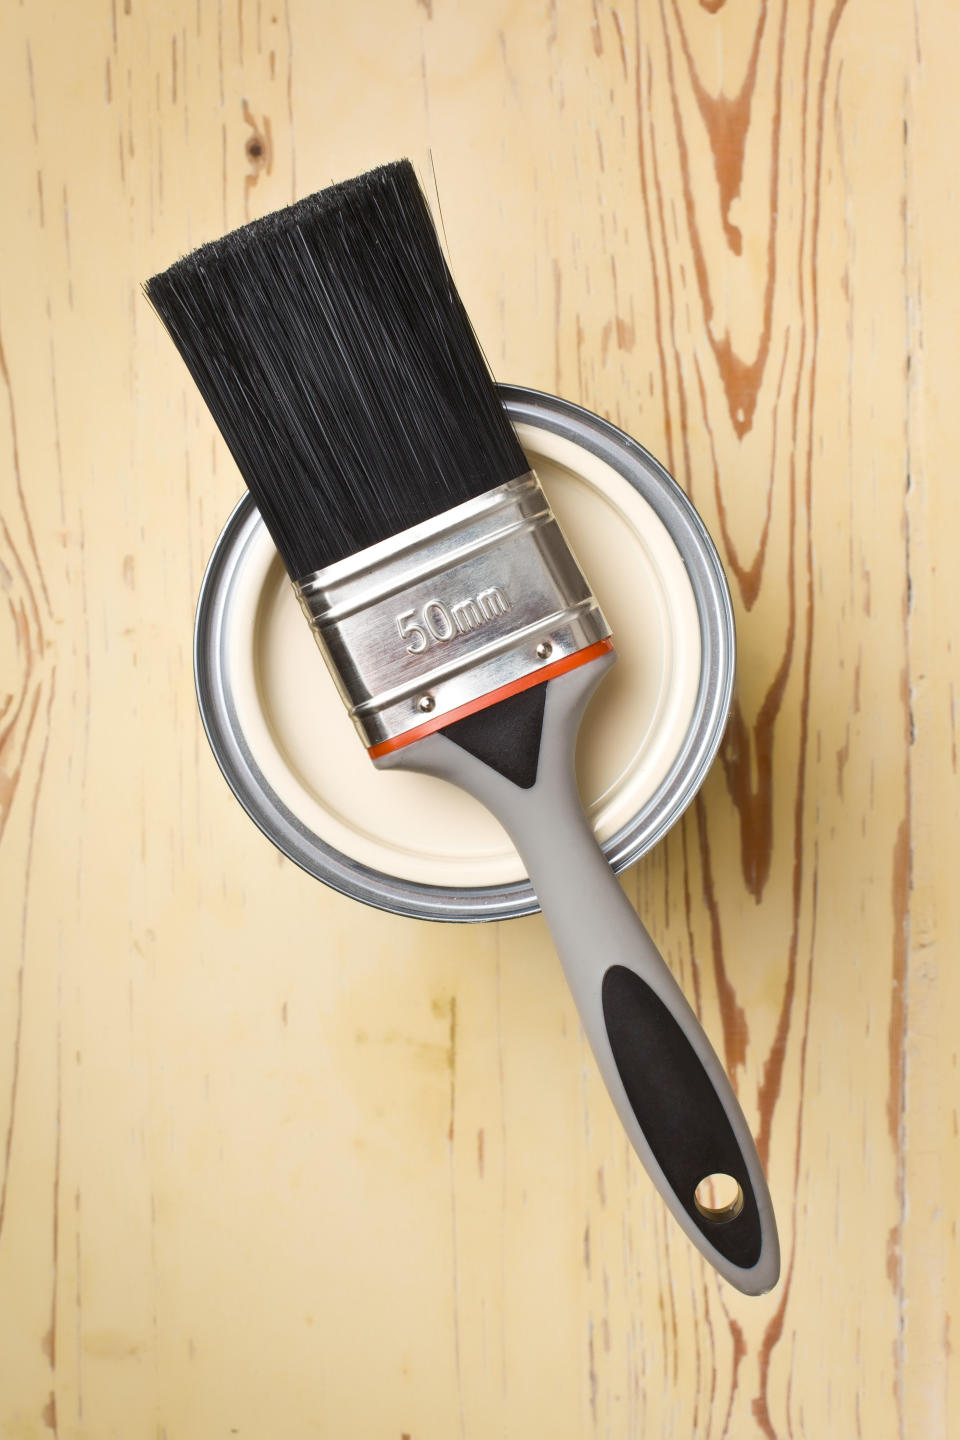
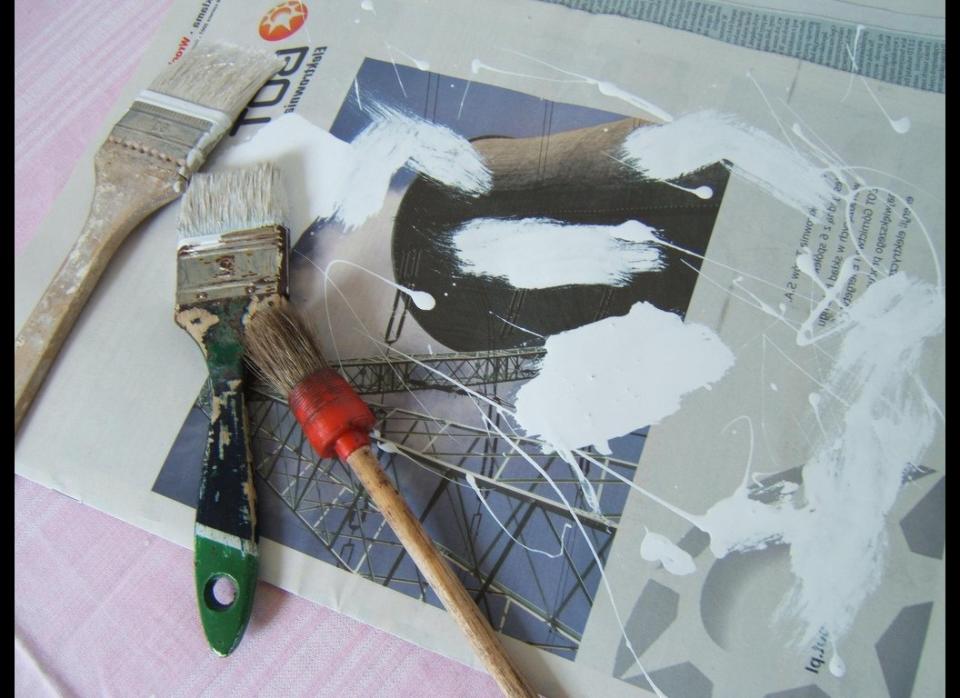
Thinking Any Brush Works
One brush does not fit all. If you're using a latex-based paint, buy synthetic polyester and nylon-blended brushes. Why? Because the bristles in synthetic brushes will fall out when mixed with compounds found in oil-based paint. Flickr photo by Sir_Iwan
Running Out Of Paint
Not only is running to the hardware store mid-wall a pain, but there's a big chance that your new paint won't be the exact same shade as your current hue -- even if they are marked as the same color. Before purchasing your paint cans, estimate how much paint you'll need, adding in a quarter to a half-gallon of extra paint for future touchups. A good rule of thumb to follow is one gallon covers about 400 square feet. Flickr photo by anneh632
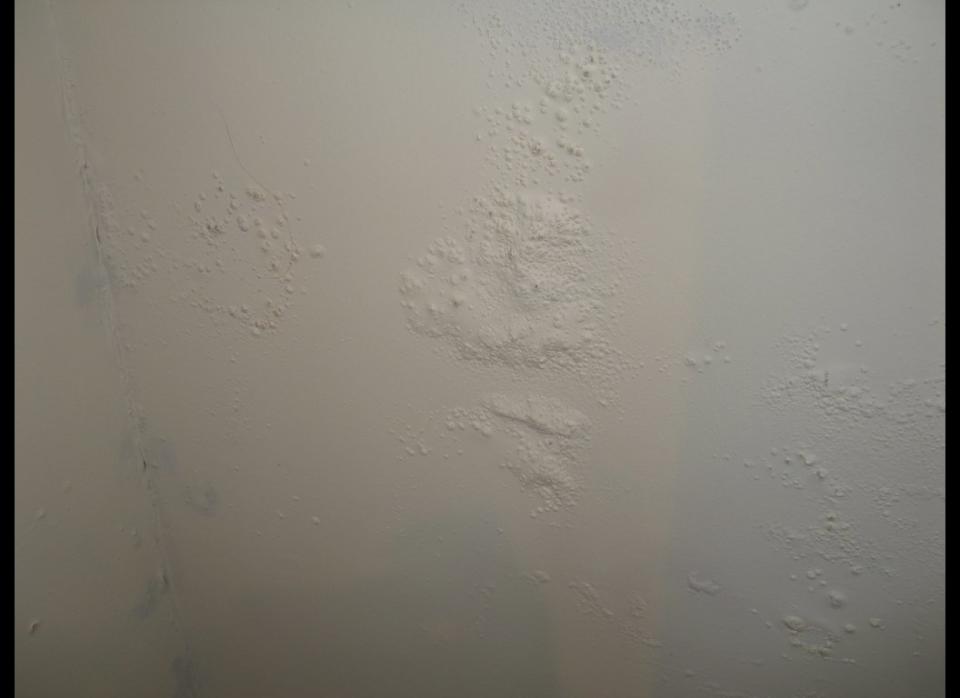
Painting Over Moist Surfaces
Moisture can hide where you least expect it (on kitchen walls) and, well, where you do expect it (hello, bathroom). In these situations, be prepared to completely dry wall surfaces with a microfiber cloth. Otherwise, you'll watch with a mix of horror and fascination as paint refuses to stick to these moist surfaces. Flickr photo by Tim in Sydney
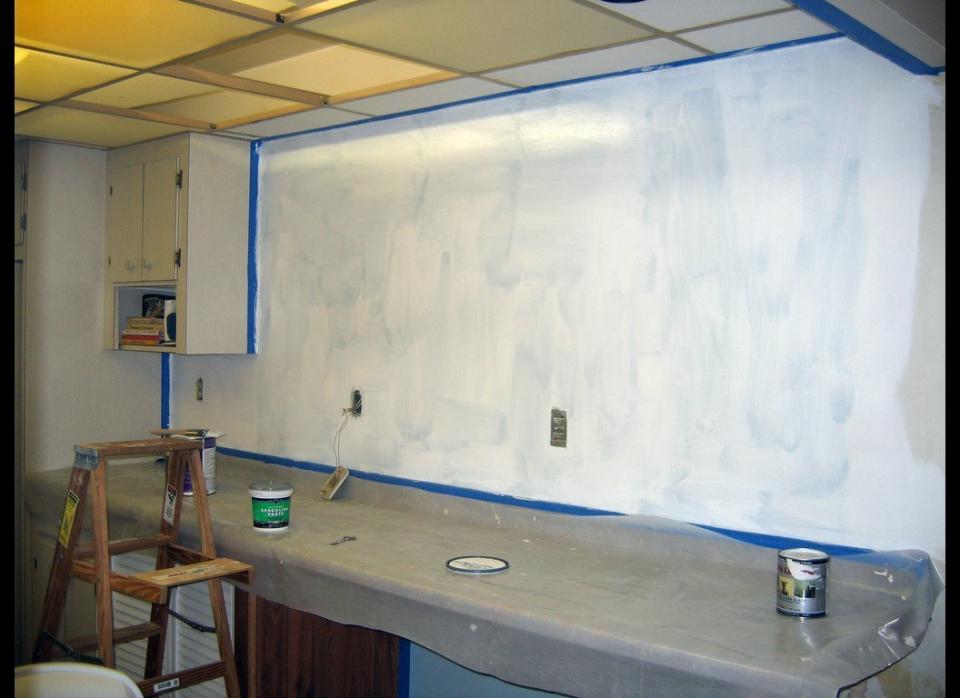
Not Priming Patches
We've all patched a hole in the wall at some point, but what we probably skipped was priming the plaster before repainting. When plaster isn't primed beforehand, paint will soak into the surface, resulting in an ominous dark blotch. So, say it with us: Prime before paint. Flickr photo by Haxxah and KraZug
Leaving The Walls 'Dirty'
A wall might appear clean, but you might not notice the many bits of dust, hair and even traces of adhesive until it's too late. What's too late, you might ask? When the paint is dry and you're noticing a 'rippled' area or worse, embedded hairs. So, be sure to mix one-part mild dish detergent and four-parts warm water. Use a microfiber cloth to wash the walls, paying special attention to baseboards and corners that can collect dust easily. Finally, dry with a clean cloth. Flickr photo by Horia Varlan
Jason Fitz and Frank Schwab join forces to recap the draft in the best way they know how: letter grades! Fitz and Frank discuss all 32 teams division by division as they give a snapshot of how fans should be feeling heading into the 2024 season. The duo have key debates on the Dallas Cowboys, New York Giants, New Orleans Saints, Los Angeles Rams, New England Patriots, Las Vegas Raiders and more.
The first electric vehicle I ever drove was a Tesla Roadster in 2011. It was with great anticipation that I slid behind the wheel of the 2025 Acura ZDX Type S. Sure, it's a midsize SUV, but it wears the Type S moniker, a name reserved only for the most fun-to-drive in the Acura stable. On launch, the ZDX will be available in A-Spec and Type S trims -- both of which come equipped with a 102 kWh battery.
The NFL will allow players to wear protective Guardian Caps during games beginning with the 2024 season. The caps were previously mandated for practices.