To Make Beautiful Flower Arrangements at Home, Use This Easy Tape Grid Technique
Robert Kirk / Getty Images
Spending lots of time at home these days means getting lost in the occasional TikTok vortex. Most recently, we were intrigued by the video we saw from Farah Merhi showing a neat way to do DIY flower arrangements that look like a pro waved their magic wand over to create. The secret? A little tape.
Called a tape grid, this simple technique can help you make stunning flower arrangements on your own that look like they were designed by a professional florist. Alfred Palomares, Vice President, Merchandising, 1-800-Flowers.com shares how to make the tape grid:
Prep the vase. Begin by filling the vase with lukewarm water. Be sure to dry the edges of the vase before setting the tape. Then cut strips of tape and begin placing it across the vase in a grid with tape strips going in one direction and then the same amount going in the opposite direction. Cut any leftover tape to stick to the edges of the container. Tara Keleher, a floral designer that works with UrbanStems, recommends using floral tape and using a strip of tape around the top lip of your flowers' vessel to secure the grid into place.
Cut the stems. No matter what type of flowers have been ordered, floral stems should always be trimmed before arranging them. Trimming florals on an angle will help the blooms absorb more water and nutrients from their flower food.
Feed the flowers. It's very important to use flower food to extend the flowers' life and make sure they maintain strength and vibrancy.
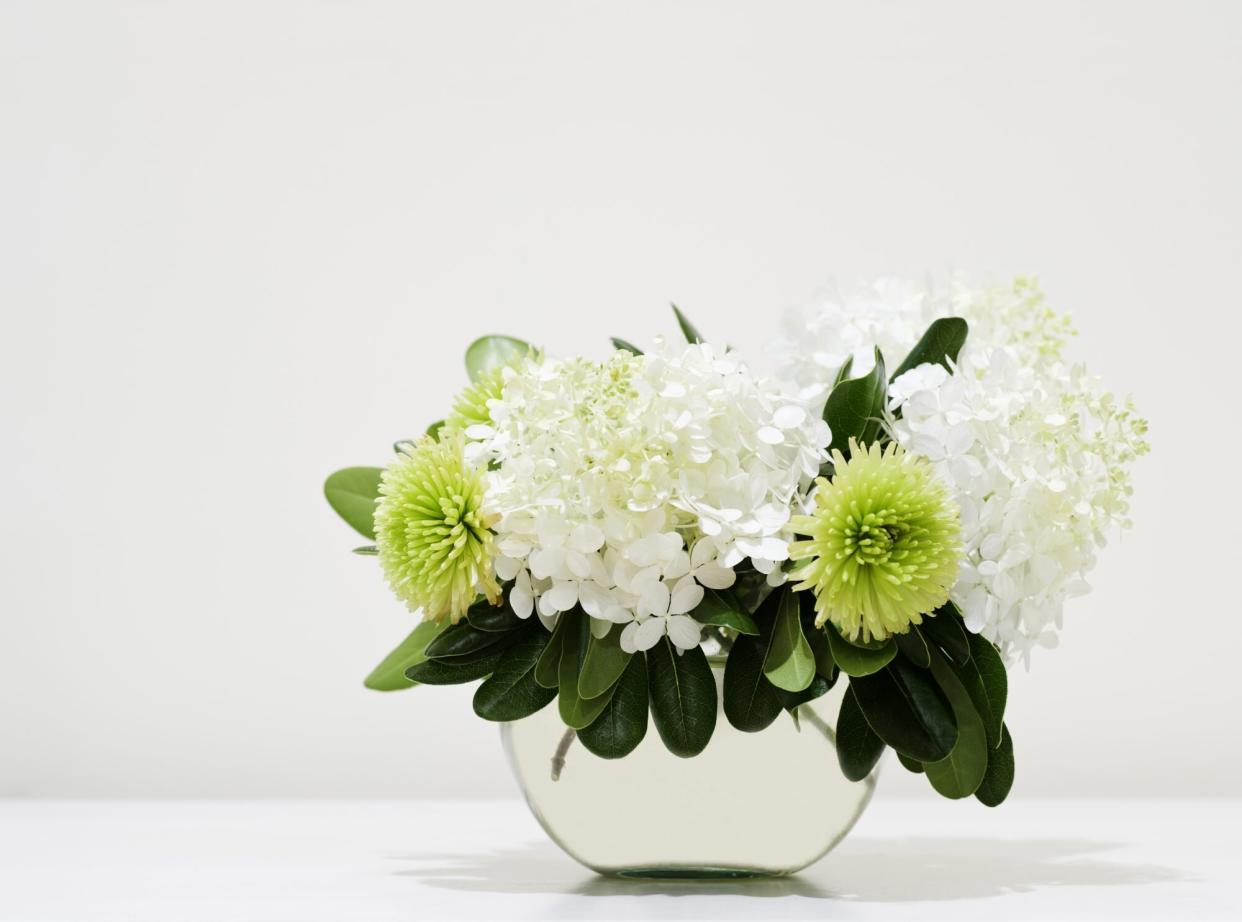
Begin arranging. For a mixed bouquet, begin by placing the assorted greenery and the largest blooms around the perimeter of the vase first to create a base, then fill in towards the center. The tape grid will also help keep all stems stay in their place, no matter the size. (We love the Pastel Passion and Pastel Posy bouquets from 1-800-Flowers.)
Make your flowers last. In order for the flowers to last, change the water every two to three days, using moderately warm water each time the water is replaced. You'll also want to cut the stems on an angle, one-to-two inches from the bottom, to give them more space to receive water and improve hydration levels. Be sure to remove any leaves or pieces of stems that have fallen below the water line in the vase. If you don't, they create bacteria — which can shorten the lifespan of the bouquet. Flower food should be replaced whenever your florals receive new water. And another important tip: Keep bouquets away from direct sunlight and heating sources, as both of those will dry out the arrangement. A cooler environment will preserve the life of the florals and keep the vase free from bacteria.
WATCH: Why Are Hydrangeas Also Called Hortensias?
We may never go viral on TikTok, but we'll be darned if we can't make one of the prettiest floral bouquets around after following these easy steps. Ready to arrange some blooms?

