How To Fill A Pastry Bag (Without Making A Mess)

Emily Laurae
Bakers make it look so easy, but we've all been there, desperately trying to grip a greasy, sticky piping bag. If you've ever wondered how to fill a pastry bag cleanly with no hassle, we've got the tips and tricks to make it a painless process. The best part? There's no special equipment needed.
And while you might be tempted to use a zip-top bag, reusable or disposable piping bags do a much better job. Once you know how to fill them properly (and without mess), they're easy to clean and reuse, again and again.
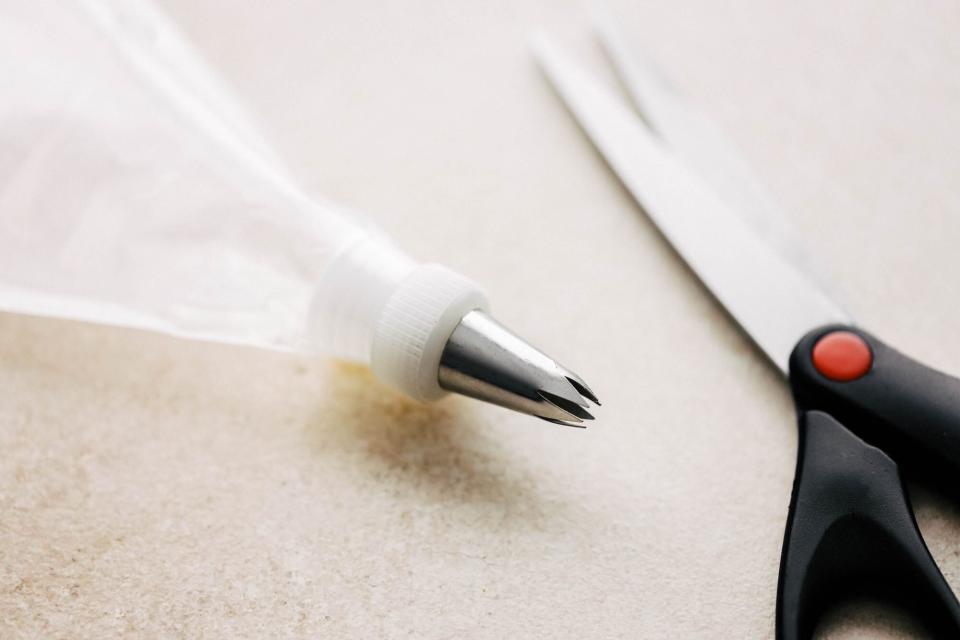
Step 1. Prepare the piping bag
Place the tip you want to use in the bottom of the bag. There is nothing worse than filling a bag with frosting only to find you forgot to put the tip in. If using a new bag, snip off just enough of the bag to wiggle the tip about halfway out. Cut too much off, and the tip will fall out of the bag, so cut conservatively, you can always cut off more, but you can't add it back on.
Pro Tip: Use a coupler. While we promised no special equipment, this inexpensive two-piece tool allows you to change out tips without re-filling the bag. If you plan to use multiple piping tips for a project, this is a great piece of decorating equipment to have on hand. It's also great in case of clogged tips, as you can easily remove the tip, clean, and replace it. To use, simply insert the base of the coupler into the bag as you would any tip, attach your desired piping tip to the end of it, and secure with the coupler ring.
Emily Laurae
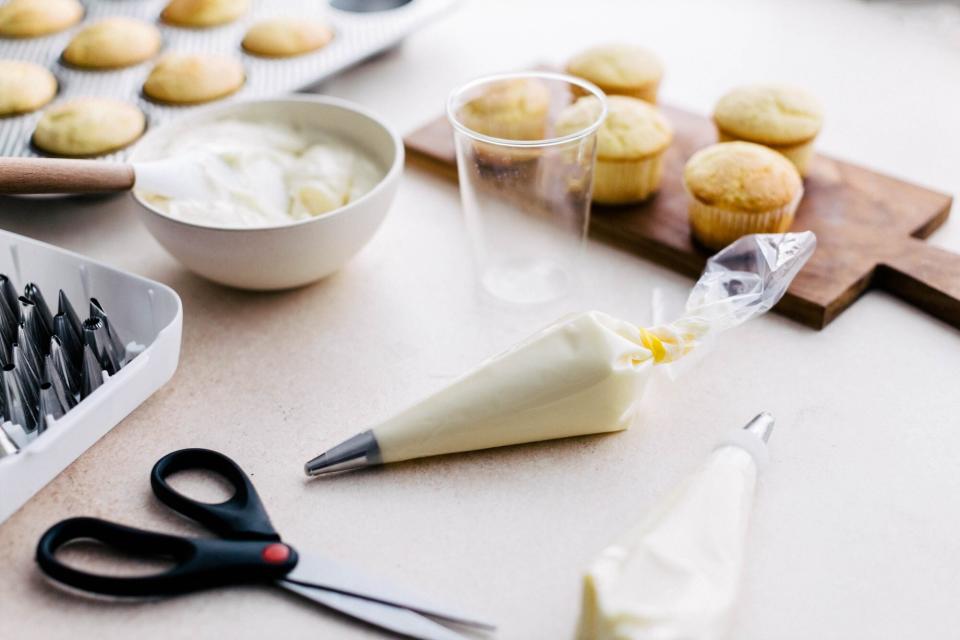
Step 2. Fill the bag
Next, place the piping bag into a tall drinking glass (beer glasses work great for this), and fold the opening of the bag down around the glass. This way, the bag will hold itself open and you have two free hands. Also, this method keeps the outside of the bag completely unexposed and therefore clean. Use a spatula to add your frosting or filling to the bag.
Pro Tip: Only fill the bag a little over halfway up, the more you fill it, the more unwieldy it will be. You'll also have to apply more pressure as you pipe when the bag is super full. If working with an especially thick filling, like ganache, the less you fill the bag the better, or risk getting carpal tunnel.

Emily Laurae
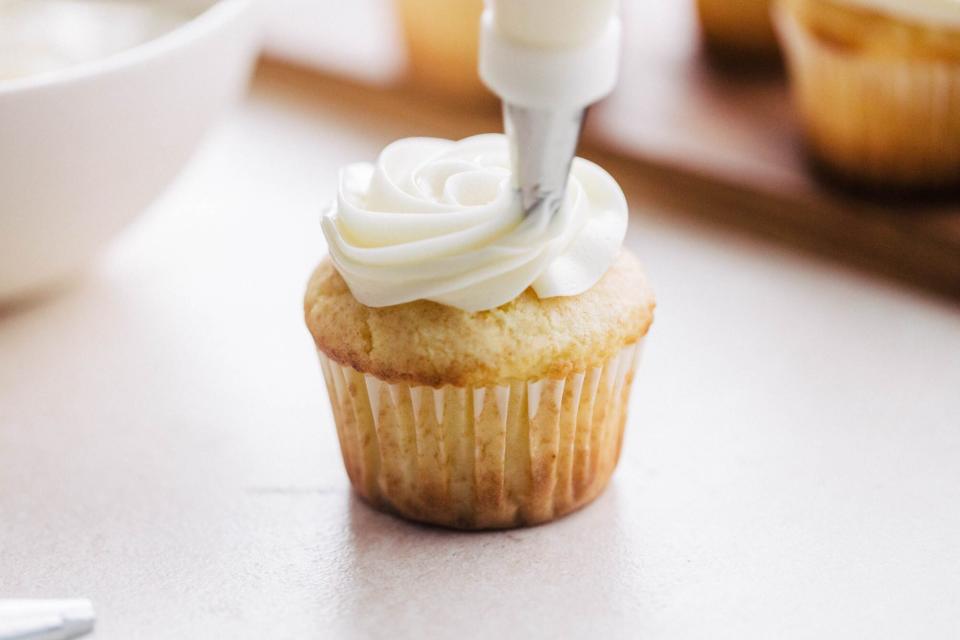
Step 3. Twist and pipe
Unfold the portion of the bag wrapped around the glass. Gather the excess bag material, and twist tightly to secure it.
Emily Laurae
You can tie the end of the bag with a rubber band, but as long as you keep it twisted, the frosting shouldn't leak out of the bag. You can also take the twisted tail of the bag and wrap it around the thumb on your dominant hand, which some bakers do to get a better grip on the bag.
Lastly, gently squeeze the pastry bag from the back (not the front, or frosting will start to come out of the back) to push all the frosting down to the tip. Now you're ready to get piping!
Emily Laurae
Pro Tip: Keep that beer glass around. In between cupcakes or while replacing tips, you can rest the piping bag tip side up inside it, so frosting doesn't leak out onto the counter or you.

