How To Highlight Your Own Hair Without Creating Zebra Stripes
Yes, most salons are back open again, but if you're not quite comfortable with the idea of going back in just yet, you may want to try touching up your color at home. While proper root coverage or basic at-home hair color isn't easy, it's a bit of a walk in the park when compared to highlighting your own hair. The pros will all tell you to try and wait it until you can get back to them—but desperate times call for desperate measures.
That said, we spoke to expert colorists to get their best tips and tricks for how to do your own highlights at home. One more quick tip, though—you may want to reach out to your local salon, or the colorist you go to. Most have gotten accustomed to using FaceTime or Zoom and can give you a personal consultation or even walk you through the process. Some are even offering custom color kits that you can pick up curbside instead of playing a guessing game at the drugstore. It's a win-win—you get to support your favorite stylist and you get to make sure you don't hate your hair more after you add highlights than you did before.
Here's what you need to know before getting started:
1. Choose a kit made for highlights.
No matter what kind of at-home highlighting kit you select, it will always include a lightener—not your standard hair dye. “All-over color kits won’t lift, lighten, or remove other permanent color, so if the hair is pigmented, “highlighting” with all over dye won’t work,” explains Shvonne Perkins, Manager of Training and Education at Madison Reed. Also, the creamy consistency of all over dye is not the same as the thicker lightener used for highlights. All-over color can also move through the sections, transferring the color to areas you didn't want it to go—resulting in a blotchy finish.
When deciding on which shade to go with, "choose a kit that's labeled for your starting point rather than your desired highlight color," says Kyle White, a colorist at Oscar Blandi in New York City. If you grab a box that says "caramel highlights," it will look totally different on someone with a brown base versus someone with red strands. So look for highlight kits that say things like "for brown hair" instead.
Bridgette Hill, a colorist and trichologist in NYC, suggests keeping your expectation to "natural highlighted tones" when doing at home highlights to keep hair at its healthiest. "Most at home highlighting kits don't offer lightening agents that have the controlled power to achieve the lighter tones," says Hill. "So I don't recommend going more than two shades lighter than your natural hair color otherwise you could end up with brassy, unflattering orange colored highlights."
2. Use the right tools.
Meri Kate O'Connor, a celebrity colorist in New York City suggests using aluminum foil to highlight your hair. The only difference between tinfoil and the foils you see the pros using is that the in-salon ones are typically pre-cut, making the colorist's work much speedier. In fact, Reynold's Wrap makes professional foils that are sold at beauty supply stores. "Foil separates the hair being colored from the hair that’s not," says O'Connor.
But be warned if you're using foils at home: "It's also a heat conductor, so when you wrap hair in a foil, it lightens faster." And if you don't have access to those fancy brushes salons use, White recommends a toothbrush or paintbrush. The bristles will pick up just the right amount of dye, and will spread it easily (and not too perfectly) onto each section during the application.
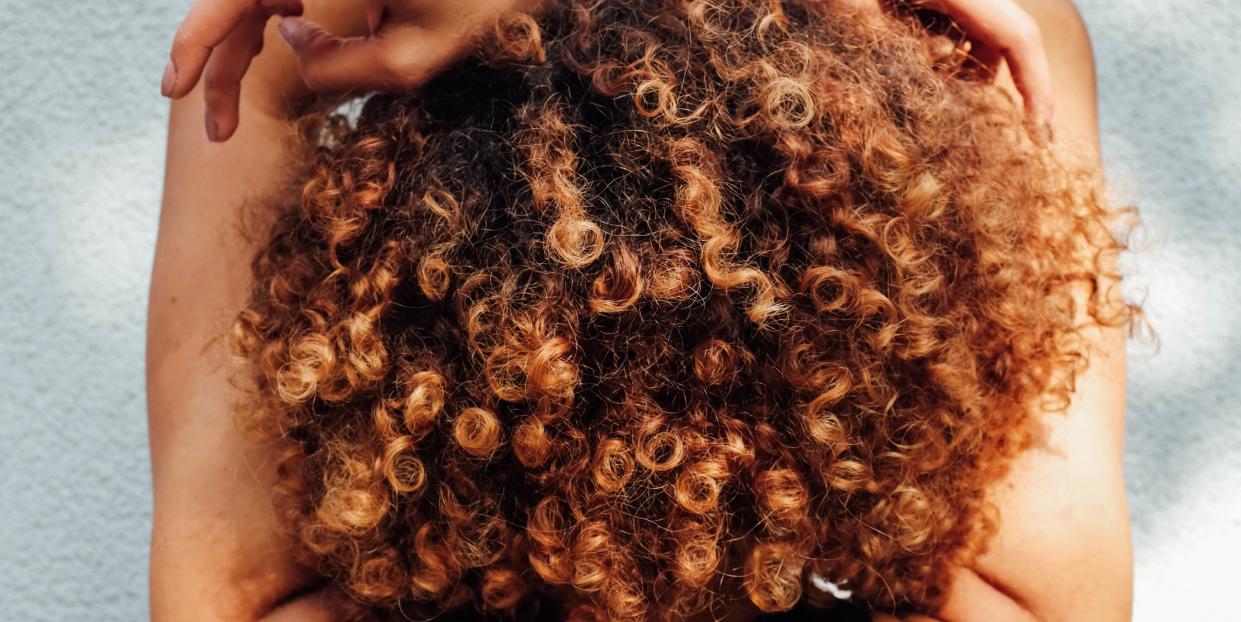
Applying highlights to curly hair? Wear gloves and apply the color with your fingers to individual curls. "This gives you more control of the placement and creates a more natural—not streaky—look," says Hill. For curly girls, she also recommends avoiding the center and back of the hair, where the curl textures are tighter. Instead, she says to "keep the highlights in the crown, face framing and the underneath sections behind both ears."
3. Make sure your hair and clothes are prepped, too.
Make sure you have everything you’ll need at the ready—and that your hair is in its ideal condition, too. “Start with dry, unwashed hair—one day after your last shampoo is ideal,” says Perkins. Also key? Wear an old-button down shirt or a zip-up hoodie, as Perkins notes, “you won’t want to pull anything over your head when it’s time to shampoo.” Some other necessities? Make sure to have a couple of old towels nearby (“one to drape over your shoulder, another to wipe your hand as you go”), and gloves.
3. Do a strand test first.
“A strand test helps you determine the exact processing time needed to achieve the degree of lightness you want on a piece of your hair before starting the whole process,” Perkins explains. First, you’ll apply a small amount of highlight to a small section of your hair. “After ten minutes, wipe the hair clean and see if you’ve reached your desired level of lightness. If not, continue to apply the lightening cream and check on it every five minutes until you like the color, then write down the total processing time,” she says.
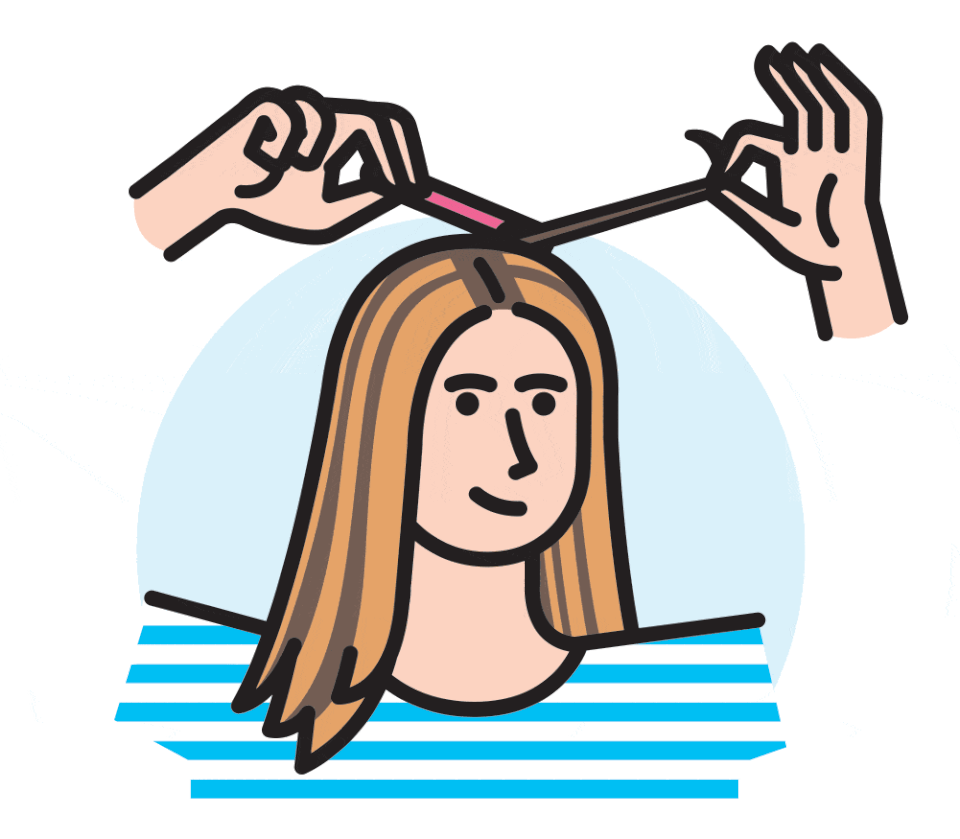
4. Streak the right way.
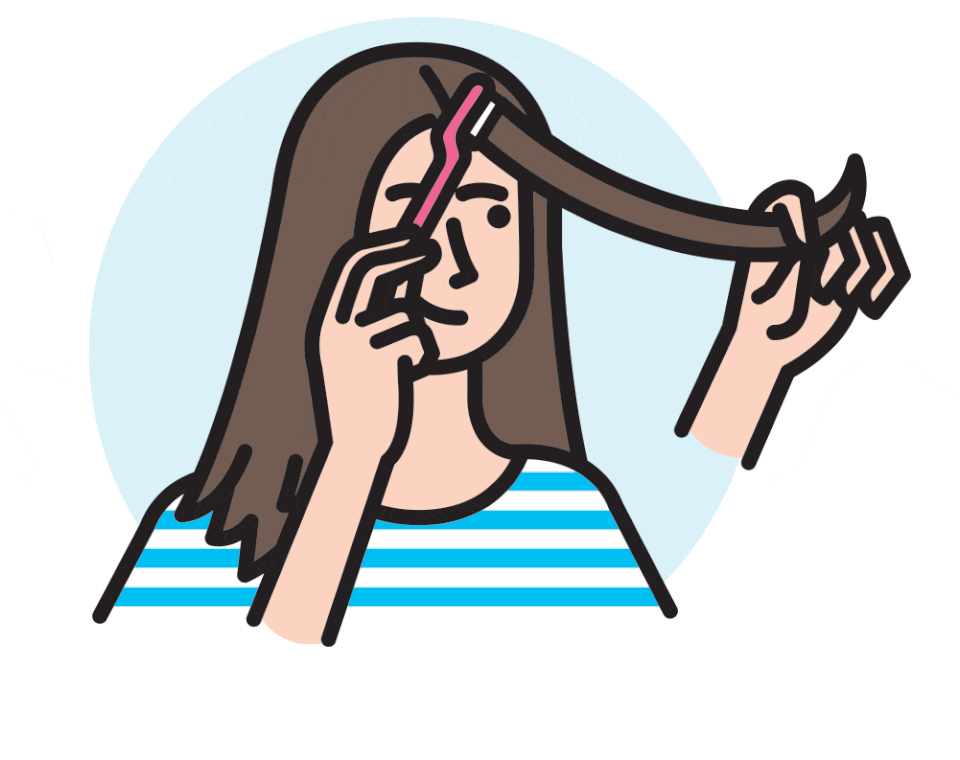
Part your hair as you normally do, so that you can clearly see which strands are face-framing (a side-parter will highlight differently than a center-parter). Then, follow these steps:
On dry hair, paint the mixture on to one-inch sections in the front, keeping the cream about few centimeters from the scalp.
2. As you work your way to the middle of your head, gradually thin out the sections to half an inch.
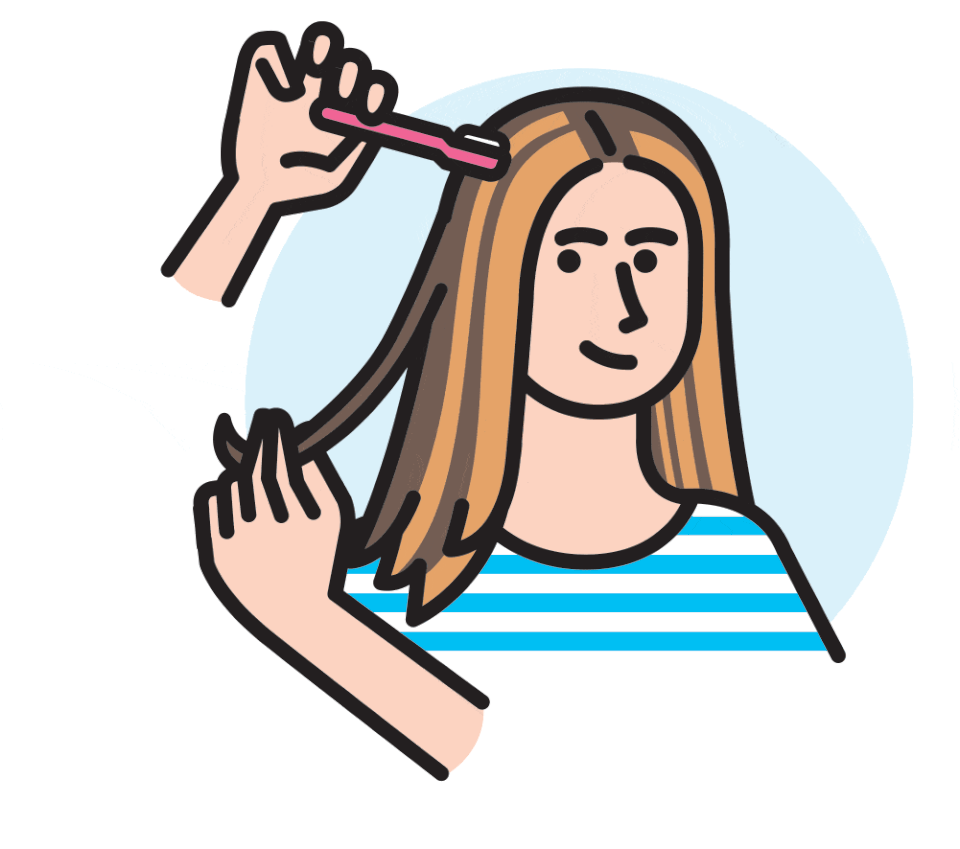
3. By the time you get to underlayers and back, apply the color to quarter-inch pieces.
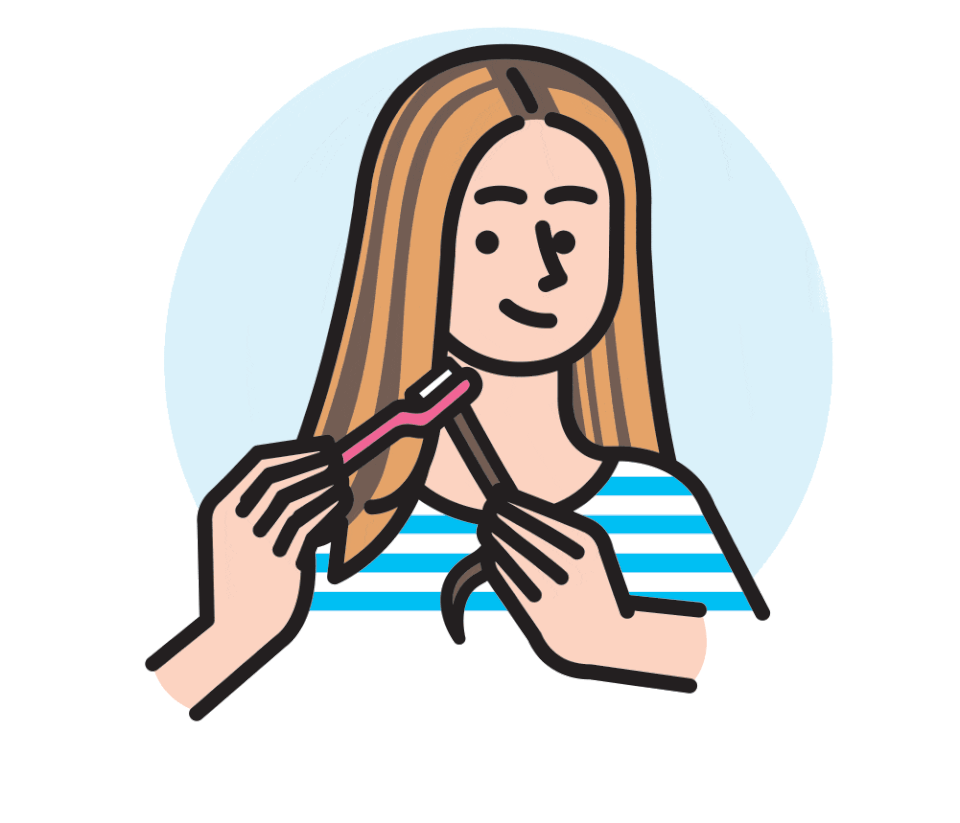
4. Most importantly, don't be too strict about placement. The most natural-looking highlights aren't evenly spaced or perfectly symmetrical.
Some tips to remember:
Paint at least two inches away from your roots.
Hold hair straight and taut for an even application.
Don't use too much pressure, otherwise the color will transfer to hair underneath.
When you’re pulling the section of hair forward, make sure it’s thick enough that you can’t see directly through it. You want each section to be thick enough that you can paint on top of it as if it was an easel.
You want the color to go on nice and thick, closer to a cake frosting consistency, and less like a thin layer of lotion.
5. Add back moisture.
Leave the dye on for the amount of time determined in your strand test (the pieces you did first will also be finished first), then rinse each section well. Give your hair a good shampoo, then use a deep conditioner. Leave it on for at least five minutes. "When you're using color that contains ammonia, as most lighteners do, your hair's cuticle opens up and moisture can escape," says O'Connor.
Try this easy homemade hair mask to try your dry strands:
6. Toning is key.
"Toning your hair helps counteract the color of the highlight," says O'Connor. If after all the steps above, your highlight is a bit red, look for a green toner to make it more neutral brown. Or if your blonde highlights are too icy, a gold toner will help add some warmth. An at-home glossing kit, like the below from Kristin Ess, can mimic what the pros use to soften and adjust highlights. It also adds mega shine.
You Might Also Like

