How to Finish Your Basement

One of the simplest and most cost effective ways to expand your home is by converting your basement into a finished living space. Basements can be transformed for many different uses, including a home office, kid’s playroom, entertainment center, exercise space, artist’s studio, or spare bedroom.
Most basements are relatively spacious and some have direct access to the outdoors. And while you could hire a basement-finishing company, such as Owens Corning Basement Systems, to finish your basement, where’s the fun in that? Here, we’re going to take a decidedly more hands-on approach and explain how you can flex your DIY muscles and finish the basement yourself.
Before getting started it’s important to ensure the basement is dry and free of any excess moisture, which can promote the growth of dangerous mold. If there’s even the slightest evidence of moisture migrating through the walls, floors or ceilings, it must be resolved before starting construction. Trapping moisture behind walls, below flooring or above ceilings will eventually lead to a serious and unhealthy mold problem.
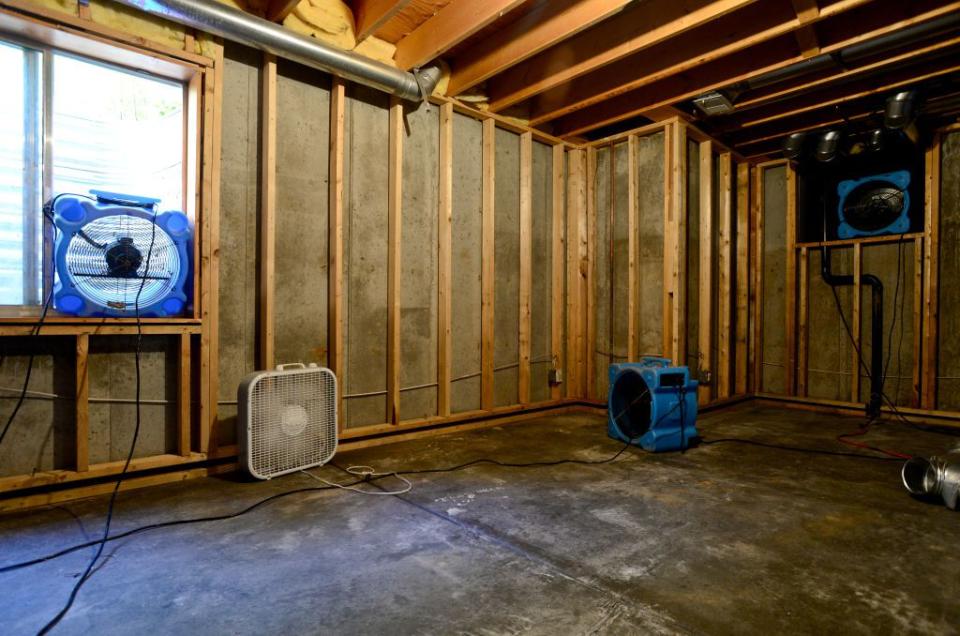
An easy way to test for moisture is to tape a 24”x24” piece of plastic sheeting to the concrete wall and floor. Wait about two weeks, and then check the plastic. If there’s condensation trapped behind the plastic, call in a waterproofing contractor to evaluate the situation.
Also, check with the local building department to see if you must apply for a building permit; you most likely will. And ask about emergency egress. Finished basements often need at least one door or window large enough for someone to escape to the outdoors in case of an emergency.
Insulate the Foundation Walls
Insulation is key to making a finished basement feel comfortable and to eliminate the dank feeling that commonly occupies below-grade spaces. Start by covering the foundation walls with ¾-inch-thick polystyrene panels. (This goes for both poured-concrete and concrete-block walls.) Cut the panels to fit tightly between the floor and overhead joists. Apply a large S-shaped bead of foam board construction adhesive to the wall, then press the panels to the wall.
Cover every surface of all the walls with polystyrene insulation, making sure that the panels are butted tightly together.
Frame the Walls

Next, build a 2x4 stud wall in front of each insulated foundation wall. Cut all parts-bottom plate, studs and top plate-out of pressure-treated lumber. Note that you’ll often read that only the bottom plate needs to be cut from treated lumber because it’s the only part that’s in direct contact with concrete. But to ensure that the no part of the wall will ever experience damage from moisture or termites, use pressure-treated lumber throughout.
Fasten the bottom plate to the concrete floor with either concrete screws or a powder-actuated nail gun (available at rental dealers). Use 3-in. drywall screws to secure the top plate to the floor joists above. Then install 2x4 studs between the top and bottom plates, spaced 16 in. on-center. Fasten the studs by toe-nailing them to the plates with 2½-in. (8d) common nails.
Install Electrical, Plumbing, and HVAC
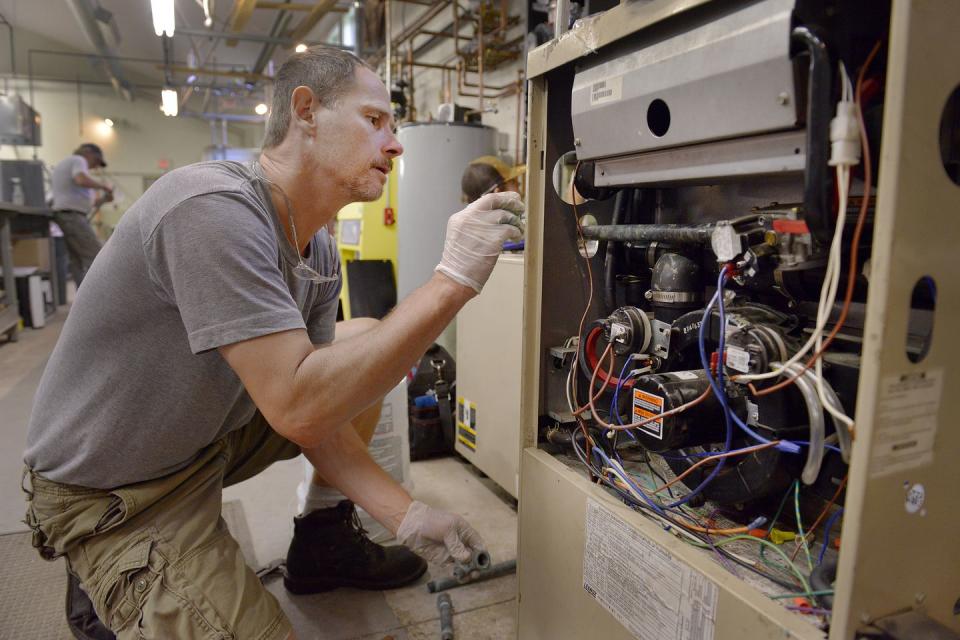
Once the stud walls are framed, hire an electrician, plumber and HVAC contractor to install all the electrical, plumbing, and heating and air-conditioning systems. And depending on how you plan to use the newly finished space, you might not need a plumber or HVAC contractor. However, be sure the electrician wires the space for at least wall receptacles, light switches, overhead light fixtures, and combination smoke/CO2 detectors.
Insulate the Wall Framing
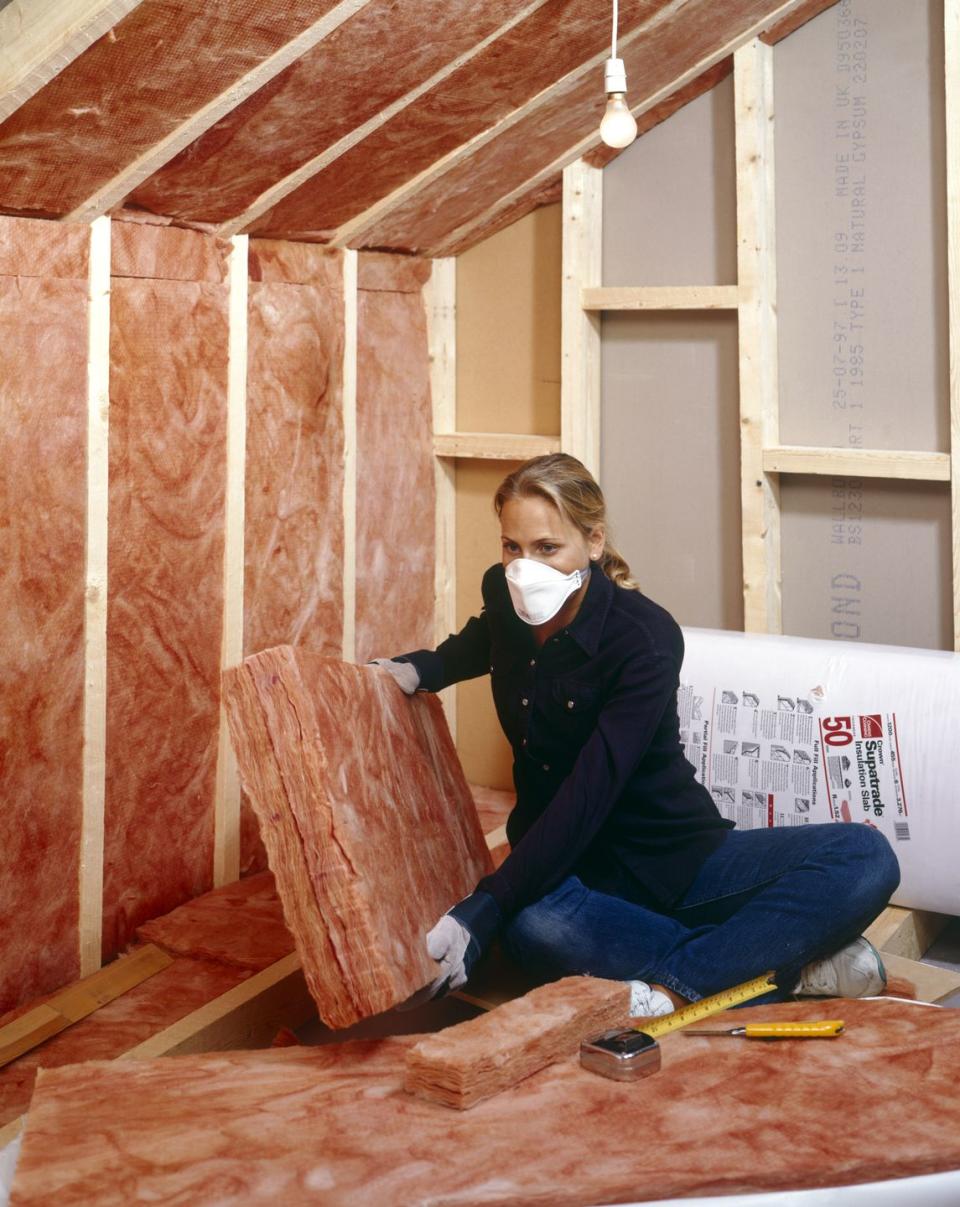
You might be wondering why it’s necessary to insulate the wood-stud wall when you’ve already insulated the foundation wall. Here’s why: The job of the polystyrene panels is to protect the wood framing from any cold, possibly damp, air that passes through the concrete. Adding insulation between the wall studs will increase the insulating value of the wall, keeping the finished space more comfortable.
Fill the stud bays with batts of R-13 or R-15 insulation. You could use foil- or kraft-paper-faced fiberglass insulation-be sure the facing points outward-but I prefer un-faced mineral wool insulation because it’s very dense and extremely resistant to fire and moisture.
Cut the insulation to fit snugly into each stud bay, and to fit tightly around all electrical boxes, pipes, ducts and other in-wall obstructions.
Install Drywall

Cover the walls with ½-in.-thick moisture-resistant drywall. Finish the drywall with paper tape and three to four applications of joint compound. Prime and paint the walls, then install the finished floor, followed by baseboard molding.
If you’d prefer to cover the walls with something other than drywall, consider plywood paneling, beadboard, shiplap planks, or tongue-and-groove wood paneling.
Ceiling Considerations
How you finish the ceiling will depend on the height of the ceiling. Most building codes require the ceiling to be at least 7 ft. high; check with the local building department for more specific information.
If there’s ample height you could hang a suspended ceiling, which affords the opportunity to avoid down hanging pipes, ducts and other obstacles. Or, if the ceiling is too low, consider putting up plywood paneling, drywall or beadboard. Another option is an acoustic-plank ceiling, such as Armstrong Woodhaven, which resembles wood planks. The faux-wood planks clip into metal tracks that are screwed directly to the joists.
('You Might Also Like',)

