The Foolproof Way to Hang Curtains
Curtains just may be the most underrated design treatment out there. Available in multiple types (more on that here) and literally infinite styles, they add both style and function to a room—for proof, look to the kick of pattern Corey Damen Jenkins injected into the blue living room above.
The best part? Even if you don't hire a designer, curtains are an easy (and easily removable!) way to add punch—and they don't have to be expensive. Whether you're opting for a custom pattern, making them yourself, or picking up a pair of panels from Target, here's how to hang them right, no Taskrabbit needed.
1. Measure
The first step to any DIY: Measure (at least twice!). Measure the height and width of your windows, as well as the space around them. This will help you determine what kind of rod you should use and inform the size and style of your curtain panels.

2. Determine rod type
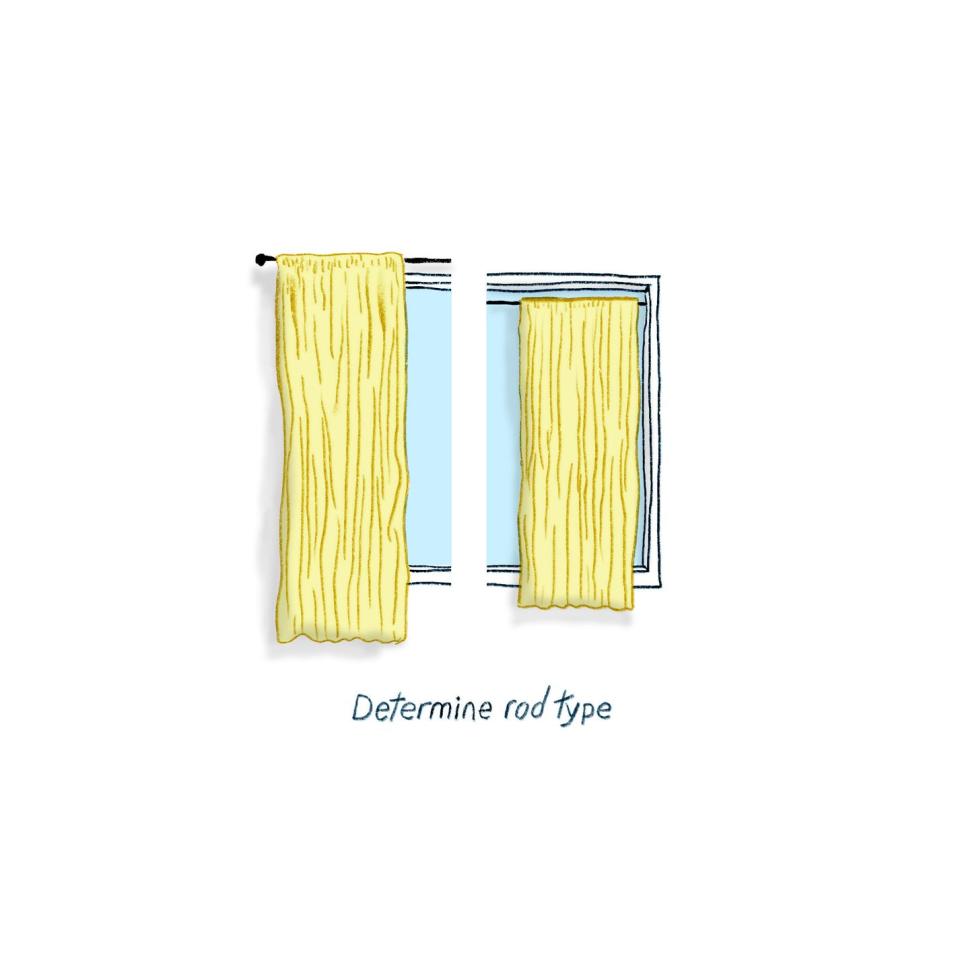
If you're hanging your own curtains, you have a few kinds of rods to choose from.
Inset rods are set into the window casing and are often tension rods, meaning they stay in place from force, no nails necessary. This can be good for renters who can't mark up their walls but isn't ideal for heavier fabrics. If you pick a tension rod, your best bet is to go with a sheer, light drapery. Non-tension rods that are inset are useful for long segments of windows, where an over-window rod would cover too much space.
Bracket-hung rods are supported by brackets (usually two per window) which are screwed into the wall above the window. These are the most secure option and allow for flexibility with placement. Bracket-hung rods either slide into the brackets from the side or hang in the U-shape of the bracket. They often have decorative finials on the ends.
Wraparound rods, as their name suggests, wrap around the window in a single piece and attach to the wall beside the window. These often give a more modern look.
3. Determine curtain size and style

When determining your curtain size, you'll want to consider a few factors.
Length: Do you want your curtains to stop at the windowsill (like café curtains) or cover the entire window? If the latter, you'll want to decide if they'll stop an inch or two above the floor (for a cleaner look) or pool a few inches on the ground (an option for sheer, lightweight fabrics).
Width: This is a bit easier. You want to ensure you have panels that are wide enough to cover the entire window without stretching completely taut.
Distance from rod: You'll either gain a few inches (if you're using hooks or attached rings) or lose a few (if you're using curtain panels with rod pockets or grommets) depending on the attachment method. Be sure to factor this into your measurement.
There are also several types of panel attachments, including:
Grommet-hung: feature punched holes in the top of the curtain panel where the rod slides through.
Rod pocket: feature a folded over pocket for the rod.
Curtain hooks: feature hooks sewn into the back of the panel which attach to a ring that slides onto the rod (a DIY alternative to these are curtain clips).
4. Install brackets
(NOTE: If you're using a tension rod, skip to the end of this step!) With the measurements in mind, determine where you'll need to hang your rod to achieve the desired length. Keep in mind: The higher you hang your curtain the taller your ceilings will appear. The most common placement is four to six inches above the window frame, but feel free to play around to see what works best in your space. If you're using a bracket or wraparound rod, mark where your screws will go, ensure the distance between the two sides is level, and then screw in the brackets using a drill. (If you have plaster walls or an especially heavy curtain or rod, anchor the screws first.) If you're using a tension rod, measure where it will go, then string the curtain on the rod and unscrew the rod in the marked place until it is secure.
5. Attach curtain to rod and hang

Once the brackets are secure, string your curtains onto your rod from their grommets, hooks, rings, or pockets. Insert the rod into the brackets and secure. With your rod in place, arrange the curtains to your liking.
6. Optional: Attach tiebacks
If you want a way to prop your curtains open, consider adding tiebacks, which come either in the form of hooks on the wall next to the window frame (measure to ensure you secure symmetrically) or fabric pieces that tie onto the curtains themselves.
Follow House Beautiful on Instagram.
Illustrations by Leif Parsons
You Might Also Like

