How to Sew a Basic Tee in Less Than 30 Minutes
The best thing about learning the basics of sewing is that you can create your own pieces any time you want with any color or fabric you want. No matter what you’re dreaming about, you can create it. That expensive silk kimono you saw in a boutique once? You can make it! And the colorful crop top you can’t find in your size? You can make that as well! So today we’re here to show you how to sew a super basic yet essential piece of every woman’s wardrobe: the tee. And once you have the method down, you can have fun creating t-shirts in every color of the rainbow. Warning: A happy dance will ensue.

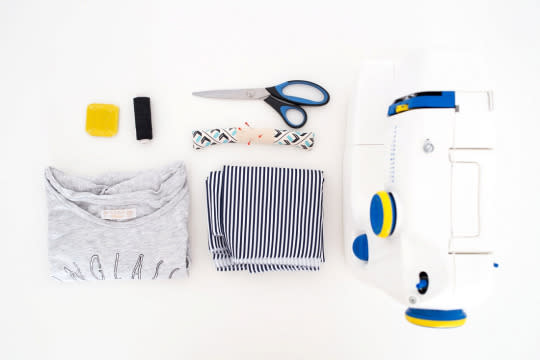
Materials and Tools:
– fabric
– matching thread
– sewing machine
– tailor’s chalk
– pins
– fabric scissors
– old tee
Instructions
1. Fold the fabric in half and place your old tee on it. Then use the tailor’s chalk to trace the outline of the t-shirt. Ignore the sleeves for now and trace where the shoulder seam is instead.
2. Pin the fabric and cut. Leave an extra half-inch to account for the seam.
3. Take one of the two pieces that you’ve just cut and trace where the front neckline is.
4. Cut as shown below.
5. Pin the two pieces together with the good sides (the sides you want to show) facing in.
6. Fold the neckline and the bottom edge of the tee and pin them.
7. Sew the neckline and the bottom edge in place.
8. Sew the two pieces together following the lines shown in the picture below.
9. Place your old tee sleeve onto the fabric fold. Trace all around the sleeve leaving about half an inch of seam allowance.
10. Cut and repeat with the second sleeve.
11. Fold half an inch of the sleeve’s outer edge and pin it.
12. Sew the edge and repeat with the other sleeve.
13. Turn the tee right side out. Match up the sleeve and the shoulder seam together as shown below, then pin the sleeve all the way around the arm hole.
14. Sew and repeat on the other side.
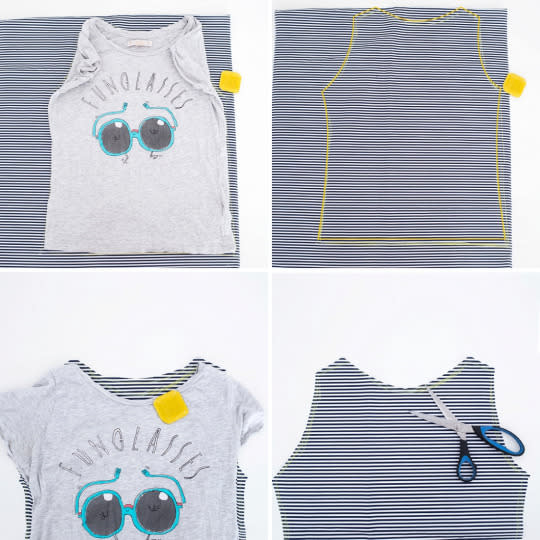
Use a stretchy fabric that you like and an old tee with your desired fit. Then fold the fabric in half and place your old tee on top. Next, use the tailor’s chalk (or a washable marker) to trace all around the t-shirt. Don’t trace the sleeves for now — trace where the shoulder seam is instead. At this point, pin the fabric and cut, leaving a small seam allowance of about one inch. You should end up with two identical pieces. Now take one of the two pieces and trace where the front neckline is. Then cut it.

Pin the two pieces together with the good sides (the side you want to show) facing in. Then fold the neckline and the bottom edge of the tee as shown above, pin in place and sew to create a smooth hem. Once you’re done, sew the two pieces together.

Now it’s time to create the sleeve pattern. Place your old-tee sleeve onto the fabric fold. Trace all around the sleeve, leaving about a half-inch seam allowance. Then cut and repeat with the other sleeve. Next, fold half an inch of the sleeve’s outer edge, pin and sew it. Finally, turn the tee right side out, match the sleeve and tee shoulder seams together, pin the sleeve all the way around the arm hole and sew. Repeat on the other side and you’re done!


Are you going to DIY a t-shirt? Share some pictures on Instagram with the hashtag #britstagram.
