How to install a Ring video doorbell so you can see who or what is at your door
You can install a Ring doorbell by removing your original doorbell and mounting the Ring in its place in a few relatively simple steps.
The Ring works by sensing motion, and you can access its functions through an app.
The Ring doorbell is a well-known name in home security these days - and for good reason. Ring was one of the first smart doorbells to enter the market, turning doorbells into their own security system. Several years and new models later, Ring doorbells are becoming more commonplace for home security.
Ring works by sensing motion. The doorbell lights up when it senses a person or something else at your front door, and notifies you - even if the person doesn't ring the doorbell. At any time, you can access the doorbell's camera to see what's going on, and you can even speak through the microphone if you need to.
If you're considering getting the Ring doorbell, but are hesitating because you think installing it will be too difficult, don't worry - installation is pretty simple.
How to install a Ring doorbell
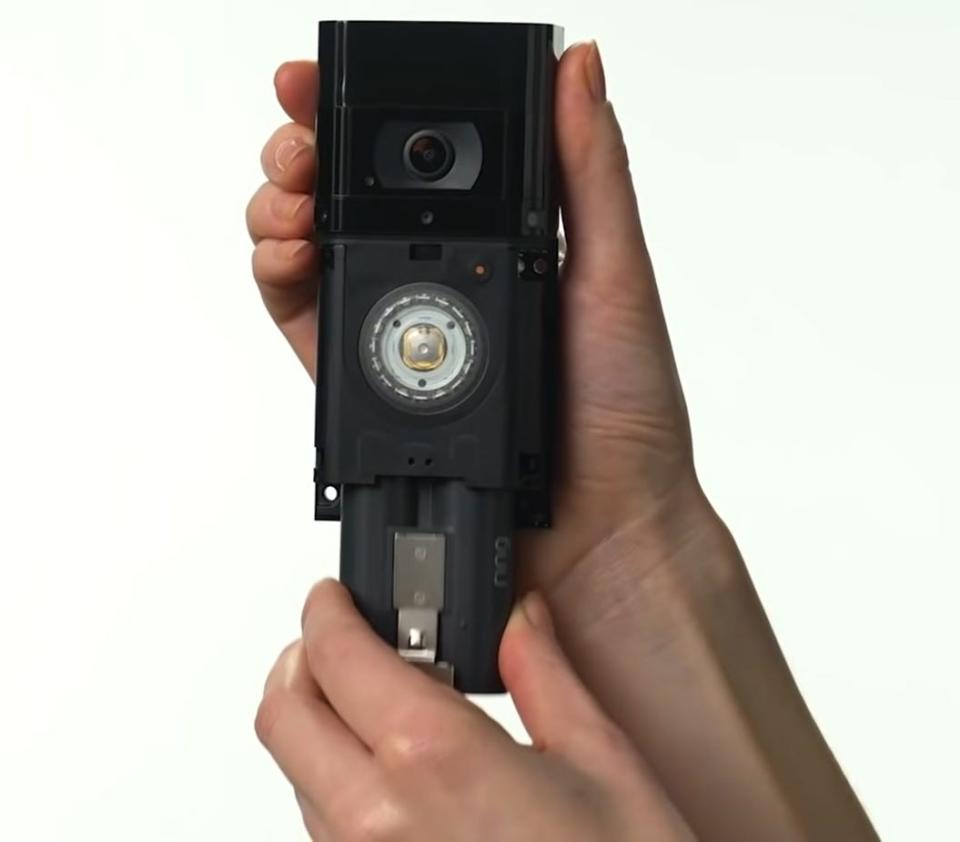
First, fully charge the doorbell's battery by sliding it out of the system and plugging in the included USB.
Remove the battery from the doorbell and plug it in to charge. Tech Insider Quick tip: We recommend fully charging the battery before installation - you'll know it's fully charged when the red charging light turns off, leaving only the green power light on.
When you are finished, slide the battery back into its compartment - you'll hear a click when it's in place.
Charge your doorbell battery until the red charging light turns off. Tech Insider Open the Ring app (Android, iOS) and start the setup process, following the on-screen directions.
Once you have finished setup, you are ready to install the doorbell. Make sure to turn off the relevant breaker before you begin to avoid the danger of electrocution.
Remove your existing doorbell from the wall, and disconnect the wires.
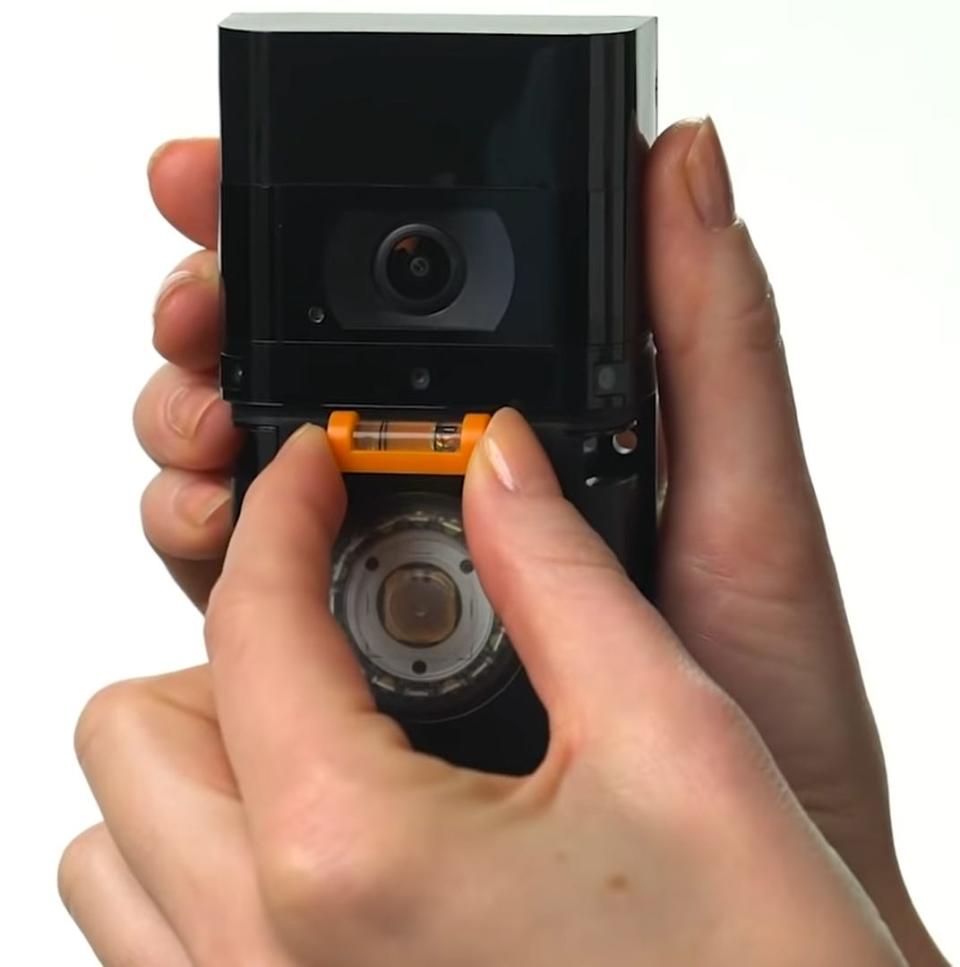
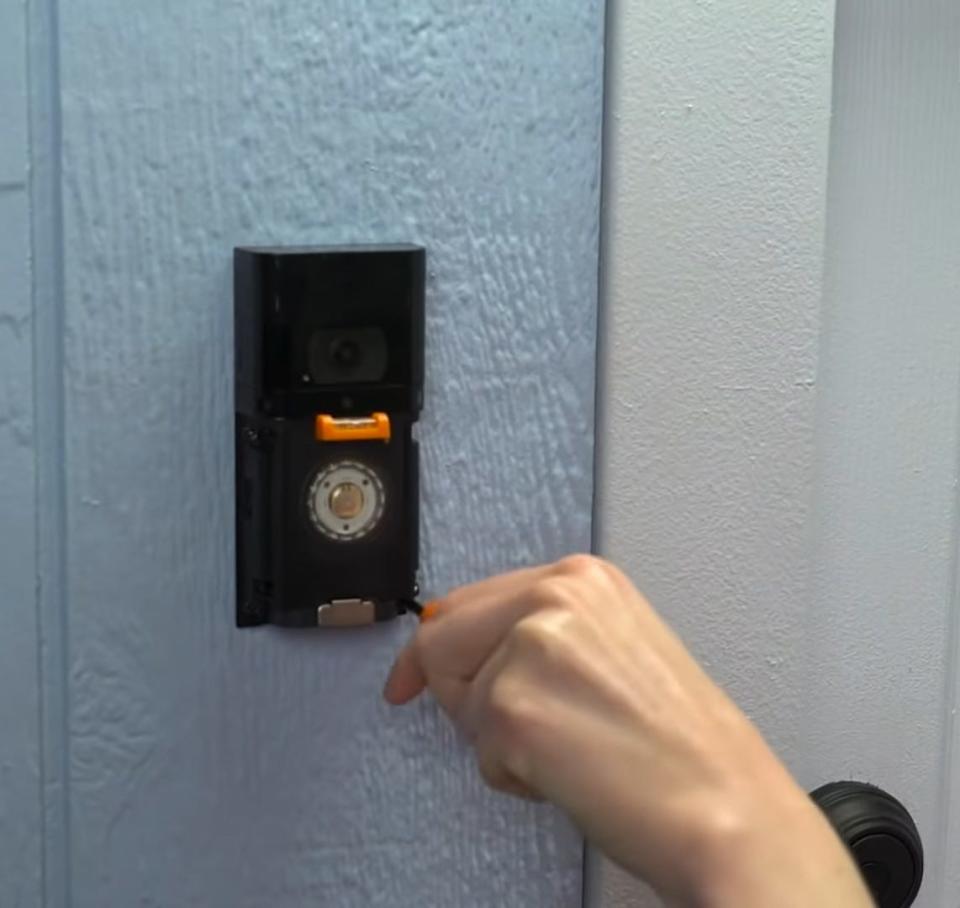
Next, it's time to find placement for the doorbell on your wall. Prepare for this first by attaching the included orange mini-level to the slot on the front of the doorbell so you don't accidentally install it at an angle.
Attach the included mini-level to this slot on the front of the doorbell. Tech Insider Then, use your doorbell as a template to measure and mark its placement.
Optional: Ring recommends that your doorbell be placed about four feet off the ground, to maximize what it can see. If your existing doorbell placement is higher than that, use the included wedge attachment to angle it downward so that you can still see everything.
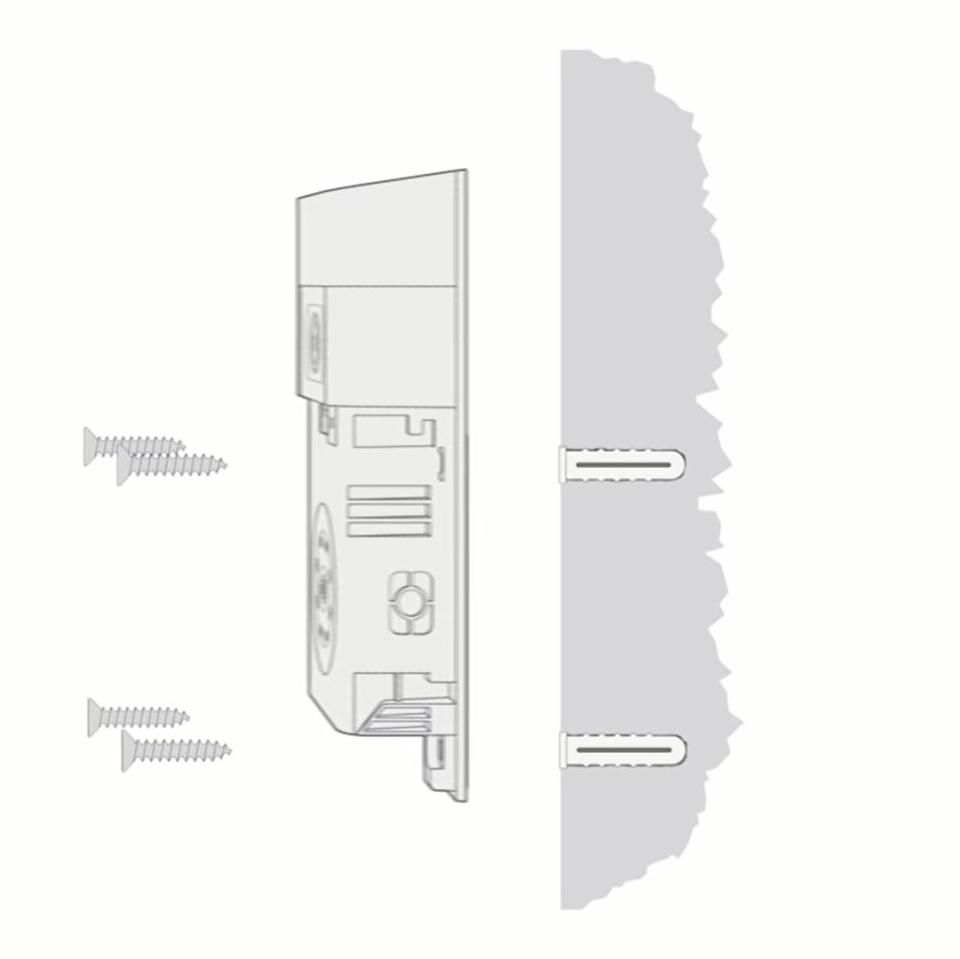
If your doorbell wiring is higher than four feet, consider using the wedge attachment to get the best possible view. Tech Insider Optional: If your walls are made of stucco, brick, or concrete, your doorbell will need a little extra help attaching to your wall. Mark where you want the doorbell to be with a pencil, then use the included drill bit to drill holes into the wall, and insert the anchors into the holes over the doorbell.
Depending on what your home is made of, you may have to drill holes to insert anchor screws so the doorbell will stay in place. Tech Insider Quick tip: If the exterior of your home is made of wood or siding, you can skip this step.
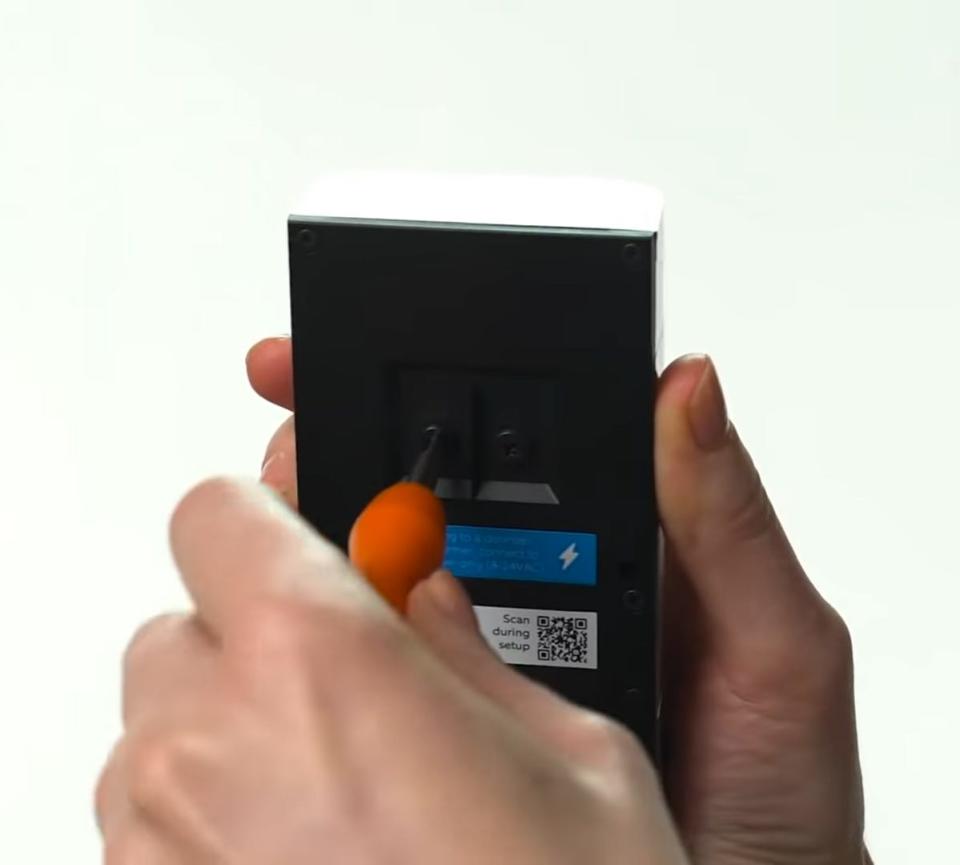
Next, it's time to wire the doorbell into the wall. First, using the included screwdriver, loosen the two terminal screws on the back of the doorbell.
Loosen the terminal screws on the back of the doorbell. Tech Insider Optional: If the wires for your original doorbell are too short, you can use Ring's included wire extensions and wire nuts to extend them.
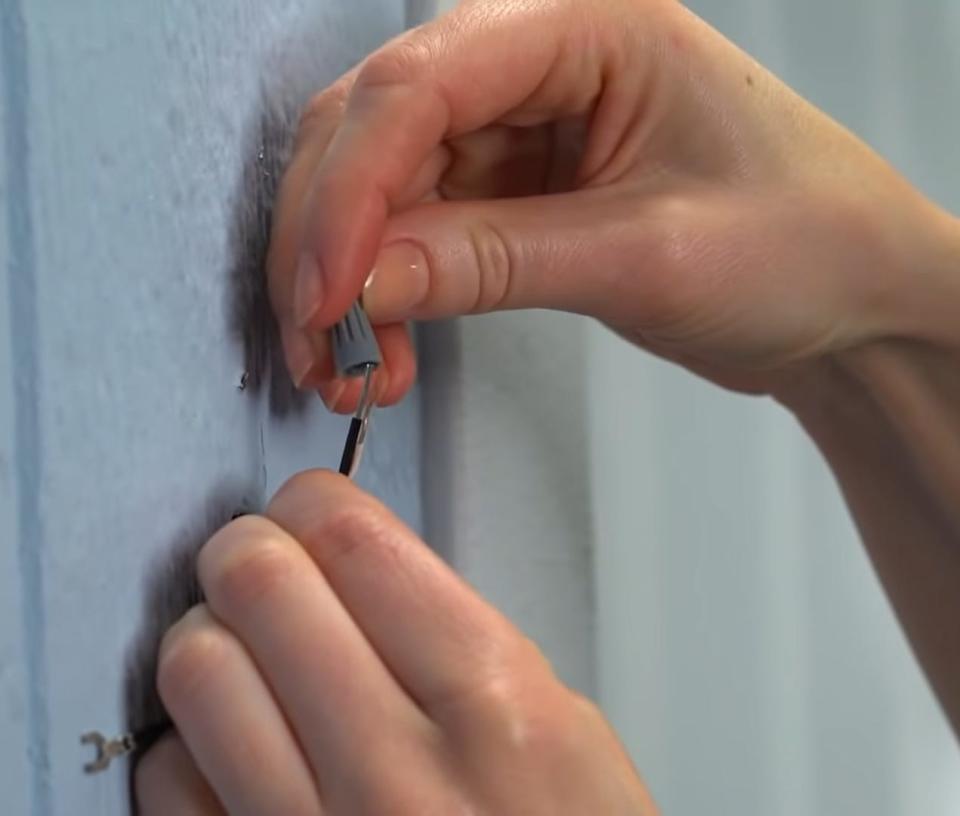
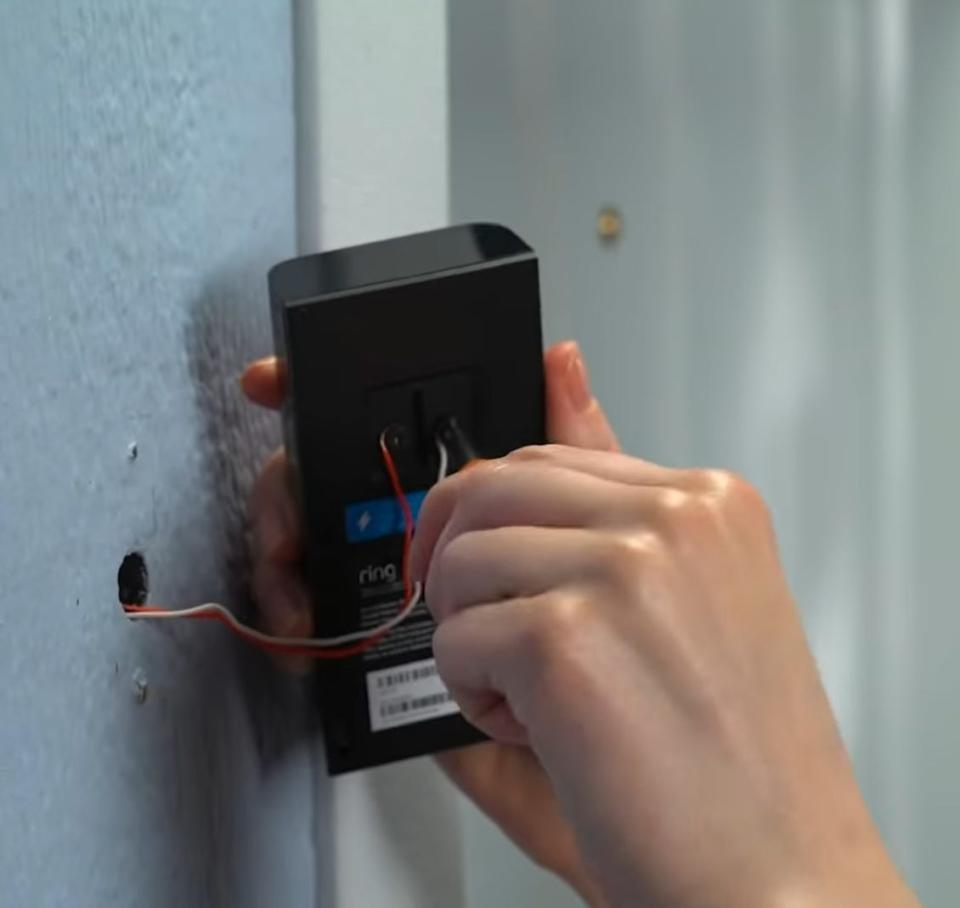
Just line up each doorbell extender with one of the wires, and twist the wire nut on clockwise until it's securely connected. Then do the same with the other wire.Twist the included wire extenders on to your current wires if they're too short. Tech Insider Next, secure the doorbell wires under the terminal screws. It does not matter which wire goes to which screw, as long as they are each securely attached to one and the exposed parts aren't touching. Give them a small tug to ensure that they are secure.
Screw the doorbell wires into the terminal screws. Tech Insider Feed all the wires back into the wall and secure your doorbell to the wall using the provided screws.
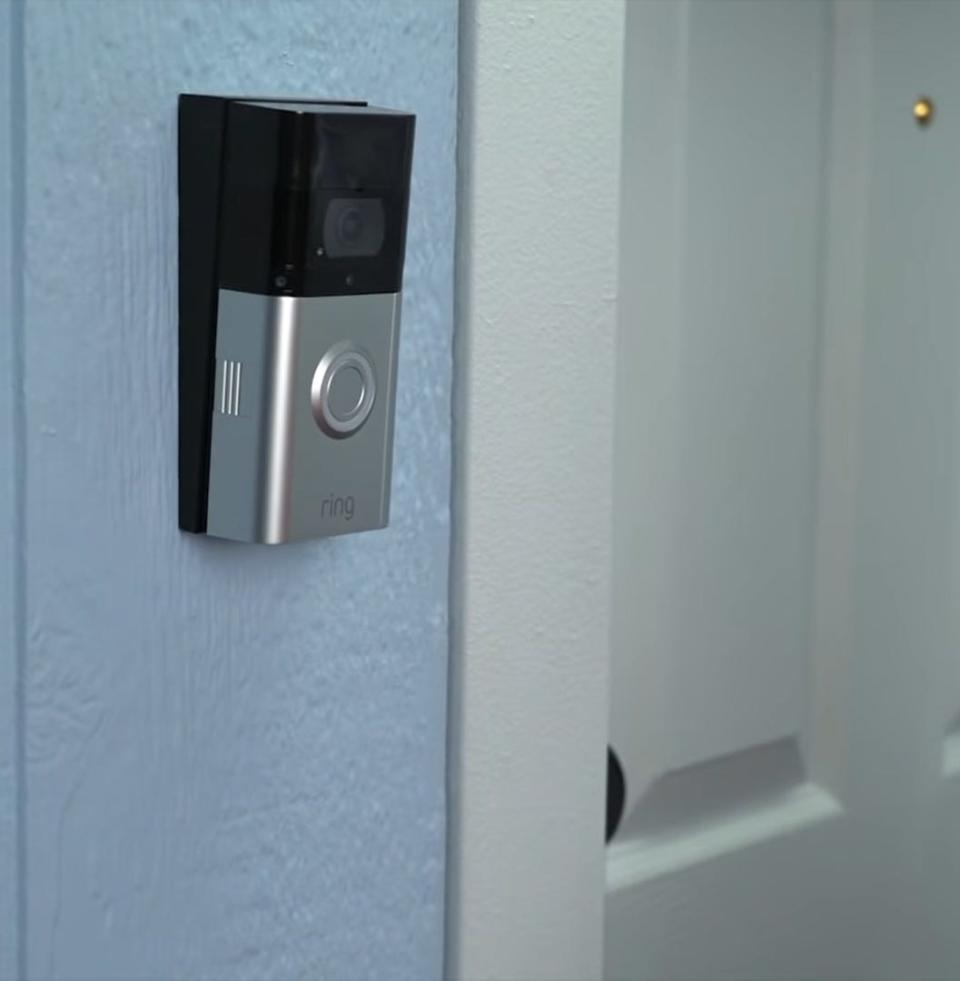
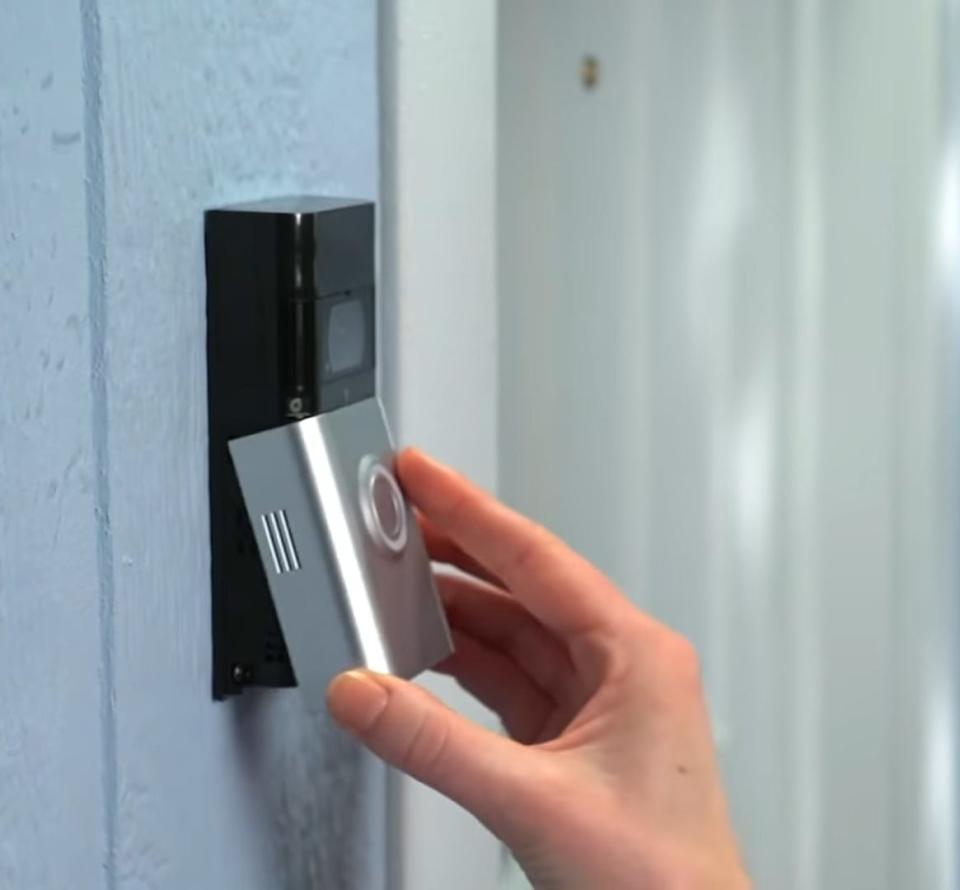
Use the provided screws to secure your video doorbell to the wall. Tech Insider Remove the mini-level and pop on the doorbell's faceplate, starting at the top and then snapping onto the bottom.
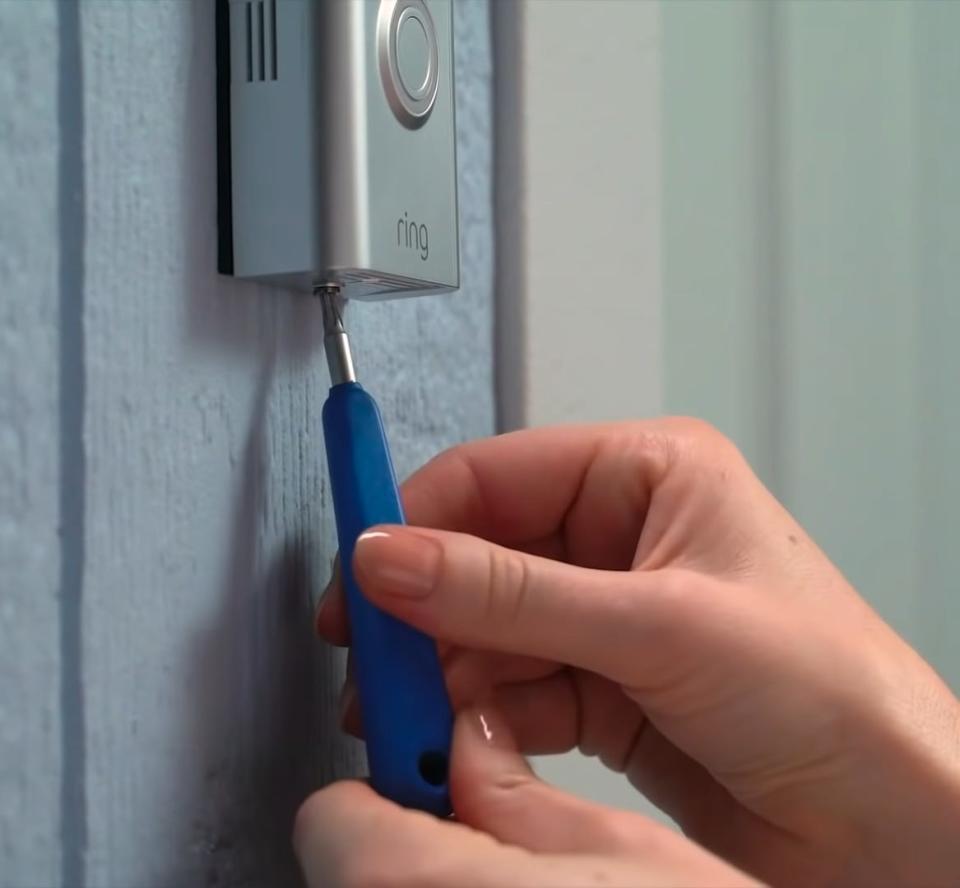
Remove the mini-level and attach the doorbell's faceplate. Tech Insider Switch the included screwdriver bit to the star-shaped end, then use it to secure the faceplate with one of the included security screws.
Finish installing by securing the faceplate with a security screw. Tech Insider Turn the power to your breaker back on.

Video Doorbell 3 (small)How does a Ring doorbell work? What you need to know about the video home-security deviceHow to reset your Ring doorbell or remove it from your account'Does Ring work with Alexa?': How to sync Ring devices with Alexa to bolster your home security systemHow to charge your Ring doorbell in 5 simple steps
Read the original article on Business Insider
