What to Know Before Making Your Own DIY Face Mask
To mask or not to mask?
That's been a confusing question for the Centers for Disease Control and Prevention (CDC) since the outbreak of the COVID-19 pandemic. On February 29, the official recommendation from the U.S. Surgeon General was not to mask. But ny April 3, the CDC changed its tune, officially recommending that people use masks in public and even created a step-by-step guide showing how to make one.
The (CDC) guide offers options for both sew and no-sew face masks which can be fashioned out of cloth (like cotton) or other fabrics and materials you likely already have available at home. Additionally, the World Health Organization (WHO) has also published guidelines on proper mask application, removal, and protocols to help reduce spread.
Below are masks you can make at home along with important safety tips from M. Patricia Fabian, associate professor in the Department of Environmental Health at Boston University School of Public Health, about homemade face masks and staying healthy during the COVID-19 pandemic.
Different Types of Masks
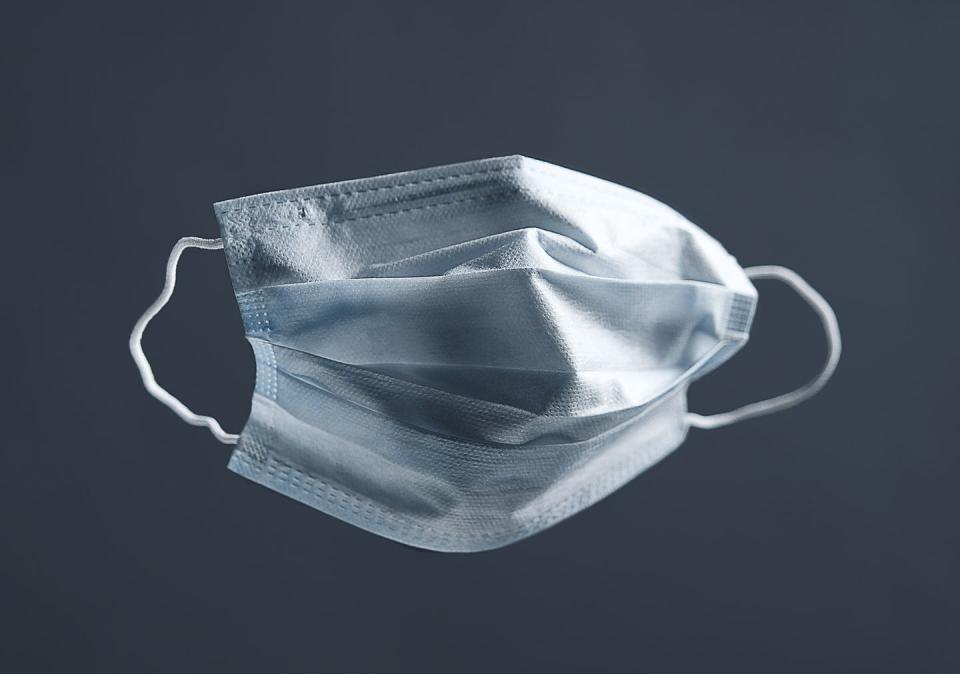
There are different types of protective face masks. Some are plain, like surgical masks, some have built in filtration, and some are actually shields that cover your entire face. We’re going to focus on surgical style masks.
Surgical masks are often used when performing surgeries, hence their name. According to the CDC, FDA-cleared surgical masks are designed to protect the wearer from “splashes and sprays.” This is probably why the masks became wildly popular at the outset of the pandemic and sold out quickly—they’re helpful (when utilized properly) at preventing droplets, like the ones that carry COVID-19, from making it into the nostrils and mouth of the person wearing it.
Still, surgical masks are not a guaranteed way to prevent germs from getting you sick since they have openings on the sides, top, and bottom, and don’t offer a tight, form-fitting seal.
What To Consider
Wearing a face mask will be most effective when you combine it with good hygiene practices such as frequent hand washing with soap and water. If your homemade mask becomes soiled, you should remove it and wash it before using it again.
⚠️You should never touch the exterior front area of the mask as that's what will come into contact with germs as it works to block them from entering your nasal passages and mouth.
The CDC recommends cloth face masks “be routinely washed depending on the frequency of use.” Fabian adds that your mask should be washed regularly depending on how often the mask is worn, where it is used, and depending on whether you're sick.
“If it looks dirty, wash it. If it doesn't look dirty, and you are not sick, and you used it for a short time every day (e.g. going for walks outside), you could wash it once a week. If you are not sick and wear it in higher contact places (e.g. grocery store or pharmacy), wash it at the end of the day. If you are sick, then wash it every day” Fabian says. “Look at what they’re [CDC] recommending. If you are sick, then wearing a mask will help you prevent getting others sick. This is because individuals (healthy and sick) produce droplets of all sizes when breathing, sneezing, or coughing. The mask reduces the amount of those droplets that get out into the environment and contaminate the air or surfaces where another person can come into contact with them.”
Fabian also says that masks help reduce spread and contamination because they can reduce the number of droplets exhaled, “particularly those that are larger than 5 micrometers.”
Finally, you have to remember to practice caution when removing your mask. Because you won’t be tossing it in the trash after every use, Fabian suggests that you keep the mask on “and have a designated place at home where you take it off. Always make it the same place and take the mask off from the ear loops. You can assign a container per person and store it there in between washes.”
Fabian says you can use it as long as the materials hold up. If the ear loops lose their elasticity or the fabric becomes worn or undone, it's time to make a new mask.
What Material Is Best?
The CDC recommends masks be made of tightly woven cotton and more than a single layer works better to keep droplets at bay. A recent study published in ACS Nano reveals that layering different fabrics (such as cotton, silk, chiffon, and flannel) improved particle filtration.
Although the filtration efficiencies for various fabrics when a single layer was used ranged from 5 to 80 percent and 5 to 95 percent for particle sizes of <300 nm and >300 nm, respectively, the efficiencies improved when multiple layers were used and when using a specific combination of different fabrics. Filtration efficiencies of the hybrids (such as cotton–silk, cotton–chiffon, cotton–flannel) was >80 percent (for particles <300 nm) and >90 percent (for particles >300 nm).
Still, the study also noted that ill-fitting masks decreased filtration capabilities by as much as 60 percent. So while a mask should not be uncomfortably tight, it should be snug and should always cover your nose and mouth when worn.
How To Make a Mask
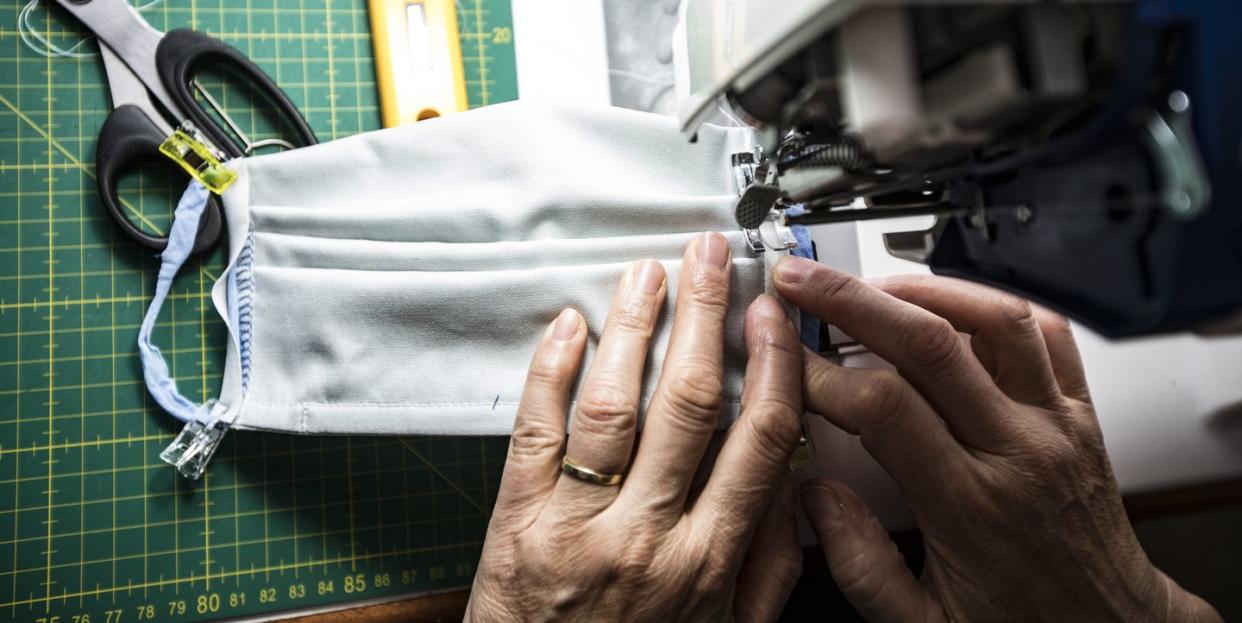
The CDC provides instructions for two types of masks—sew and no-sew. The sew option calls for a sewing machine—you can hand-sew if you don't have a machine but keep in mind, the no-sew option might be faster if you need a mask in a pinch.
Sew Method
If you're going the sew route, you'll need a few supplies before you get started.
- (2) 10" x 6" rectangles of cotton fabric
- (2) 6" long pieces of elastic that run 1/8" wide (rubber bands or hair ties work well)
- Needle and thread
- Scissors
- A sewing machine
1) First, you'll need cut out the two 10x6-inch pieces of cotton. The CDC recommends using “tightly woven cotton, such as quilting fabric or cotton sheets.” They also note that if you don't have access to those, a t-shirt will work as a substitute.
2) You'll want to place the rectangles you cut out on top of each other and line them up so it looks like you've only got one piece in front of you. Next, you're going to fold the 10-inch sides by 1/4-inch and hem them. Do the same with the six inch sides but fold them by 1/2 an inch and hem.
3) Next, you'll make the ear loops using your choice of elastic. Insert one of your 1/8-inch wide elastics, into one of the six-inch long hems you've already sewn. Do the same with the other elastic on the other side of the mask. Once you've looped the elastics through each side, secure the ends.
4) Tuck the tied ends into the hem so they're not visible and put the mask on your face, adjusting the elastics around your ears to figure out where they fit best—remember, you want the mask to securely fit flush with your face, covering your nose and mouth. It shouldn't be uncomfortably tight, but there shouldn't be any drooping, either. Once you find the right fit, stitch the elastics in place.
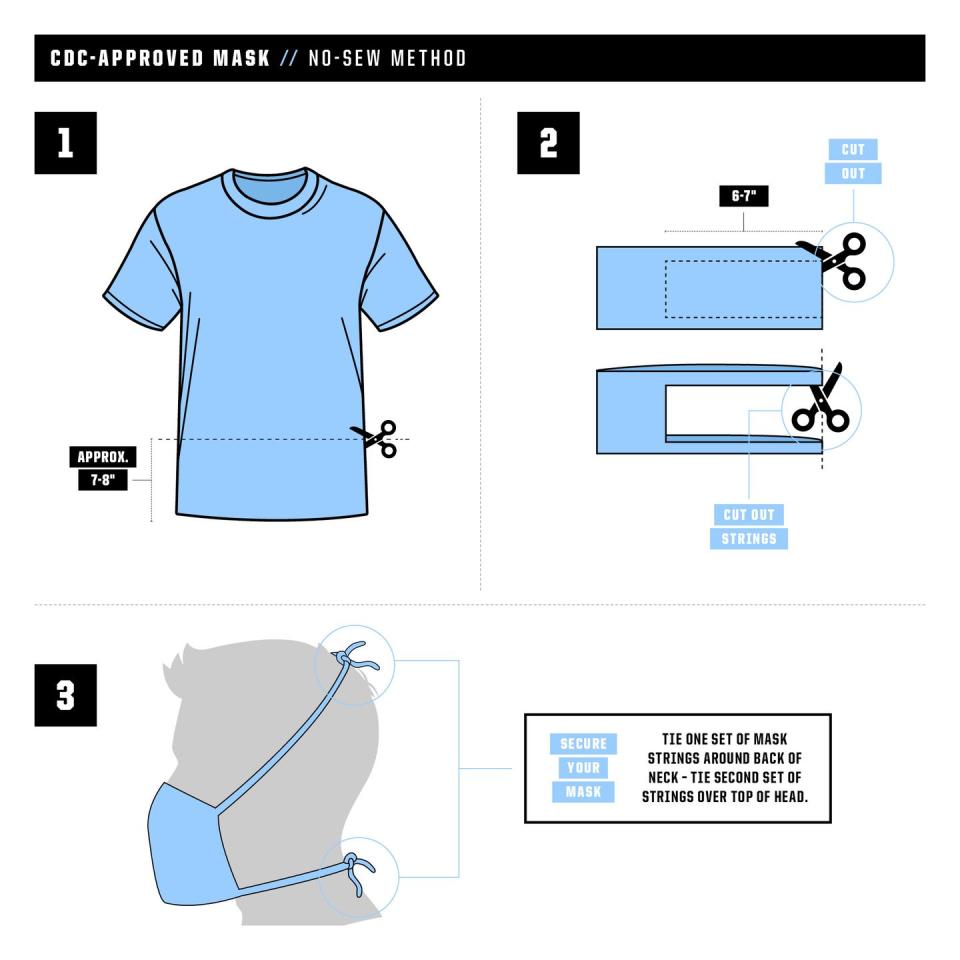
No-Sew Method
If you're going the no-sew method, one of the easiest CDC-backed methods requires only two things: a t-shirt and scissors. Once you've got those supplies, follow these instructions:
“Wearing a mask is better than wearing nothing at all,” says Fabian. “The most important thing people need to understand is that using masks helps reduce virus contamination of the air and surfaces if you are sick, and reduce exposure to viruses if you are not sick.”
You Might Also Like

