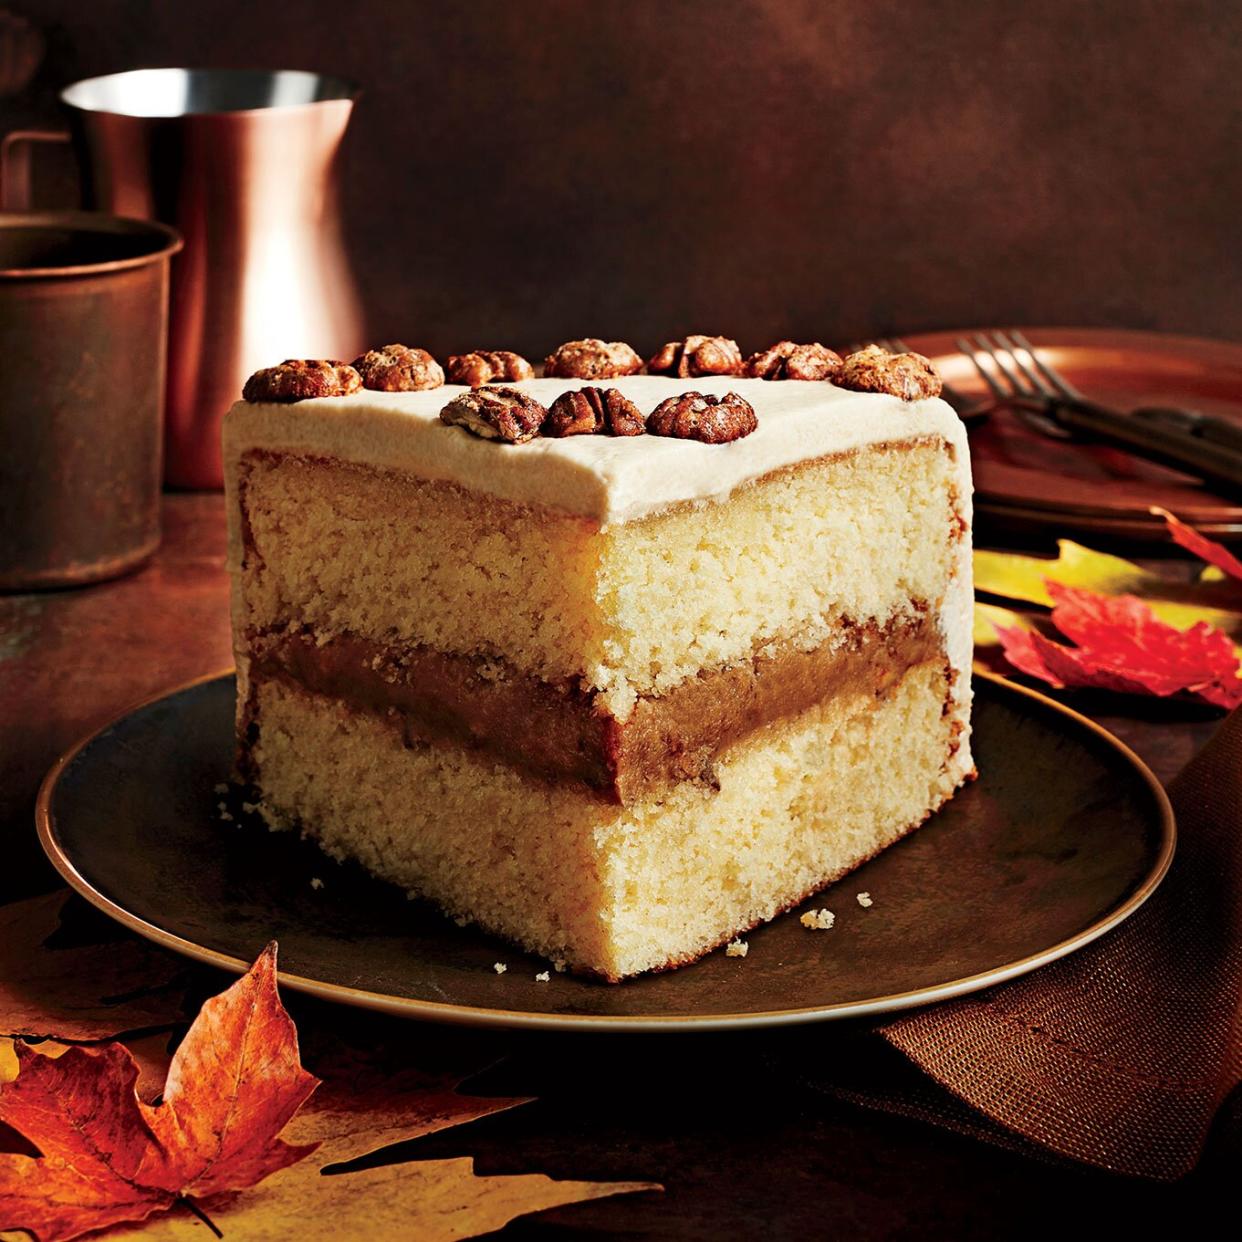
How To Level a Cake Without a Leveler

Greg DuPree
We can count quite a few reasons why baking a layer cake can seem intimidating. From the actual cake layers to frostings and fillings, layer cakes are the sum of a few different components-and putting them all together is another story entirely. For those who want to try their hand at baking a layer cake from scratch, our best advice is to break it down step by step. Looking at the whole process as a series of tasks makes the baking, layering, and decorating seem like a piece of cake.
Today, we're focusing on one step that can trip up even experienced bakers: Leveling your cake layers. This step, which involves trimming the domed top off a cake layer, is crucial to ensure that your layers stack evenly, creating a sleek, sturdy tower. If your cake layers are not leveled, you might end up with a cake that resembles the Leaning Tower of Pisa. Some bakers may use a cake leveler for this task, but if you don't have access to this handy tool, don't worry: You can level a cake with basic tools that you already have in your kitchen (or maybe even your medicine cabinet-more on that below).
To start, you'll want to ensure that your cake layers that have cooled completely; even slightly warm cake will not cut smoothly, creating a mess of crumbs. Once your cake layers are ready to roll, it's time to level your cake. Here are two techniques that you can use-one with a serrated knife, and one with dental floss-to level a cake like a professional.
How to Level a Cake With a Serrated Knife
Using a serrated knife to level your cake helps to achieve a smooth, clean cut; the jagged teeth of the knife (which you might know as a bread knife) cut the cake quickly and evenly. Here's how to level a cake with a serrated knife.
Hold the serrated knife in your dominant hand and place your other hand over the top of the cake dome, holding it in place. Use the knife to make small marks around the circumference of the cake at the level that you want to trim the cake to. If you'd like a more visual guide, you can insert toothpicks into the side of the cake marking your cut points. Using low pressure, saw back and forth in a slow, even motion, maintaining the same horizontal angle until your knife emerges on the other side.
How to Level a Cake With Dental Floss
Meet the handy cake leveling hack that's about to change your baking game. Dental floss is the secret to achieving a clean, even cut when leveling a cake. This method is particularly useful when splitting one cake layer into two even halves (also called torting). You'll want to use unscented dental floss for this task (unless you want a cool mint flavor to linger between your cake layers).
To level a cake with dental floss, use the knife to make small marks around the circumference of the cake at the level that you want to trim the cake too. For this method, we recommend also inserting toothpicks into the side of the cake to mark your cut points. Pull a long string of floss that can circle around the entire circumference of your cake, with some extra. Wrap the floss around the cake and gently, but swiftly pull both overlapping ends of floss in opposite directions, slicing through the center of the cake. It really is that easy.
Once you've leveled your cake, it's time to get frosting. Check out our guide on how to frost a cake like the pros here.

