Take a Deep Breath, There Are Ways to Get Back Into Your Locked iPhone
"Hearst Magazines and Yahoo may earn commission or revenue on some items through these links."
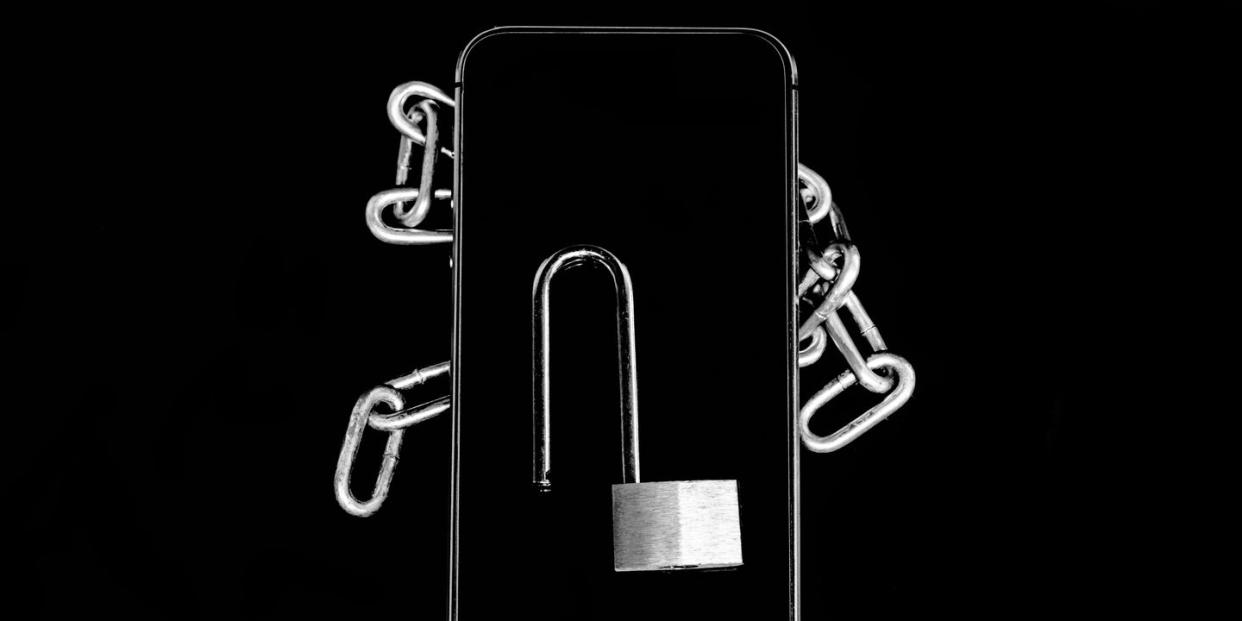
Face ID, Touch ID, iris scanners, physical security keys, 6-digit PINs, swipe passcodes—you name it. All of these digital security features serve the same purpose: locking down and protecting all the data across your smartphone’s apps, password managers, files, notes, and more.
🧑🏽💻 Tech can be tricky. We’ll be your support—join Pop Mech Pro.
But what happens when those same security protocols prevent you from accessing your own device? Whether you forgot your password, or your Face ID has gone wonky, the situation can be downright panic-inducing.
First, take a deep breath—there are ways to regain access. Now, read on to figure out what your next move should be.
📲 Step 1: Figure Out if You’re Really Locked Out
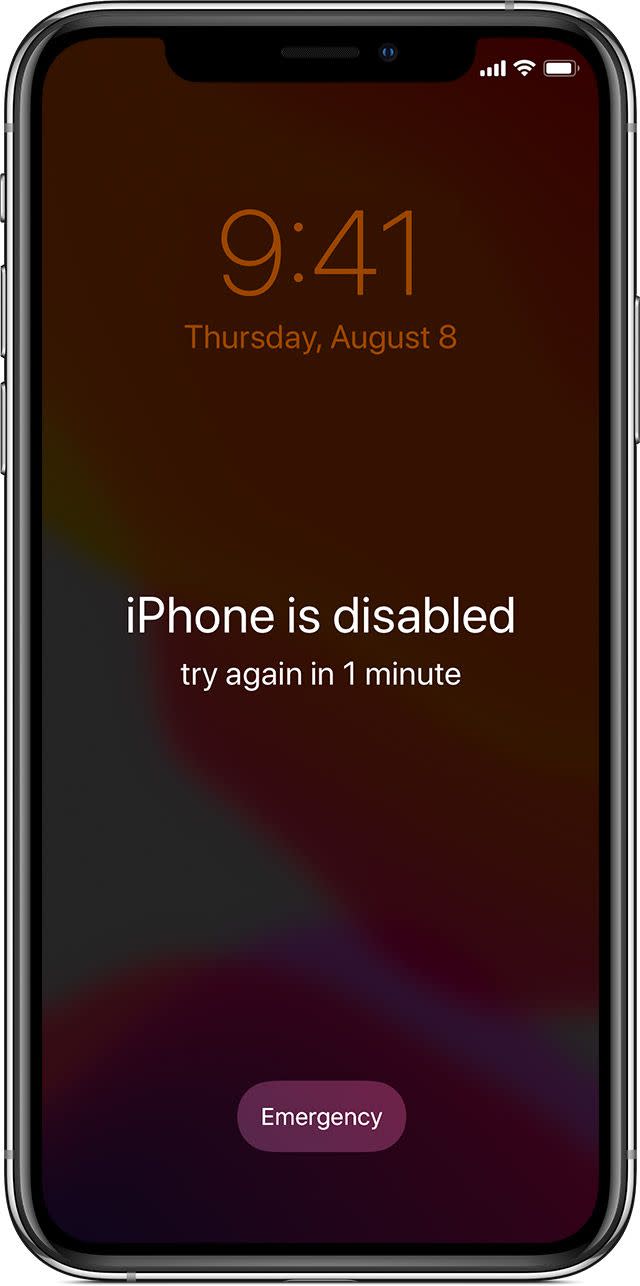
If you’re truly down bad, you’ll see some version of the following message pop up on your screen: iPhone is disabled, try again in 1 minute.
But you haven’t yet reached the point of no return. This message pops up after six failed attempts to unlock the device, but you have a few more chances. If your seventh attempt is incorrect, you’ll be locked out for 5 more minutes; the eighth attempt will lock you out for 15 minutes; and the ninth attempt will lock you out for one hour. Be careful if you get to this point, because your 10th attempt is your final one.
Now is the time to reach out to family or friends who may remember your passcode. Sift through old notebooks and emails to see if you wrote down your passcode anywhere. Consider writing down each combination you try, so you don’t waste any of your remaining attempts on passcodes you’ve already guessed.
If you get the passcode wrong on your 10th try, you’ll see one of these messages: iPhone is Disabled; Connect to iTunes or iPhone is Disabled; Connect to a Mac/PC. All is not lost, but you’ll need to move onto the next step.
📲 Step 2: Wipe Your Phone
The bad news: You’re going to need to erase the contents of your iPhone, which is essentially a factory reset. Yes, this sounds dramatic, but it’s for your own protection. If your iPhone truly got into the hands of a bad actor, this security protocol can keep your passwords and payments safe.
Sure, you can find online guides that detail how to break into a locked iPhone, but they usually apply to older versions of iOS and refer to loopholes that Apple has since removed. Don’t trust them.
The good news: If you’ve backed up your iPhone to iCloud, you can get virtually all of your data back, down to your apps and saved passwords. Most phones do this automatically, and individual apps like Notes and Photos constantly sync on their own. This means recovering the really important stuff will only involve remembering your iCloud password.
To erase the contents of your iPhone:
• Connect your iPhone to a computer: Physically connect your iPhone to a computer running iTunes with a lightning cable or a USB-C cable, depending on which model iPhone and which type of computer you’re using. If you don’t have a computer, you can get help at your local Apple Store and use one there.
• Use Recovery Mode: Press and hold the side button and one of the volume buttons until the power off slider pops up on the screen > Turn off the iPhone > Hold in the side button on your iPhone as you plug it into your computer. Keep holding that button until the recovery screen appears. The computer will ask if you want to Restore or Update. Choose Restore.
📲 Step 3: Set Up the Phone as a New Device or Restore It
No matter which option you pick, you’ll be setting up the device from a backup in some capacity. We recommend setting up the iPhone as a new device. This gets rid of old software, and starting with the latest versions of the apps you use will help the device run better.
• To set up as a new device from an iCloud backup: Turn on your device > Apps & Data > Restore from iCloud Backup > Sign in with your Apple ID > Select Choose backup from the list of available backups.
• To restore from an iCloud backup: Turn on your device > Settings > General > Software Update > Download the latest version of iOS if you haven’t already. Then go to Settings > [your name] > iCloud > Manage Storage > Backups > Select Choose backup from the list of available backups.
📲 Step 4: Plan for Next Time
Don’t let this experience deter you from using a PIN or unlock pattern in the future—it’s all that’s standing between your personal data and someone who might pick up your phone after you’ve dropped it on the street. Just make sure you back up everything in case you forget the code.
• To set up automatic device backups: Settings > [your name] > Tap the name of your iPhone in the list of devices associated with your Apple ID > iCloud Backup > Turn the green slider to the on position.
If remembering passwords isn’t your thing, consider setting up a biometric alternative, like a Touch ID or Face ID. You’ll still need a core password to secure the phone, but it makes unlocking faster.
• To set up Face ID: Settings > Face ID & Passcode > Enter your passcode > Get Started > Complete your first scan by tilting your head as prompted in the on-screen instructions > Tap Continue > Perform your second scan > Tap Done.
• To set up Touch ID: Settings > Touch ID & Passcode > Tap Add a Fingerprint > Follow the onscreen instructions.
Just remember: Even if you have Touch ID or Face ID set up, you still need your passcode for some apps, or if your biometric sign-ins are malfunctioning (like if you’re in dark lighting, have a face mask on, or are wearing glasses). It sounds old-school, but consider writing your passcode down, or sharing it with someone you completely trust.
You Might Also Like

