Losing heat? Insulate your basement ceiling in five simple DIY steps
You may be losing more heat - and cash - through your basement ceiling than you suspect. But there are steps you can take yourself reduce heating costs and increase comfort.
A simple DIY insulation project adding some extra panels can cut your heating bill by 10%, according to Zukunft Altbau, an information service supported by German environmental authorities. Best of all, homeowners with some basic skills can do it themselves:
Step 1: Preparing the surfaces
Clean the basement ceiling and walls to remove dust and loose plaster. The new insulation panels will hold best on smooth concrete ceilings,according to the experts.
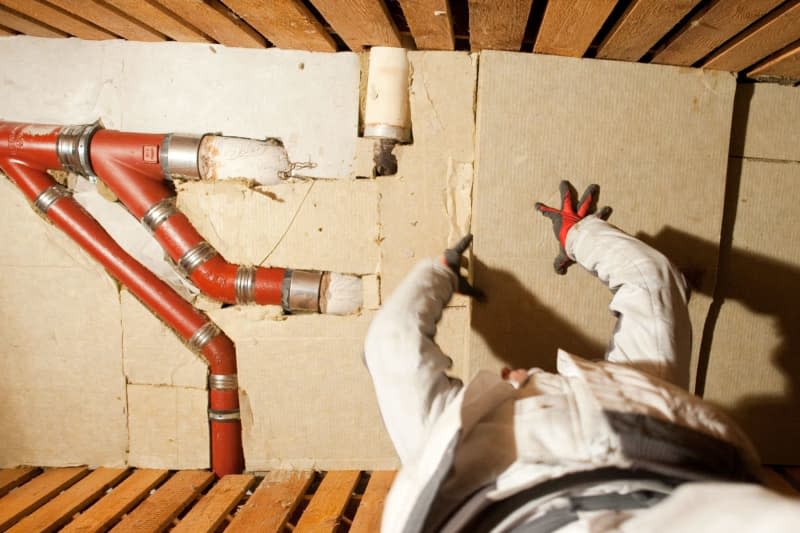
Step 2: Insulating heating pipes
Additionally insulate any bare or poorly insulated heating pipes on the ceiling. This will ensure further energy savings.
Step 3: Selecting the insulation material
Good insulation includes rigid foam boards, mineral fibres or natural insulation materials. Make sure there's still enough head height (at least 2 metres) beneath the ceiling after insulation.
Known as the U-value, an insulation value of less than 0.2 watts per square metre per kelvin is ideal. "With polyurethane, for example, a thickness of around 10 centimetres is required, compared with 18 centimetres for soft wood fiber," says Frank Hettler from Zukunft Altbau.
And if the basement ceiling is low? According to Hettler, thin but effective insulating materials are available. The highest quality insulation material is vacuum insulation boards, where an insulation thickness of just 3 cm is sufficient.
"However, this insulation material is very expensive and mechanically sensitive, so it's only used in exceptional cases and typically only on smaller areas," says Hettler.
The usual solution to save space is a polyurethane insulation material, which has around half the thermal conductivity or twice the insulating effect of wood fibre, so half the insulation thickness is sufficient.
Step 4: Attaching the insulation panels
There are various ways of attaching the insulation boards - gluing, dowelling or a rail system. The choice depends on the thickness of the insulation material and the surface quality of the basement ceiling.
As a rule of thumb, the thicker the insulation panel and the less adhesive the ceiling, the higher the probability that you will have to use dowels. The manufacturer's instructions for the material contain precise information on how to attach the boards. It is important that they are fitted precisely and without joints so that the insulation lasts as long as possible.
Step 5: Additional insulation of the basement walls
In order to reduce thermal bridges - weak points that allow heat to pass through - it helps to insulate the cellar walls in the upper area, below the ceiling. Experts recommend an insulation thickness of at least 4 cm and a panel width of around 50 cm. This insulation apron reduces thermal bridges through the cellar walls and also saves heat.
However, if your building has no facade insulation, a specialist should check first whether an insulating skirt increases the risk of mould on the first floor.

