How to Make Next-Level Homemade Pizza
Fresh, homemade pizza can be supremely satisfying, and this week's episode of Chefs at Home shows you how to make not one, but two next-level pies. Miriam Weiskind, a creative director-turned-professional pizza baker, walks through the process from start to finish, from assembling all the tools you'll need to form the dough. She also explains how she got started making pizza, and how sharing it with her community has been a way to honor the kindness of her late mother.
"I like to say that every pie I bake is like a beat of my mom's heart," Weiskind says. "So I'm grateful to be in a community where I can share not just the gift of making amazing pizza, but to be able to continue to spread the goodness and kindness of my mom's heart. And to inspire others around the world to do good, and to be good to others."
Bella Graves
Keep reading for Weiskind's pizza tips, and follow along with the video below so you can make amazing pizzas of your own.
First Things First — You'll Need These Tools
Weiskind starts off by listing all the gear that goes into making pizza. Beyond your oven, you'll also need a food scale, a pizza peel — she recommends one with a thin tip for easier launching —, baking steel, a mixing bowl, a spatula, a pizza slicer, a pizza screen, and finally, a pizza tray.
Make the Dough…
Great pizza starts with great dough, and Weiskind's recipe calls for bread flour (preferably King Arthur), active dry yeast, cold water (ideally filtered, don't use distilled), fine sea salt, and extra-virgin olive oil. The latter will help give the dough elasticity, she says.
Throughout the dough-making process, the dough goes through a few stages of kneading, and then rest. The final resting period in the refrigerator lasts for one to five days, During that time, Weiskind explains that the dough "has been forming gas and carbon dioxide," resulting in the bubbles you'll see in the dough, and that it becomes more flavorful as it ages.
…and Your Sauce
Weiskind says simplicity is the secret to a good sauce, and this one only calls for three ingredients: whole peeled canned tomatoes, water, and dried oregano, which you can gently pulse together with an immersion blender.
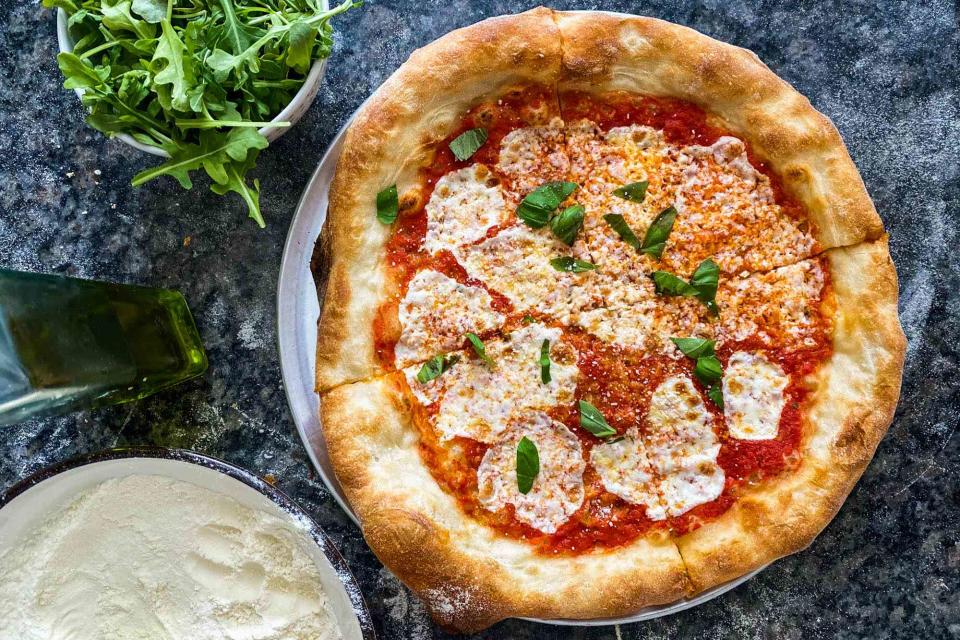
Pizza Number 1: Margherita
First up is the classic Margherita pizza, featuring no-cook tomato sauce, Pecorino Romano cheese, drained mozzarella pieces, a drizzle of extra-virgin olive oil, and finally, fresh basil To make it, all you need to do is take the rested dough and gently stretch it out, opening it up with your fingers curled in to avoid poking holes. Once the dough is on the peel, you can add all those toppings. Start with the sauce, and then add Pecorino Romano cheese, along with the mozzarella and olive oil to finish it all off.
At this point, you're ready to transfer the pizza to the baking steel in the oven. Bake for six to eight minutes at 500°F (rotating halfway through), and then cut fresh basil on top of the finished pie once it's out of the oven. If you'd like, after slicing the finished pizza, you can also top it with fresh arugula, thinly sliced prosciutto, and a sprinkle of shaved Parmesan for an extra-special touch like Weiskind does in the video.
"You won't even believe this came out of your own home oven," she says.
Pizza Number 2: Hawaiian Pizza with Pineapple and Salami
The second pizza Weiskind makes is a twist on Hawaiian pizza, which she says "pays tribute to my dad in a way," as a nod to the cold cuts he had on hand during the poker games he played when she was growing up. Instead of ham, it's topped with Genoa salami, and Weiskind also has a preferred method for incorporating pineapple. One of the biggest mistakes that home cooks make with pineapple pizza, she notes, is using chunks of pineapple straight from a can rather than cutting up fresh pineapple. The pie itself starts out similarly to the Margherita, with the tomato sauce and Pecorino Romano as the initial layers. But then, the salami goes on, followed by the mozzarella and finally, the pineapple. After baking in the oven, all that's left to do is slice it up and take a bite.
"To Hawaiian pizza, to pineapple on pizza—life is sweet, start doing it," Weiskind says."

