This Is the One Way to Remove Acrylics Without Damaging Your Own Nails
Alright folks, I've got a confession to make: About six weeks ago, I went a little wild at the nail salon — and I made the decision to get something I swore I'd never do again.
No, I'm not talking about eccentric nail art, or a full-on Cardi B crystal-inspired manicure. I'm talking about acrylics.
Yes, yes, with the bad rep acrylics have gotten over the years, I already know you're thinking why on earth would she choose to get this done? And believe me, I've made my fair share of severely damaging mistakes when I wore artificial nails regularly in high school. But let's face it, while gel extensions are the safer option, acrylics are still a much more affordable option for someone who wants to play with their nails. Plus, it's 2020! I was convinced there had to be a way to safely remove these suckers once I was ready to go back to my regular mani — thankfully, I was right. But to get the best results, you have to play by the rules.
RELATED: What to Know Before Getting Acrylic Nails
First thing's first: If you want your natural nails to still be in tact after removing your acrylics, make sure to go to a reputable salon. Secondly: If you end up at a spot where you notice they're being abrasive, or seem to be in a rush — leave immediately. And last, but certainly not least: Even if you're at your wits end, never try to take acrylics off yourself.
"A professional will have the knowledge to properly remove acrylics so the process doesn’t take forever and won’t compromise your natural nails," says Natalia Urbina, head nail tech at Local Honey, the Brooklyn-based salon where I got my overlay removed. "At home, people tend to lose patience with the process and scrape or rip the product off the natural nail plate; which rips off layers of the nail and weakens the nail."
For my appointment, I worked with manicurist Dolkar Lama at Local Honey. She was gentle, patient, and thorough — everything you should be looking for in a nail tech when removing harsh acrylics. Not once was the process painful or uncomfortable, which is how you know you're in good hands.
To begin the removal, Lama started off by taking off the nail color I had on top of the overlay, then she used a sanding drill to buff the actual acrylics. Next, she soaked my nails in 100% pure acetone that was placed in a bowl of warm water. "It helps the acrylic to break down faster," she tells me. "When it's cold, the acrylic — it's like a wax — hardens up."
The manicurist let my nails soak for about 10 minutes, and once I lifted up my hands, I could see the acrylic melting off. She then went in with the sanding drill once again to gently remove the overlay layer by layer, soaking my nails in between, until it was all gone. The entire process took about 30 to 40 minutes in total.
VIDEO: How to Remove Your Gel Manicure Without Going to the Salon
Afterwards, I was expecting for my nails to be paper thin and badly damaged, but to my surprise, they were in decent shape. Of course, they were a little thinner than usual — due to the necessary buffing that happens when you get your initial acrylic application and subsequent fills — but overall, much more in tact than I expected.
My removal service was followed up with a gel manicure done by Tsomo Lama at the salon. In typical Kayla fashion, I opted for a classic and my go-to shade: Bubble Bath by OPI.
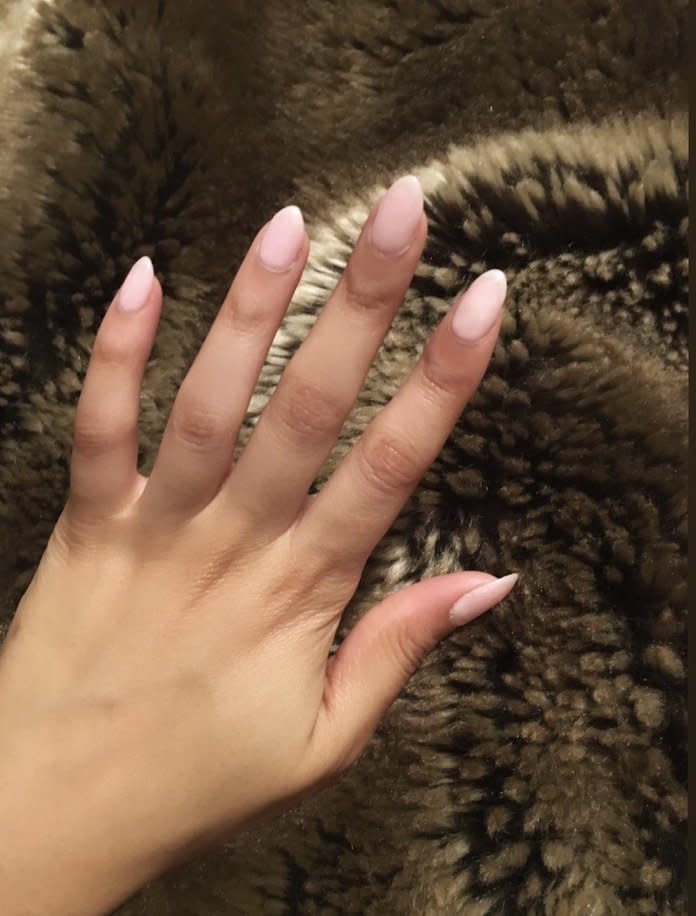
It's been exactly a week since I got my acrylics removed and went back to my regular manicure. And believe it or not, not a single nail has broken or even cracked — everything is still in perfect shape (I took the above picture last night).
So trust me on this one: When you're ready to remove your acrylics, make an appointment and go to the professionals. It is always worth the trip.

