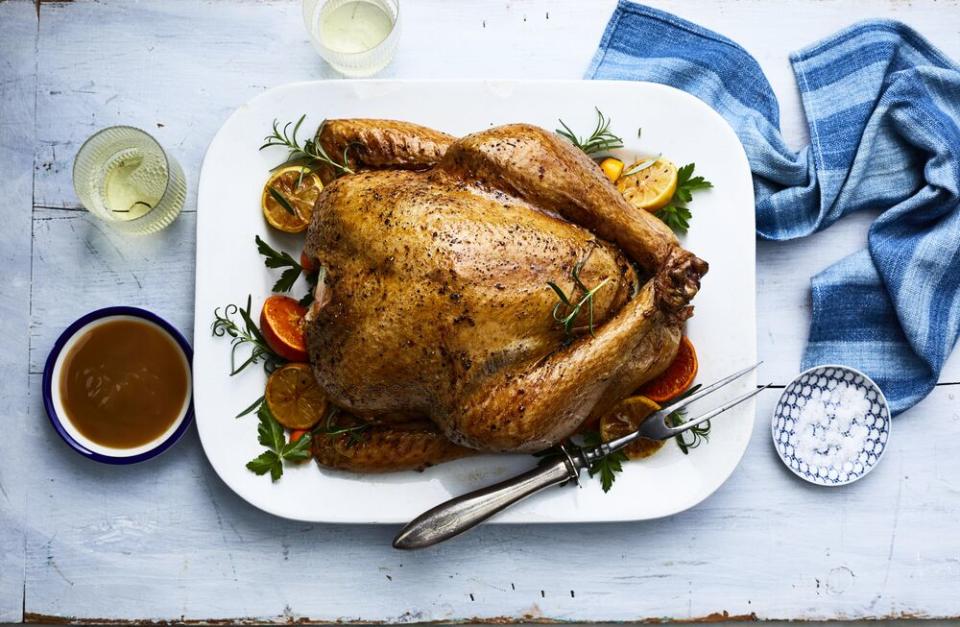
How to Perfectly Cook a Turkey In the Oven

Whether it’s your first time hosting Thanksgiving or you’ve set the table for more holiday feasts than you can count, cooking the centerpiece turkey generally lands somewhere between elusive art form and intimidating task. Obviously, you want your turkey to be the most juicy, flavorful, and gloriously golden that it can be. But there are so many factors to consider when it comes to cooking your way to those ends.
RELATED: How to Pick Out the Right Thanksgiving Turkey
Wet brine or dry? Should you stuff it, leave it empty, or deconstruct it altogether? Should you try frying or smoking it? Can a turkey fit in the air fryer? (That’s a hard no.)
RELATED: The 15 Most Common Mistakes People Make Cooking a Turkey
There’s no doubt, it’s a lot. So we’ve broken down the process for how to cook a turkey to crisp-skinned, moist-fleshed perfection in order to address all of the above questions and more. The following method for a classic, no frills holiday turkey is absolutely perfect for first-timers, for those looking to go back-to-basics in the interest of really mastering the art of the bird, and anyone who had a traumatic turkey experience they’d rather forget last Thanksgiving. While many swear by their preferred outdoor turkey cooking methods, we’d suggest getting a few oven-roasted birds under your belt before moving to the more involved preparations (with more advanced safety hazards). So without further adieu, here’s your roadmap to the perfect oven-roasted turkey.
How to Cook a Turkey to Perfection
Step 1: Ready the Oven
You’re going to start you’re oven out at a higher temperature to give the turkey’s exterior a blast of heat—this will help crisp up that skin to a really nice, golden-brown state. So go ahead and preheat the oven to 500°F. When you start heating your oven, be sure to adjust the oven rack, placing it at the lowest setting, to give your bird plenty of room.
Step 2: Butter and Season the Turkey
It’s time to bust out your turkey! At this point, it should be thawed and have the giblets removed. We recommend going with a natural Butterball turkey; these beauties are already brined, which saves you a good bit of prep work. To serve 8-10 (with leftovers), go for a 14- to 16-pound turkey.
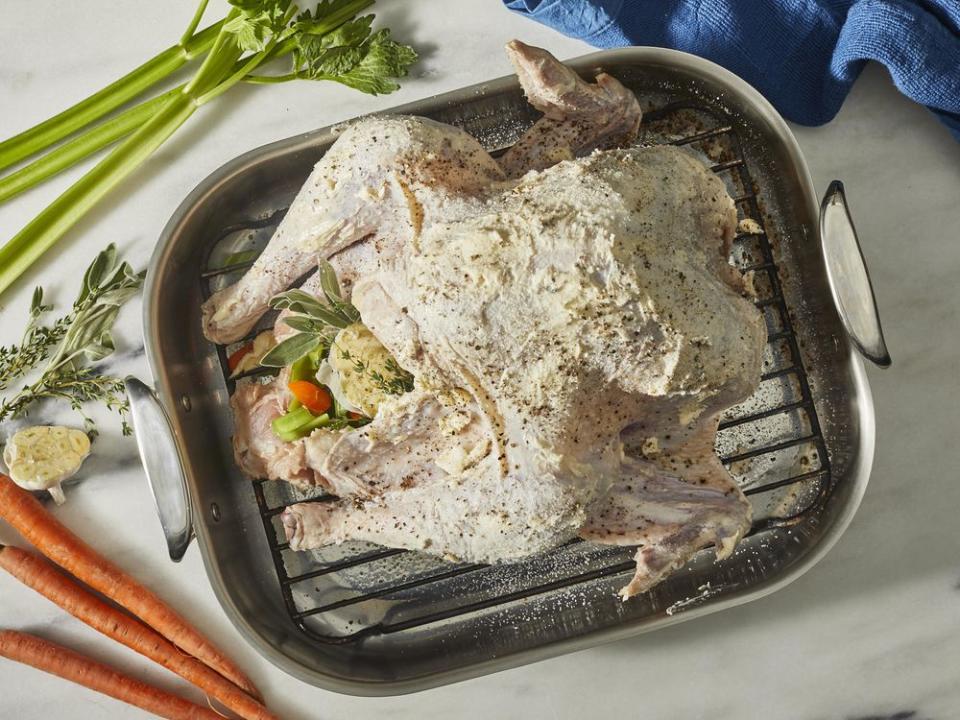
Thoroughly pat your turkey down with dry paper towels to remove as much moisture as possible from the skin and place it in a large roasting pan fitted with a rack. Now here comes the fun part: You’re going to take 1 cup (2 sticks) of softened, unsalted butter and generously grease the entire outside of the bird. Pro tip: Slip on a pair of disposable gloves before you get to rubbing. Once it’s buttered up, use 2 tablespoons of kosher salt and 1 tablespoon of black pepper to season the turkey all over and inside the cavity.
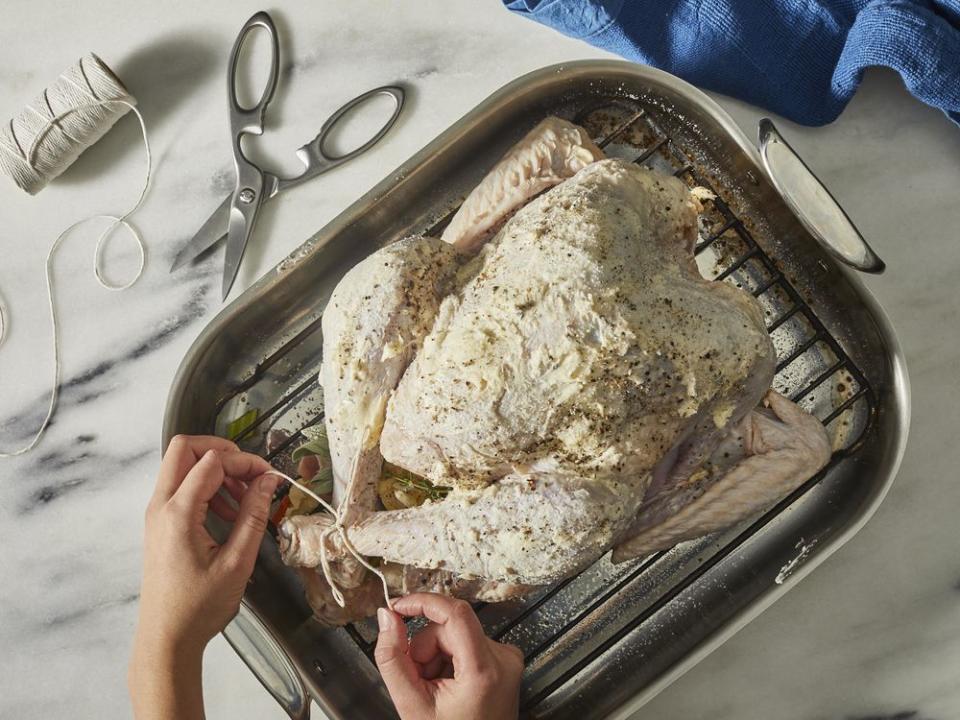
Step 3: Stuff and Tie the Turkey
In answer to one of the questions above—yes, we will be stuffing our turkey. But not with cornbread dressing; we’re stuffing it with aromatics! Loosely fill the cavity of your buttered and seasoned bird with a head of garlic (halved crosswise), a couple sprigs of fresh sage, a couple sprigs of fresh thyme, a couple sprigs of fresh rosemary, a stalk of celery (cut into pieces), and a large carrot (cut into pieces). These aromatics will infuse the white and dark meat with flavor as the bird roasts. If you like, you could also include a lemon or orange, sliced into wedges, in your turkey stuffing blend. Finally, tie your turkey’s legs together using kitchen twine, to help the bird keep its shape and cook more evenly, and it’s ready for the oven!
Step 4: The High-Heat Roast
Bake the turkey at 500°F for about 30 to 40 minutes—just until the breast begins to brown. Again, we’re simply aiming to give that skin a healthy jumpstart towards caramelization. This period of high-heat roasting, combined with all that butter in step two, is going to get us there.
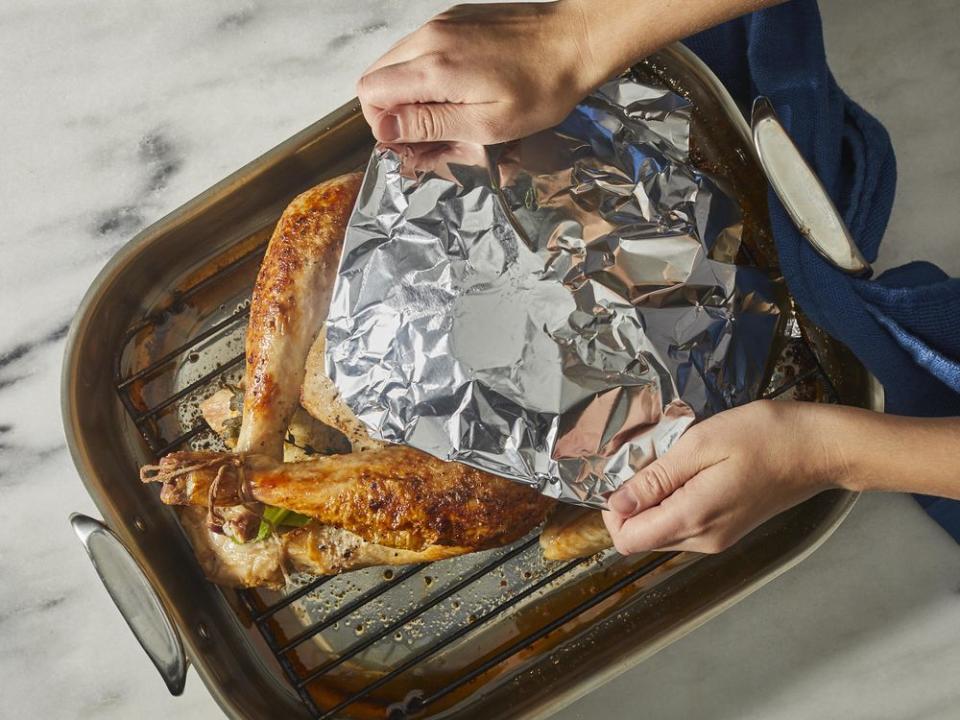
Step 5: Cover the Breast and Reduce the Heat
To prevent the breast (which is the portion of the bird most prone to drying out) from over-cooking, you’ll want to shield it for the remainder of the turkey’s time in the oven. To do this, lightly spray one side of a sheet of aluminum foil and loosely cover just the turkey’s breast—sprayed side, down. At this point, you will also need to reduce the oven temperature to 350°F. Continue cooking the bird for another 1 hour and 45 minutes to 2 hours. Start checking the bird’s temperature at the lower end of that time frame; it’s ready to go when a meat thermometer inserted into the breast registers 160°F and the thigh registers 180°F.
WATCH: How to Carve a Turkey
Step 6: Let the Turkey Rest
After that journey in the oven, your beautiful holiday turkey is due for a short rest before showtime. Allow the bird to cool in the pan for about 30 minutes. Then, you can transfer the turkey to a cutting board for carving. Just be sure to hold onto the pan drippings, as well as the aromatics from inside the bird, to make your Foolproof Turkey Gravy.

GET THE RECIPE: Perfect Roast Turkey
And congratulations—you now know how to cook a turkey to holiday-worthy perfection. For inspiration on what to serve alongside that glorious bird, be sure to check out our must-have stuffing recipes, our favorite sweet potato casseroles, these staff-favorite Ranch Mashed Potatoes, and some of our easiest holiday vegetable sides.

