Remove your upper lip hair at home in five simple, expert-recommended steps
I have a lot of hair. On my head, face, and body, hair is inevitably joining the party—even though it was not invited. Body hair is something my mom passed down to me, along with her sarcastic sense of humor. But while I love the latter, I’d rather be rid of the excess hair that plagues my body. Over the years, I’ve grown to love my thick eyebrows, and I can deal with shaving my armpits every other day. But there’s one area that haunts me: my upper lip.
When I was 13, I realized that I could no longer ignore my ‘stache situation. I looked in the mirror each morning, and when my eyes landed on that trail of little brown hairs, my self-esteem plummeted. My friends’ faces were fuzz-free, and although they never seemed to notice my mustache, I felt ashamed of it nonetheless. My mom took me to her salon and sat beside me while a cosmetologist spread hot, purple wax on my upper lip, told me to take a deep breath, and ripped off my entire mustache in two fell swoops. My eyes filled with water, I bit my tongue to refrain from swearing, and I’ve been going through the same process every month ever since (minus my mom sitting beside me).
But now that salons have closed due to the coronavirus (COVID-19) pandemic, getting my upper lip professionally waxed is not an option.
As I spend more time than ever lounging around, I find myself mindlessly feeling my chin for stray hairs and running a finger over my ever-growing fuzzy mustache. It’s gotten to the point where it’s the first thing I notice when I look in the mirror each morning, and I spend FaceTime chats convinced that my friends are staring at that ‘stache (even though they’re not). It has got to go—even if people aren’t actually noticing my upper-lip hair, I sure am, and it’s steadily lowering my confidence.
To help fellow women who are missing their waxing appointments, I tapped experts to learn the dos and don’ts of at-home upper-lip hair removal. Because even though men are resurrecting the common mustache during quarantine, I know lots of ladies who would prefer to stay fuzz-free.
At-home upper-lip hair removal preparation:
First thing’s first: Try to slow your facial hair growth as much as possible between salon visits (which could be many weeks from now, TBH). European Wax Center Education Manager Gina Petak recommends the Mask Me Hydrogel Mask, which includes Narcissus tazetta (yellow daffodil) bulb extract, an ingredient touted for combating hair growth. Using these face masks will help thin and soften your facial hair regrowth before you can make it to the salon.
Although it’s tempting to remove your upper-lip hair immediately upon noticing it, make sure it’s long enough to safely remove. “Some people don’t wait long enough between waxes,” Nad’s Brand Expert and Brand Ambassador Natalie Ismiel tells HelloGiggles. “Your hair must be at least two to five millimeters long, or the process will not be effective.” For reference, a nickel is two millimeters thick, so if your fuzz looks and feels that long, you’re good to go. On the other hand, Elena Petrovicova, the research and development director for Nair, notes that if your hair is longer than half an inch, you should trim the hair prior to waxing to make the experience as painless as possible.
Before using any new skincare product, you should always do a patch test. This rings especially true with hair removal techniques, so test the cream or wax strip on a small area of your skin. “If there is no adverse reaction after 24 hours, it’s safe to proceed with the full application,” Ismiel says.
Best facial hair removal cream:
I visited the same salon for upper-lip waxes from that first day as a 13-year-old up until I was 20, traveling two hours home from college to rid myself of the dreaded ‘stache every month. However, when I decided to study abroad for four months, I was out of luck. Enter: Nair Moisturizing Face Cream.
This cream is my tried-and-true solution for at-home upper-lip hair removal. I have sensitive, acne-prone skin, and over the two years I’ve been using it, this cream has never caused me to break out. I even used it while doing a round of Accutane (during which you’re advised to avoid waxing), and it still resulted in clean and clear skin. Simply spread a small amount of cream over clean and dry skin. After five to 10 minutes, gently wipe the cream off, splash water on the area, and pat dry. Bye-bye, unwanted facial hair.
Nair Moisturizing Face Cream
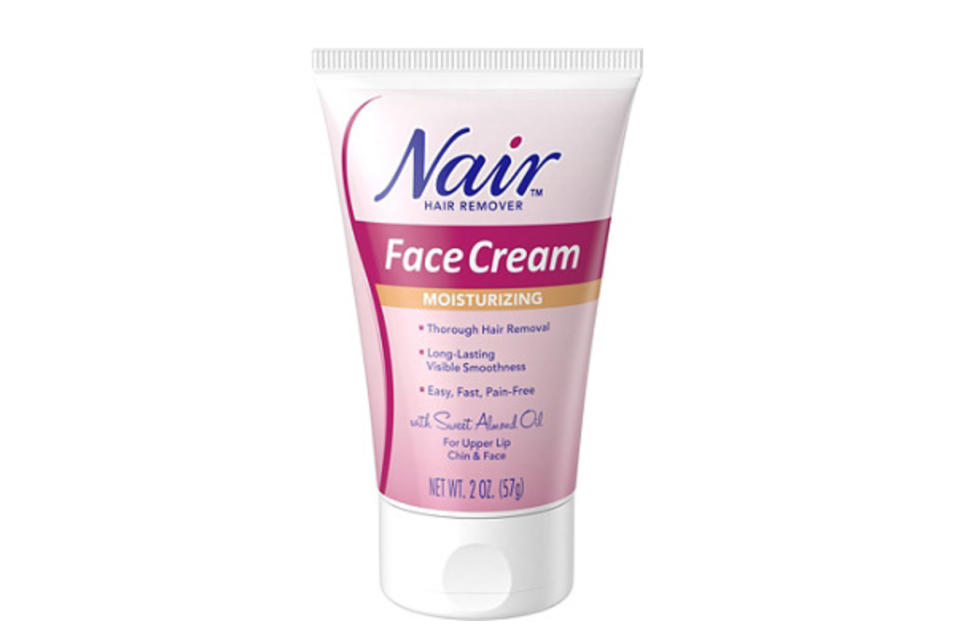
Shop it! Nair Moisturizing Face Cream, $5.99, ulta.com.
Best facial hair removal device
If you’re looking for instant results, dermaplaning might be your thing. Dermatologists and estheticians provide in-office dermaplaning services, but there are tools that offer an at-home experience that’s equally effective. Dermaplaning tools use sharp blades to remove dead skin cells and fuzz, leaving your skin smooth and soft. The Finishing Touch Flawless Dermaplane Glo won the 2020 Beauty Crush Award for Best Facial Hair Removal Device, and I have friends who claim that they can’t live without this tool.
Finishing Touch Flawless Dermaplane Glo

Shop it! Finishing Touch Flawless Dermaplane Glo, $19.99, ulta.com.
Best at-home waxing kits for upper lip
You can create a salon-like waxing experience at home using hot waxes, wax strips, and more. While hot waxes are likely the most similar to your salon experience, many women tout waxing strips as the easiest option for at-home upper-lip hair removal. Most strips are sized for small areas, and they’re formulated for delicate facial skin. Plus, they’re way more affordable than hot wax kits. Pro tip: “I recommend you exfoliate with a loofa or washcloth at least 24 hours before waxing to avoid ingrown hairs,” Petrovicova says.
Nad’s Facial Wax Strips
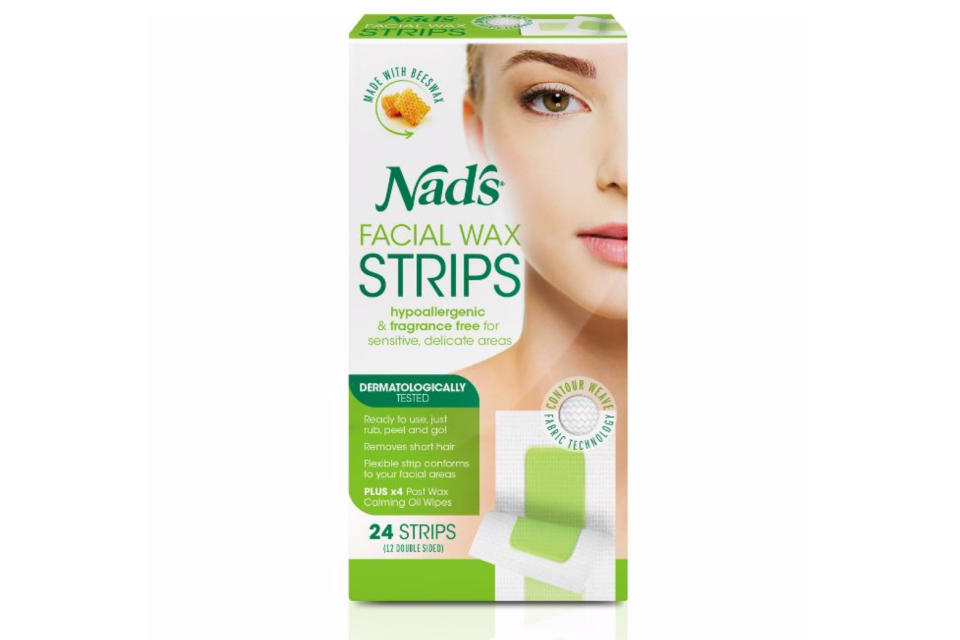
Shop it! Nad’s Facial Wax Strips, $4.99, target.com.
These easy-to-use wax strips are ideal for your chin, upper lip, and face. No heating is required to use these strips—simply rub one between your fingers to slightly warm the wax before using. This box includes 10 double-sided strips and four calming oil wipes, which Ismiel says “remove any residue and reduce redness.”
Nair Wax Ready-Strips for Face
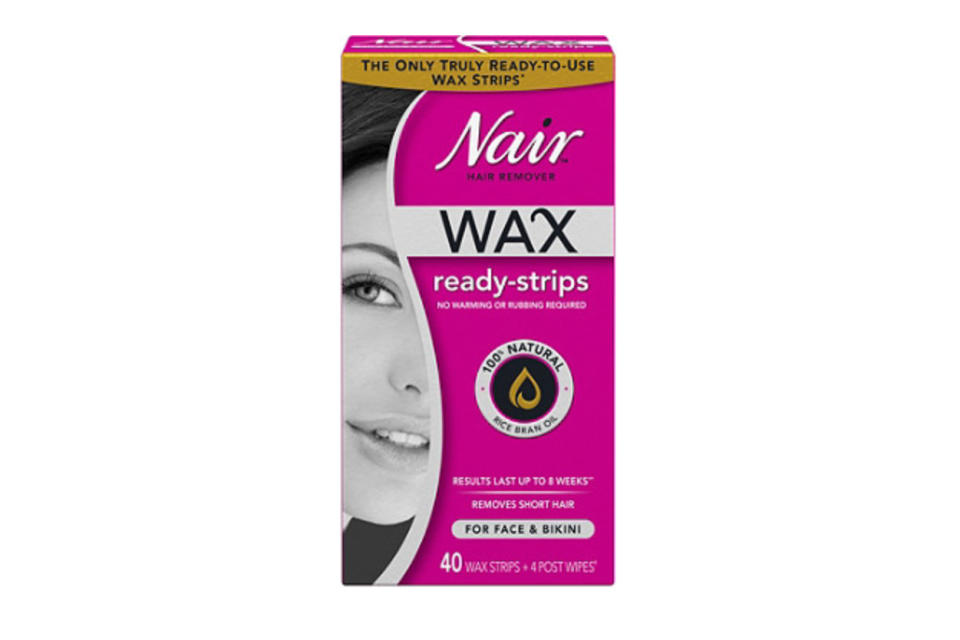
Shop it! Nair Wax Ready-Strips for Face, $7.99, ulta.com.
No warming or rubbing is required for these wax strips—they’re ready to use when you open the box. The wax is made with 100% rice bran oil, and you can use the strips on your upper lip, face, brows, and bikini line. Results last up to eight weeks, and repeated use will slow hair regrowth.
Parissa Cane Sugar Organic Wax
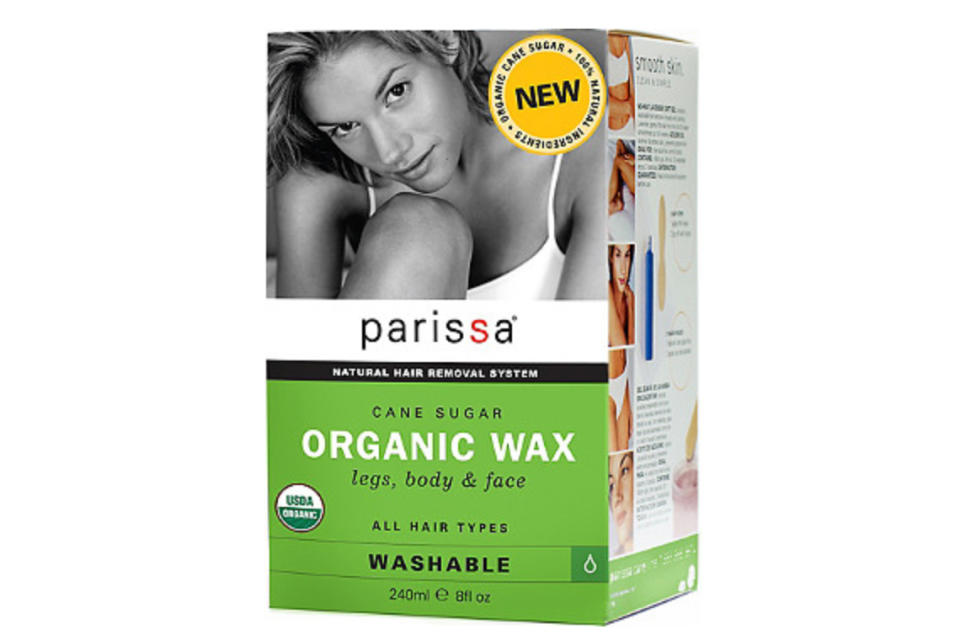
Shop it! Parissa Cane Sugar Organic Wax, $19.99, ulta.com.
This gentle hot wax kit can be used everywhere on your body: your legs, bikini line, armpits, and face. Unlike the above pre-made strips, you’ll need to heat this jar of wax in the microwave before using it. Then, you’ll use one of the provided sticks to spread a layer of wax on your upper lip in the direction of hair growth. Then, press the provided fabric strip over the wax. Finally, pull off in one quick movement. Users agree that this wax is easy to use, removes the hair effectively, doesn’t irritate their skin, and is easy to clean up. If you’re planning on waxing multiple areas of your body at home, this kit will get the job done.
How to wax your upper lip at home:
Step 1: Cleanse the area.
A successful waxing experience begins with clean, dry skin. Cleanse your skin of any makeup, oils, or moisturizers. Also, make sure that your skin is completely dry after cleansing. I once used a makeup wipe in my car right before walking into the salon for a wax, and my cosmetologist was not happy with me (nor was I, because the dampness hindered the wax from adhering to my skin, making for extra rounds in the same area—ouch).
Step 2: Prepare to wax.
Pull your hair back so that loose strands don’t get in the way. Next, wash your hands. Each waxing kit will have specific instructions, but in general, before using a wax strip, Ismiel says, “Rub the strip between your palms until it feels warm, then separate the strips. This warmth will help you get the best results.”
Step 3: Apply wax to your upper lip in two sections.
Hair grows in two different directions on your upper lip, so treat each side separately. Starting with the right side of your upper lip, press the wax strip down firmly and smooth toward the right, in the direction of hair growth (you’ll smooth toward the left on the left side). Apply pressure to the strip with your fingertips, smoothing three to four times in the correct direction. “Firmly smoothing the wax helps to distribute it evenly on the skin and grip the hair to prevent patchy spots,” Ismiel says.
Step 4: Pull off the strips.
Now comes the painful part. To minimize pain, hold your cheek taut with one hand, and pull the strip off toward the center of your face in one quick movement. “If all of the hair doesn’t come off on the first try, you can go over the area again with the same wax strip until it no longer adheres to your skin,” Petrovicova says. Repeat this process on the other side.
Step 5: Pluck stray hairs.
After waxing, use tweezers to pluck any stragglers. If you’re like me, you’ll also use tweezers to pluck those pesky chin hairs that are courser than your upper lip hair. Although tweezing is oddly satisfying and can become addicting, don’t go overboard. “Don’t feel you have to tweeze all at once,” Petak says. “This is when you can overdo it and irritate skin. Instead, keep your tweezers handy in your bathroom and tweeze when needed or when you see hairs out of place.”
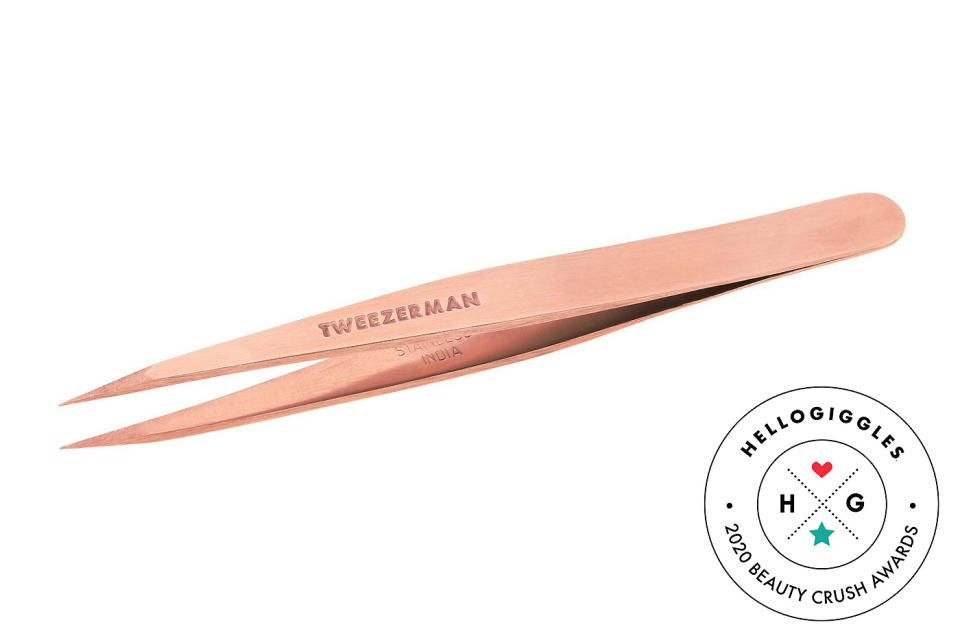
Shop it! Tweezerman Rose Gold Point Tweezer, $21.60 (orig. $24), ulta.com.
These tweezers were a 2020 Beauty Crush Awards winner. They effectively remove stubble, ingrown hairs, and even super-fine facial strands.
Step 6: Soothe and calm the skin.
There’s no avoiding temporary redness after waxing, but you can soothe your skin by rubbing a baby oil or an aloe-based moisturizer over the area afterward. Most at-home wax kits include post-waxing wipes, so utilize those, too. If your skin is highly irritated, Petrovicova recommends holding ice wrapped in a towel to the skin to soothe the irritation.
Step 7: Avoid the area for 24 hours afterward.
After waxing, your skin will inevitably be sensitive, so steer clear of exfoliating, using any intense products, or coming in contact with the area for 24 hours. “To avoid breakouts on your upper lip, do not exfoliate for 24 hours after waxing, and avoid touching your upper lip as much as possible,” Petrovicova says.
Happy hair removal!

