
How to Repair Stucco So Your Home Looks Like New
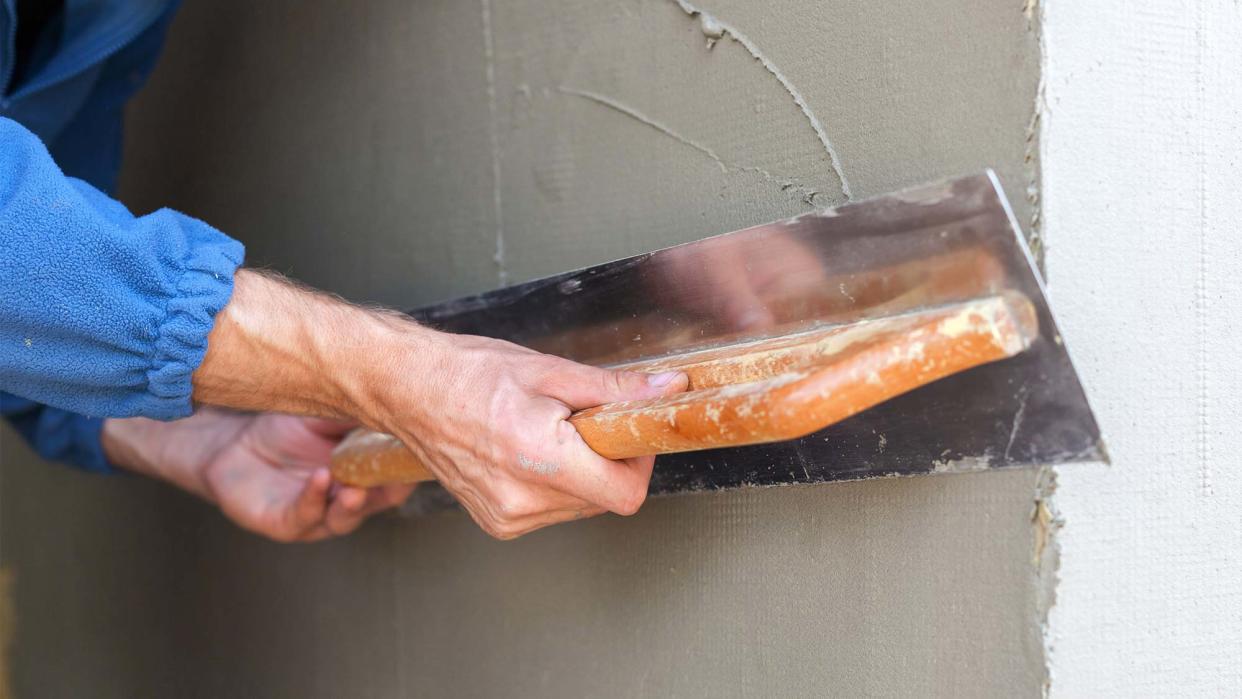
brizmaker/iStock
Stucco is an extremely popular home siding because it’s handsome, durable, and less costly than other high-end home sidings and exteriors. According to Fixr.com, stucco typically costs $6 to $9 per square foot, compared with $11 to $15 for stone veneer (which has a similar look).
Plus stucco can last for hundreds of years, but not always. So especially if you live in an older home with stucco, at some point you’ll need to know how to repair the stuff.
Generally, here’s how damage creeps in: Water seeps beneath the surface, causing chips and soft spots. Once the barrier has been breached, the walls can deteriorate from there.
A stucco professional (yes, they exist) will charge $400 to $750 to repair the exterior of a 1,500-square-foot stucco house. And if you seldom have to repair stucco, it’s worth the price because “the homeowner would have to buy all the supplies for a one-time job,” says Sharon Slade of D.L. Boyd, a Hyattsville, MD–based company that specializes in stucco repair. “A professional has all the supplies and know-how to get it done.”
But if you have an older home that needs frequent stucco repairs, you can do the work yourself with a little practice for a fraction of that price.
Project overview
Difficulty: Easy
Timing: Less than an hour per patch
Warnings: Wear gloves and eye protection when mixing or chiseling stucco
Things you need
Work gloves
Eye protection
Ladder
Mason’s chisel
Hammer
Premixed stucco or stucco patching compound
Notched trowel
Plaster finishing trowel
“Finishing” tool (whisk, trowel, sponge, piece of board)
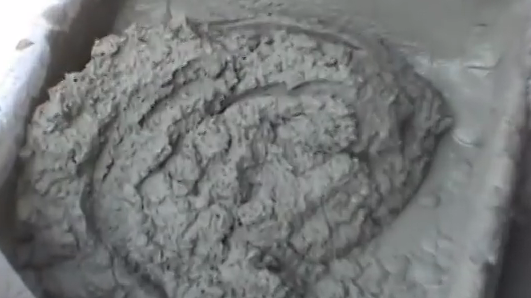
Step 1: How to make stucco
Stucco changes color over the years, so your new patch probably won’t match. But you can paint the new stucco after installing, or buy coloring pigment to add to your stucco mix to match the existing color. Mix small batches of stucco, add some pigment to the mix, then put it on a piece of cardboard, and allow it to dry. You will need to try different amounts of pigment until you match the color, and you will want to do it before you start your repair.
YouTube
———
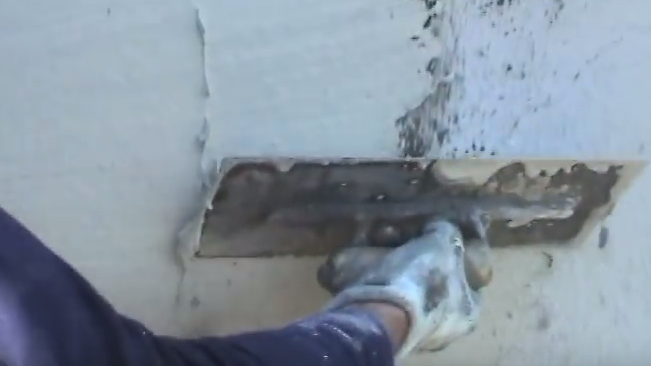
Step 2: Apply the first coat
Use a mason’s chisel and hammer to chip away any loose pieces of stucco. Then use a finishing trowel to coat the damaged area. This first layer is called the “scratch coat” (you’ll see why next).

YouTube
———
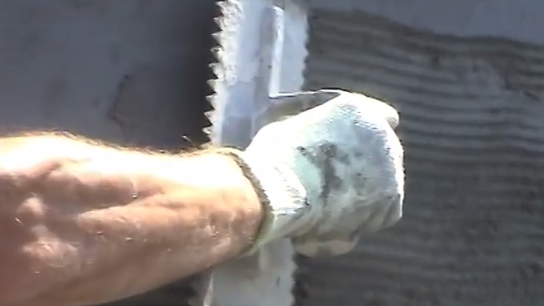
Step 3: Add grooves
When the scratch coat is applied, use the notched trowel to scratch grooves into the mud. This helps future coats adhere better.
YouTube
———
Step 4: Prepare for the brown coat
After the scratch coat sets and dries for at least 24 hours, sponge water onto the area to help the next coat adhere. This next layer is called the “brown coat” regardless of color.

YouTube
———
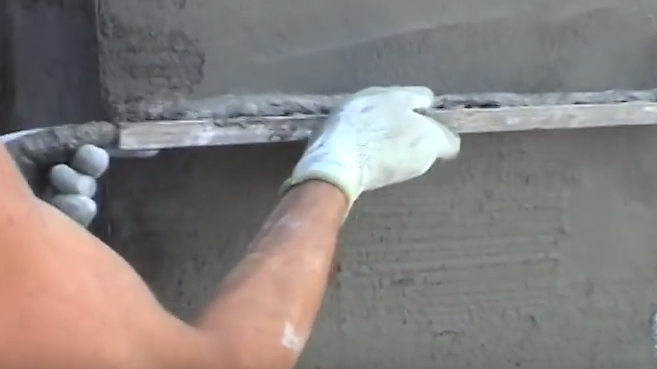
Step 5: Apply the brown coat
Make sure you spread the brown coat evenly, then “screed” (leveling with a straight edge) the mix to ensure the coat is flat and level.
YouTube
———
Step 6: Apply the final coat
Make sure this final coat is a quarter-inch think and evenly applied with a trowel.
YouTube
———
Step 7: Texturize
Use a sponge to create the finished texture. If you didn’t add pigment at the beginning, paint the stucco. You may have to paint the entire side to disguise the patch.

YouTube
For more detailed instructions, watch this video from RWT Design and Construction in Burbank, CA.
The post How to Repair Stucco So Your Home Looks Like New appeared first on Real Estate News & Advice | realtor.com®.

