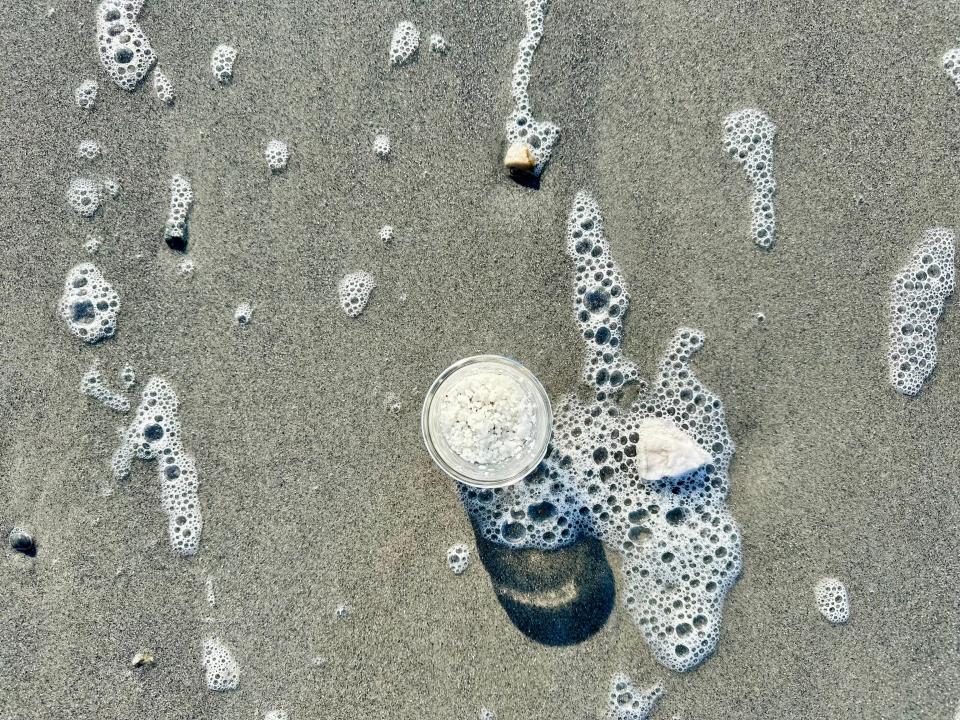
In Rhode Island, making your own salt is surprisingly easy and delicious. Here's how.
Everyone lost their mind at some point during the pandemic, and for me, that moment arrived in August 2020, when I spotted a jar of artisanal Cape Cod sea salt on a shelf.
“I can’t believe how much money people charge for this stuff!” I ranted to my boyfriend. “It’s not like there’s some secret! They’re just evaporating seawater! We could literally make our own salt for free!”
I did not, in fact, have any idea how to make salt. But a friend of mine had once given me some that she’d made during a trip to the Dominican Republic, so I texted her and asked for directions. The next day, my boyfriend went out surfing and came home with a pitcher of seawater, and we started experimenting.
We quickly discovered that homemade sea salt is really good: It has way more flavor and texture than regular table salt, and it's actually saltier. Friends routinely tell me that it’s the best salt they’ve ever tasted; one confessed that he ate it straight from the jar.
Making salt might have seemed like a deranged pandemic hobby at first, but three years later, it’s still something we do all the time. It makes a great, inexpensive gift that people are always thrilled to receive (especially if you’ve collected the seawater in a place that’s meaningful to them.) I try to remember to bring home some salt water whenever I spend time by the ocean. Later, I’ll see the handwritten label and be reminded of that day.
The process is, admittedly, not very efficient. At a minimum, it usually takes several days. But it’s also incredibly easy, since there are really just two steps: collecting clean, fresh seawater (more on that below) and letting it evaporate.
Here's a very unscientific guide to everything that I've learned so far.
What equipment do you need to make salt?
To get started, you'll need:
Containers for transporting salt water. I like to use 64-ounce Mason jars, but pitchers and buckets with lids also work, as do empty gallon-sized water jugs.
A nut milk bag (a very fine-mesh sock used to strain solids) or jelly strainer bag. (A clean cotton T-shirt or kitchen towel can also work in a pinch.)
A stockpot.
A large Pyrex baking dish.
Small, airtight containers for packaging and labeling your salt. (A 4-ounce Mason jar works well.)
Optional: Cheesecloth or a mesh dome, like the ones used to protect food at picnics.
Finding a clean source of seawater
At the risk of stating the obvious, you'll want to collect your salt water in a pristine area – definitely not from a harbor, the Providence River, an industrial area like Quonset Point, or near a drainage pipe or sewage plant.
To figure out where it's safe to gather seawater, I typically rely on the Department of Environmental Management's shellfish closure maps. If the water isn't clean enough for clamming, it's probably not a great idea to turn it into salt.

For practical purposes, you also don't want to gather salt water from a sandy beach, unless you're prepared to spend a lot of time filtering out the sediment that the waves churn up. A better bet is to head for areas with a rocky coastline, like Beavertail State Park in Jamestown, Brenton Point State Park in Newport, and Sachuest Point National Wildlife Refuge in Middletown. (Just watch your footing – wet, slippery rocks can be extremely dangerous.)
If you have the option, the best way to collect clean, fresh salt water is from a boat, kayak or paddleboard. If not, you'll want to be extra careful to look for potential sources of runoff and pollution, and to make sure that the DEM hasn't issued any shellfishing restrictions or water quality alerts for that area. Definitely don't harvest seawater anywhere near a road after a heavy rainfall.
Red flags to keep an eye out for include nearby farms, lawns and golf courses that could be producing fertilizer runoff, as well as streams, which are often a source of pollution and toxins.
More: Will donors to beach-access fundraiser be deposed by fire district? Why ACLU is objecting.
How to turn your seawater into salt
When you get home, let the seawater sit for a few minutes so that any sediment falls to the bottom, then strain it with a jelly bag or T-shirt. You may need to do this more than once to get all the grit out.
Next, boil the water in the stockpot for about 30 minutes to kill off any bacteria. (Some purists skip this step and never boil seawater because they believe it alters the flavor of the salt; obviously, if you take this approach, you'll want to be really careful about your water sources.)
Once you've done that, you have three salt-making methods to choose from, each with its own pros and cons:
SOLAR EVAPORATION
Simply pour the salt water into the baking dish and leave it in a sunny spot to dry. (In winter, you can also try putting it on top of a radiator.)
Pros: This is the old-fashioned, natural way and doesn't require using any additional gas or electricity.
Cons: Rhode Island tends to have humid summers, which means that salt takes a painfully long time to dry. If you're drying it outside, it's hard to keep out leaves and bugs, and you'll need to find a way to protect it from the rain. If you're drying it inside, you'll have to contend with pet hair and dust. (Covering the dish with cheesecloth or a mesh dome, if you have one, can help.)
STOVETOP
Keep boiling the seawater until it's reduced down to a salty slurry. (This usually takes several hours, at minimum.) Then transfer the slurry to the Pyrex dish and leave it out for several days to finish evaporating.
Pros: This tends to be the fastest method for making salt.
Cons: Boiling water on the stove for long periods of time will make your house incredibly humid, so you probably won't want to do this in the summer. You'll also need to keep an eye on the stove to make sure that you don't cook down the salt too far and burn it.
More: 2023 was a big year for food news in RI. Here's what readers wanted to know.
OVEN
Pour the seawater into your Pyrex dish and place it in the oven on the lowest temperature setting (typically 200 degrees). Check on it every few hours, using a spatula to scrape off salt crystals that form on the sides of the dish. When most of the water has evaporated and all that's left is a damp salt slurry, turn off the heat and leave the salt alone for several days to finish drying naturally.
Pros: This is my preferred salt-making method, since you can just set a timer and walk away. You can also speed up the process by turning up the heat to 350 degrees, though you'll have to check the oven more frequently to make sure that you don't burn the salt.
Cons: In summer, you probably won't want to leave your oven on for hours at a time. That said, I find that this method doesn't make the house as sweltering as boiling seawater on the stovetop does.
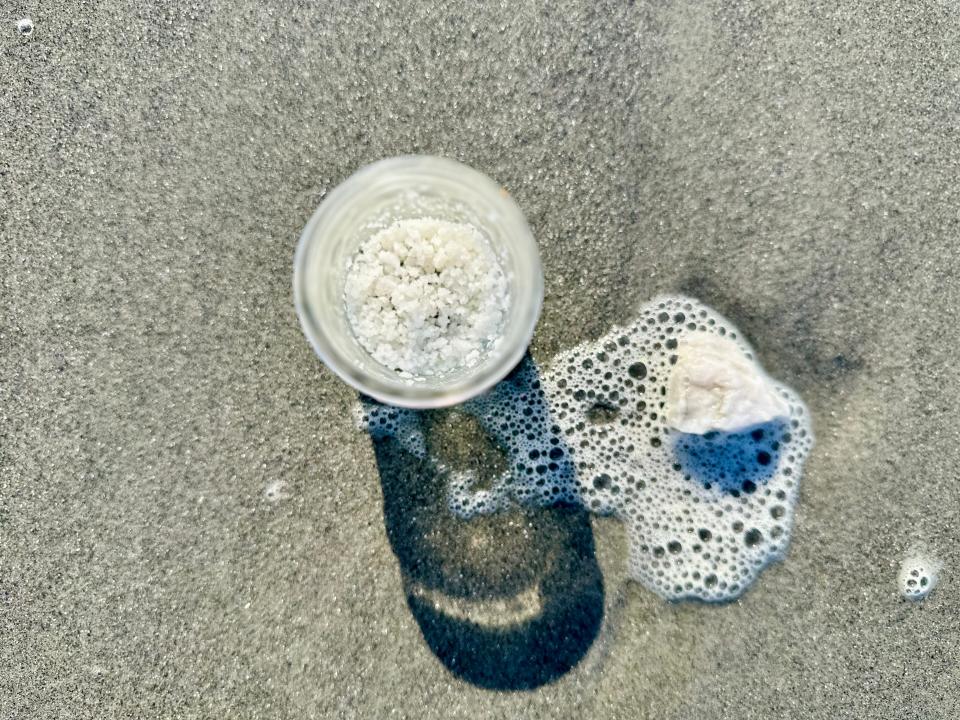
That's it! Once the salt is completely dry, scrape it loose from the dish with a wooden spoon or rubber spatula, and then transfer it to an empty container. Make sure to label it: Later, once you've tried gathering seawater from several different locations, you can do a taste test and see if you notice different flavors in each batch.
How much salt will I end up with?
This varies, based on the salinity of the water that you collect. On average, I've found that a gallon of seawater produces about half a cup of salt.
Isn't there a risk of ingesting heavy metals and microplastics?
This is definitely a fair question, since boiling seawater to kill bacteria won't get rid of other pollutants.
For what it's worth, Newport Sea Salt Co., which makes salt with seawater harvested from Brenton Point State Park, says that they've had theirs tested by North Kingstown-based Eurofins Spectrum Analytical as a precaution. The tests showed that the salt was free of pesticides and heavy metals, including lead and mercury, according to the company.
Personally, I tend to assume that I'm already getting plenty of microplastics in my tap water and mercury from seafood, so this isn't something that I stress out about. (Also, it's not like I'm eating enormous quantities of homemade sea salt.) But it's the kind of thing where everyone has to decide for themselves what risks they're willing to take.
Have you tried making your own salt? Do you have any tips of your own to share with readers? Feel free to email afarzan@providencejournal.com.
This article originally appeared on The Providence Journal: How to make your own sea salt in Rhode Island

