How To Start Livestreaming Your Games, By Platform
No matter what your gaming platform of choice—PC, PlayStation, Xbox, Switch, Steam Deck, Android or iOS—you have the option of sharing your exploits with the wider world through livestreaming. This can seem a daunting prospect at first, but you don’t need much (or in some cases any) additional software or hardware, as we’ll show you here.
We’ve broken down what you need to know based on the platform you’re playing games on, but you also need to choose a platform to host your livestreams—Twitch and YouTube are the two biggest names in the business, but there are others (including TikTok, of course). We’re not going to go into those options in too much detail, but your choice on that front will to some extent be limited by the device you’re using to game on.
Read more
Windows PC
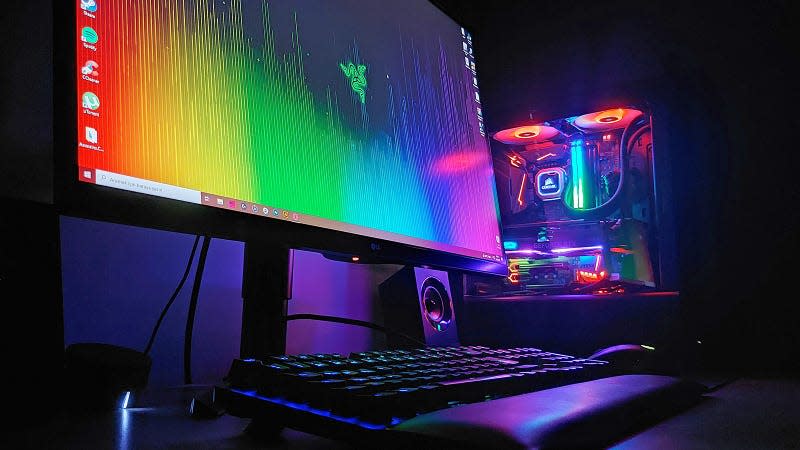
The streaming software of choice for most Windows PC gamers is OBS (Open Broadcaster Software) Studio. It’s free, it’s open source, and it handles everything that you’re going to need handled—from microphone and webcam inputs (if you want to show your face while you’re playing) to connecting up to an online streaming platform (Twitch, YouTube, Facebook and Trovo in China are some of those supported).
An adapted version of OBS Studio from Logitech called Streamlabs is a good alternative, especially if you’re just getting started. It offers a lot of similar features free of charge, though some of the more advanced tools aimed at professional creators—more advanced customizations, the ability to stream to multiple platforms simultaneously—require an Ultra subscription at $19 per month.
If you’re certain that Twitch is the platform you want to go with, there’s also Twitch Studio, though it’s still labeled as a beta at the time of writing. It’s a simple and straightforward option that suits beginners as well as more advanced streamers, and of course the integration with Twitch is seamless. It’s the classic balance between features and convenience, and it’s up to you where you want to be on that scale.
With one of those tools installed, you’re ready. You don’t need more hardware to get started (something like the Stream Deck is an optional extra), but you do need a fairly decent CPU and GPU to handle the extra duties of recording and encoding your screen activity. Professional streamers sometimes use a second PC for these encoding and broadcasting jobs, to ensure maximum gaming performance on their original machine, but it’s not something to worry about when you’re just getting started.
Sony PlayStation 5
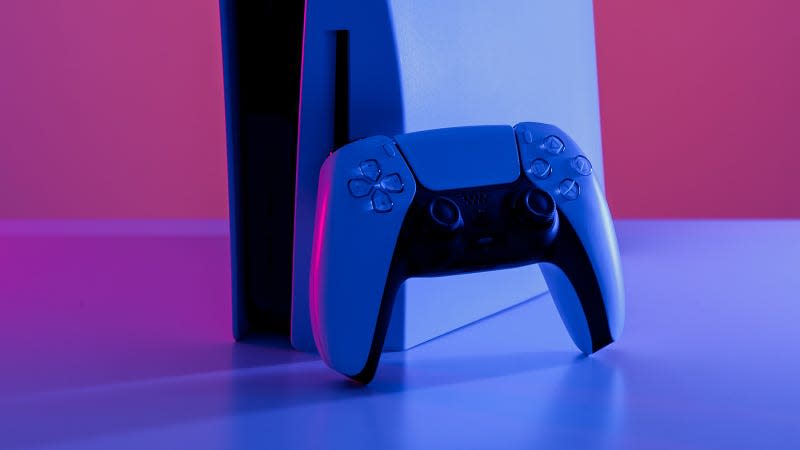
Your livestreaming options are a bit more straightforward on consoles. When it comes to the PlayStation 5, open Settings from the home screen and then choose Users and Accounts and Link with Other Services, before picking the platform you want to stream to and entering your login details for that platform—you can also do this the first time you go live, but it’s easier to do it in advance.
With your game of choice loaded, tap the Create button (top left on the DualSense controller, with the three vertical lines above it), then select Broadcast to see the platform options. You’ll be asked to name your broadcast before it goes live, and by using the three dot button, you can set a variety of options (including whether or not audio from your mic is included, the video resolution, and so on).
You can also get at these options through Captures and Broadcasts, then Broadcasts from the PS5 Settings screen. While you’re actually broadcasting, you’ll see a small panel pop up on screen with some essential statistics, including how long you’ve been broadcasting for and how many people are watching your stream. You can end the current broadcast from the same screen.
Another option is to stream from your PS5 through a PC, using one of the software options we mentioned above. To do this, you’ll need an internal or external capture card, like those from AverMedia, to take the output from your PS5 and use it with your PC software. It’s a much more complicated setup, but it does give you more flexibility for your PS5 streams—a greater number of supported livestreaming platforms, more mic and webcam options, and so on.
Xbox Series X or S
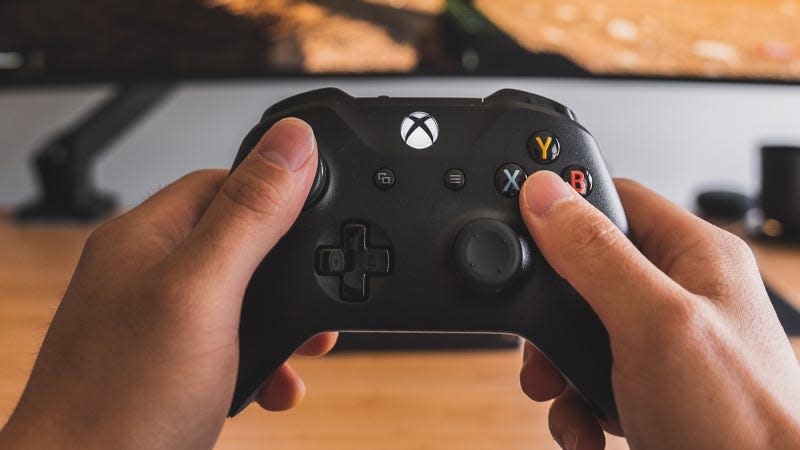
Livestreaming your gaming from an Xbox Series X or Xbox Series S isn’t particularly tricky, as long as you only want to use Twitch and not anything else: There’s a dedicated Twitch app in the Store that you can access directly from the Xbox home screen, and through that you can log into your Twitch account (or sign up for one if you haven’t done so already).
It’s definitely worth spending some time going through the various streaming options inside the Twitch app before you go live to the wider world: You’re able to configure microphone levels, set where the pop-up broadcast bar appears on your screen, choose the video resolution that you’re going to be streaming at (a lower resolution can help with a slower internet connection), and more.
A live broadcast can be started from inside the Twitch app—just pick Start Streaming (lower left). The other option is, while you’re gaming, to tap the Xbox button on your controller and then choose Capture & share, Live streaming, and then the Twitch app you previously installed. If you’re correctly logged into your account, you can select Go live now to start broadcasting. The same menu will let you set the name of your stream.
As with the PS5, you can hook up your Xbox Series X and Xbox Series S to a PC with the help of an external or internal capture card—we highlighted some AverMedia options in the last section, so here we’ll mention the Elgato 4K60 Pro and the Elgato HD60 X here. The Xbox output goes into the card, which then feeds into the PC and one of the software options in the Windows PC section. That’s something to consider for more advanced streaming options and effects though, not something to consider at the start.
Nintendo Switch
There aren’t any livestreaming options built right into the Nintendo Switch, so you’re going to need to rely on one of the capture card options that we’ve mentioned in the PlayStation and Xbox sections (or go with another option, like the Genki Shadowcast). You also need a Switch with a dock and HDMI output—so that’s the original or the OLED model, not the Nintendo Switch Lite.
With your Nintendo Switch docked, you can connect the HDMI output port on the dock to your capture card of choice: Made by AverMedia, Elgato, or any other manufacturer. A USB cable is required to hook up the card to your PC, and optionally another HDMI cable to your television, unless you’re OK with watching your gameplay through Windows.
It’s then a case of configuring your streaming software of choice. As you’re going through a Windows PC, you’ve got a full choice of options when it comes to which streaming platform you use, how you configure your microphone and webcam overlays, and all the other options that come with packages like OBS Studio and Streamlabs.
External capture cards like the Razer Ripsaw HD are the more convenient option for most people, as it doesn’t involve opening up your PC, and it means you can still game on a different screen besides your Windows one as well. Internal options can be more powerful and more stable, assuming you have a large and fast enough PC to be able to handle them.
More from Gizmodo
Sign up for Gizmodo's Newsletter. For the latest news, Facebook, Twitter and Instagram.

