Summer DIY: Turn a stock tank into a small backyard pool
Projects are always going to take longer and cost more than you think they will. And unlike what we see on HGTV, projects are usually more like 10 projects in one. Or more. Take, for example, our backyard.
When we purchased our run-down house a few years ago, the landscaping was also in a sad state. Bushes and trees were overgrown, and moss had taken over the sidewalks and back driveway, and the backyard — which sits on a very busy alley — had never been fenced.
It was so much more than “we need to spruce up the backyard.” There was a lot to do: take out the rhododendron (its own project); put up a fence (another big project), and build a shed (that took us three weekends). The rose bushes in the raised bed had taken on a life of their own and needed to be cut back and removed. That was all last summer’s work.
This summer, we started phase two, with a new set of projects: removing clutter from the side yard, completing the driveway gate (staining the gate and fence will be for phase three next summer), clearing more weeds and bushes that had grown back in the raised bed, adding new landscaping and mulch to replace it, tons of pressure washing and adding some furniture. And the cherry on top is our new stock tank pool!
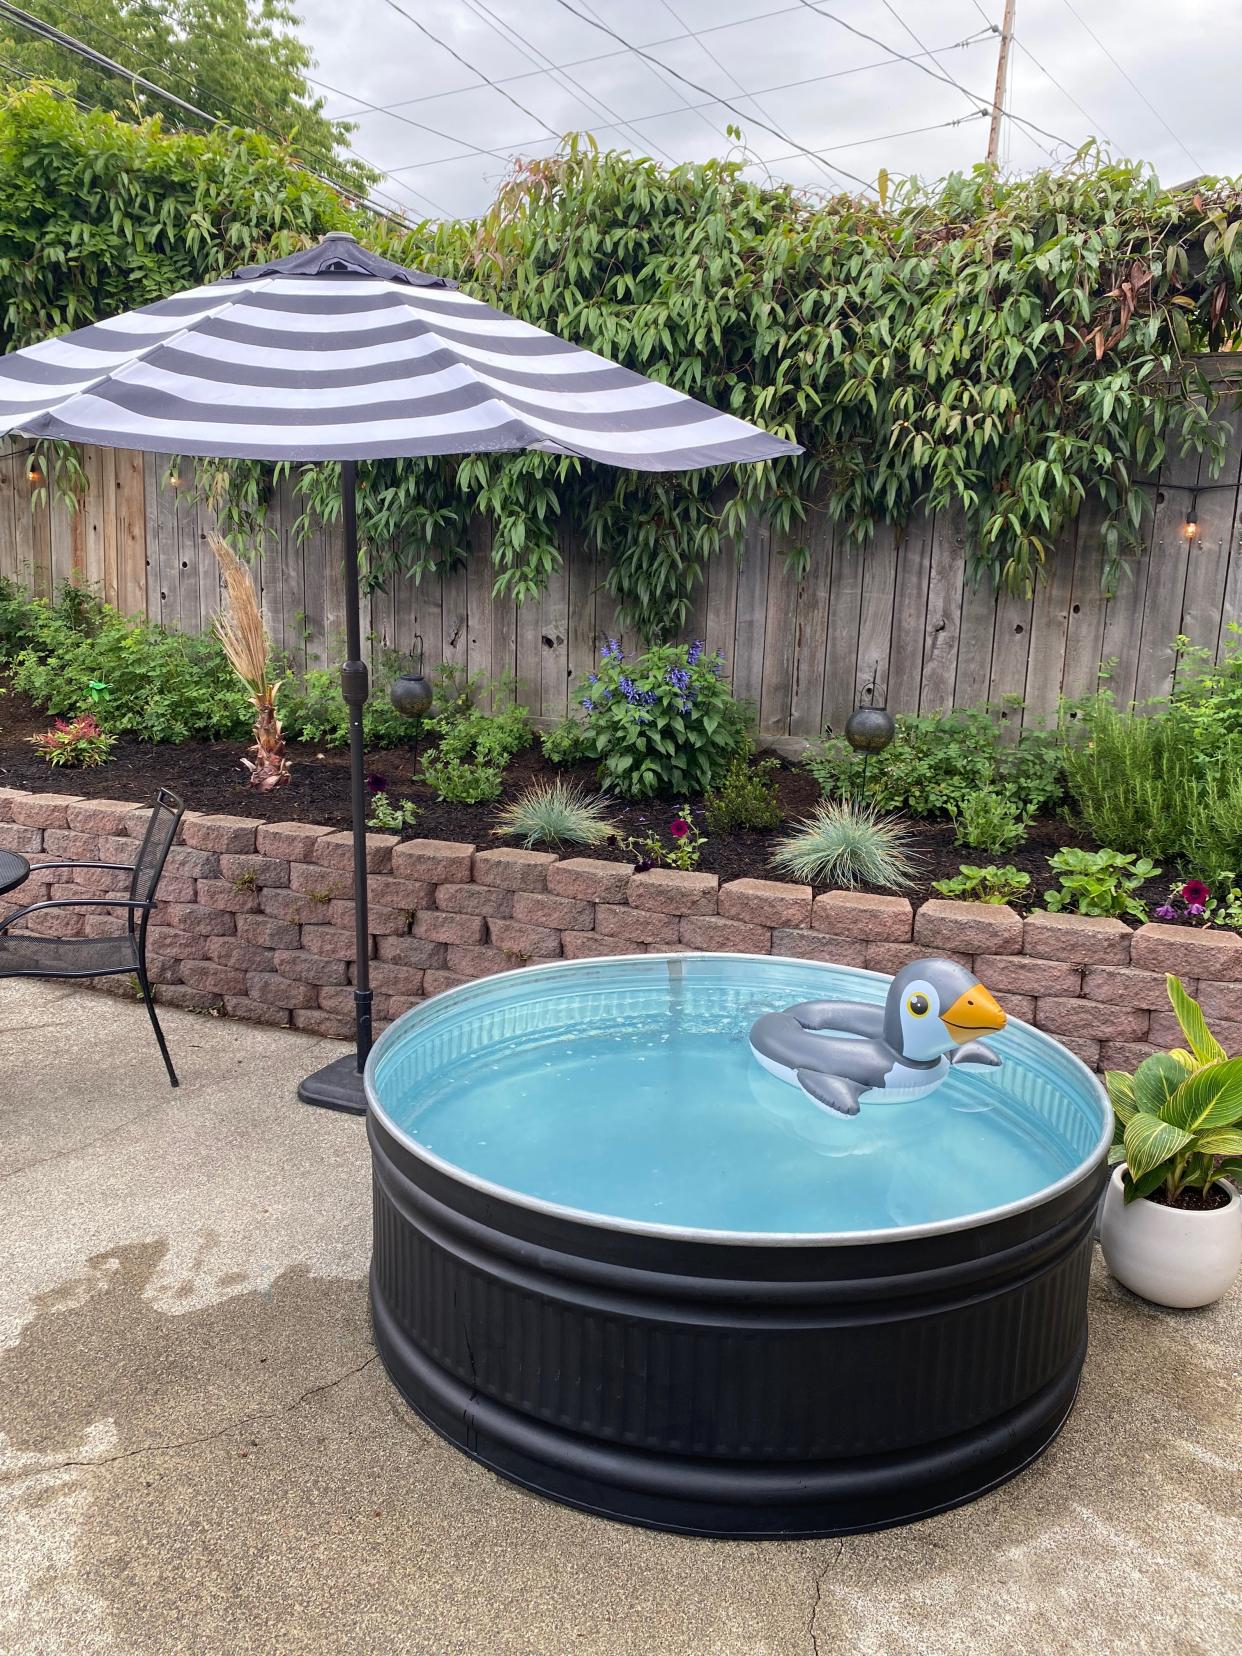
Finally, the backyard is beginning to feel less like an oversight and much more like an outdoor living space. Out of all of the things we have done to improve the way we use and enjoy our backyard, making the stock tank pool is my favorite. It adds so much personality to the space. We’ve only had it set up for two weeks and have already used it so much, even on days you might not think are hot enough. Having a clean little pool like this to dip into during last summer’s heat dome would have felt heavenly. So now we are ready for the next.
Breaking a project or idea down into doable steps is what we do in the real world when we want to get a project done. Here is how I made our stock tank pool dreams into a reality.
1. Gather inspiration
I scoured Pinterest and Instagram for ideas on how to make the stock tank look, well, less like a stock tank. You can paint them, build decks around them, and even sink them into the ground and landscape around them. Decide what sort of vibe you want your little pool to give off and how much work you want to put into incorporating it into your yard.
2. Do your research
YouTube is the place for this. This is a pretty straightforward DIY project that doesn’t require a high level of skill, just some guidance and the right tools. There are dozens of videos on how to convert the stock tank into a chlorinated pool with a filtered pump, and plenty of tips on painting them and incorporating them into your landscape. Many of the videos have a list of supplies with links on where to buy them. Order everything ahead of time so you have all of the things you need on hand when you start. I think we ended up spending around $550-$600, including the tank.
3. Pick your size
Do you want a round 8-foot tank, with ample space for your family of four, or will a smaller oblong tank for one or two do the trick? These tanks are not truly meant for swimming but more for splashing around or kicking back on a floatie. How much room do you have for it in your yard? Be sure your site is as level and solid as possible. Will it fit in your truck? If you end up buying your tank at Wilco, they can deliver it for a small fee, but it may take them a few weeks to get it to you. Also be aware that the retailer’s sizing for selling the tanks is not their true size. Our “6 foot” tank is actually 5 feet 3 inches in diameter.
4. Paint it first
If you are going to paint the outside of your tank, do it before you fill it with water. It will be easier to move around the tank if it’s not hooked up to the pump, and you won’t have to strive to keep the outside of the pool completely dry while painting it. There’s a little surface prep involved, but once that’s done you’ll just need to prime it and give it two coats of waterproof or marine grade paint with a foam roller. I chose a matte black finish for ours.
5. Drill into it and fill it
Simply put, converting a stock tank into a pool is a matter of drilling two holes, attaching a small pool pump and filling the thing with water. Your YouTube research will give you the in-depth steps, but overall, the process is pretty quick and easy. The hardest part for me was deciding on where to put the holes and watching Chris drill them!
6. Take a dip!
I have three words for you: cold water therapy. It’s always a bit cold the first time you get in, but totally invigorating! When we had a 95-degree day, however, the water felt perfect. Add floaties for fun, and pool noodles to cradle your neck and shoulders. Once we added the inflatable beer koozies, we felt like we were living the dream. I’m now looking into ways to convert the tank into a hot tub for winter… because I need another project!
Betsy Kornelis is a local decorator. Find her at paisleyandpine.com.

This article originally appeared on Kitsap Sun: Summer DIY: Turn a stock tank into a small backyard pool
