Taste: Whether making falafel or gyros, pitas are the hero bread
Why are pitas so much better than regular bread?
A wrap made on a pita feels far more fun and fancy than a sandwich, even with the same fillings.
Pitas are actually one of the world’s oldest breads, with origins dating back at least 4,000 years in the Middle East, according to Mashed, an online culinary publication. While there’s a general history of this flatbread, the exact origins are hard to trace because it goes back so far.
Early versions were made with the sourdough method, leaving about a pita’s worth of dough to ferment with yeast found in the air until it was time to make the next batch, according to Mashed. Now, we can use yeast found in the baking aisle of the grocery store.
Pitas made their way to the U.S. like many other foods — with Greek immigrants in the mid-20th century, according to Mashed.
Pitas are one of many flatbreads found around the world. Pitas are defined by the pocket of air that’s created when cooking.
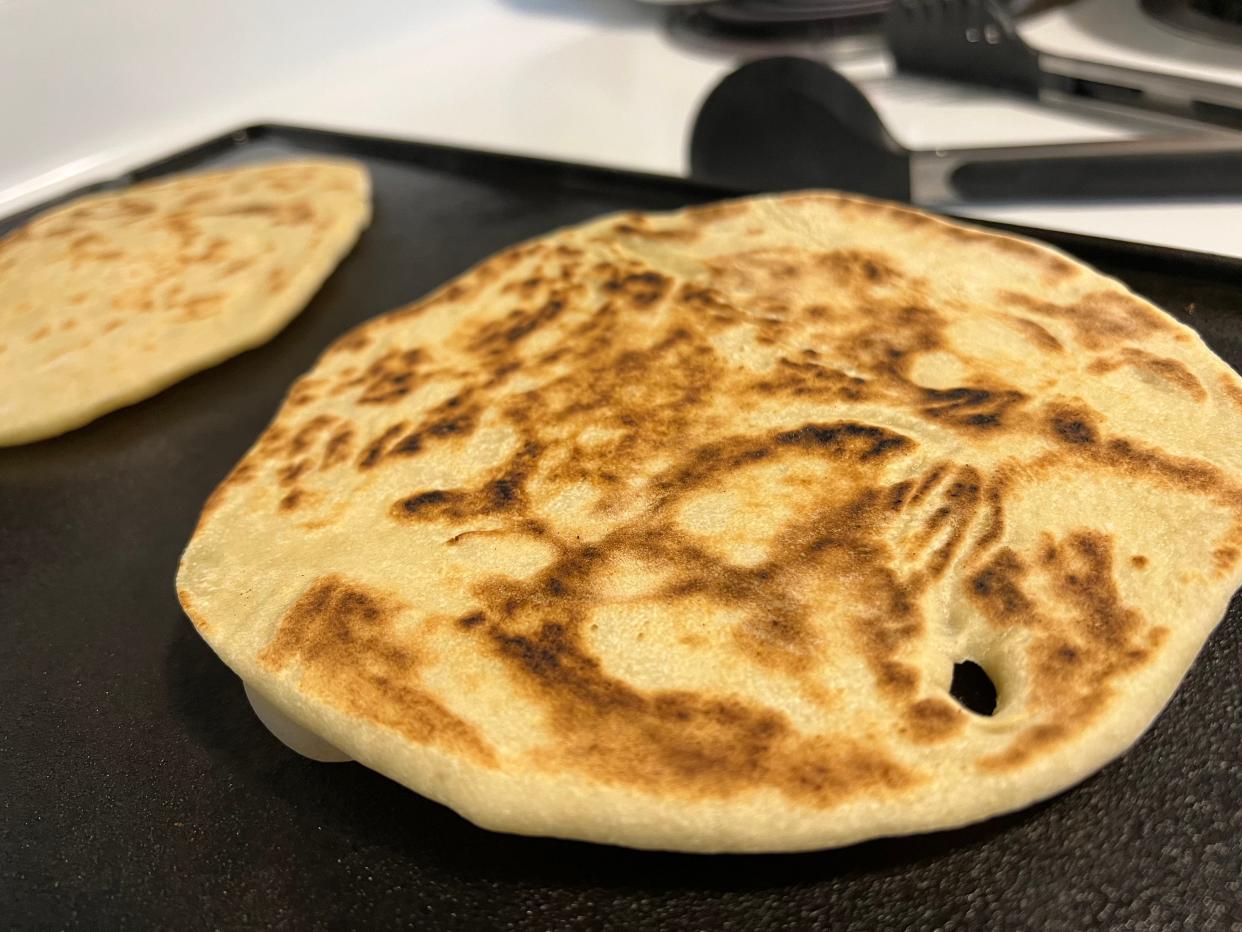
The easiest way to cook pitas is on a dry, flat surface like a flat-top griddle, electric fry pan or even a lefse griddle, but there are recipes that use the oven.
It’s important to make sure the cooking temperature is hot enough. If it’s too cool the pitas will still turn out yummy, but will lack their signature pocket.
That pocket is where we stuff all the goodness, like falafel or gyro meat or just a bunch of garlicky hummus.
To make sure these turn out, there’s a lot of waiting around. There’s the initial rise time of two hours, the ball rest time of 30 minutes and then the rolled-out rest time of 10 to 30 minutes. But all that down time is worth it for the perfect pocketed pita.
Use those hours to prep and cook fillings.
I love how different types of bread are all just about the same thing — yeast, flour, water, salt — but different mixing methods, different additions like eggs or oil and different rise times can produce completely different breads.
Pitas, with such ancient origins, are the simplest combination of flour, yeast, water, sugar, oil and salt.
In addition to being the perfect vessel for a gyro, pitas work well as the bread for a standard sandwich or as the crust for pizza — just add some toppings and bake at 350 until the cheese is melty.
As with anything, of course it’s acceptable to buy pitas from the store. They can usually be found in the bread aisle or the deli aisle, depending on the store.
But taking the time to mix up dough and make them at home just adds one more layer to the specialness of a meal.
Pitas
Ingredients
1 cup lukewarm warm water.
1 tablespoon sugar.
2 1/4 teaspoons (1 package) active dry active yeast.
2 1/2 cups all-purpose flour, to start.
1 tablespoon extra virgin olive oil.
1 3/4 teaspoons salt.
Instructions
Add the warm water, sugar and yeast to the bowl of a stand mixer along with one cup of flour. Whisk everything together until uniform and set it aside for 15 minutes. The mixture should bubble and foam.
Add the olive oil and salt, along with 1½ cups of flour. Mix on low speed, using a dough hook attachment, until the dough is soft and no longer sticks to the sides of the bowl. If it does stick, add an additional 1/4 cup of flour at a time.
Knead on low for five to six minutes. Remove the dough from the bowl, turn it out onto a floured work surface and form it into a ball.
Lightly oil a large bowl and place the dough inside. Turn it over to coat it with oil, and cover the bowl with a clean kitchen towel. Allow the dough to rise in a warm area for two hours or until doubled in size.
Remove the dough from the bowl and place onto a floured work surface. Form the dough into a large ball and cut it into eight pieces using a sharp knife. We roughly estimate here, but if you would like everything to be even, use a food scale to weigh out each dough piece to ensure they are equal.
Form each piece of dough into a small ball, pulling dough from the sides and tucking the ends underneath the bottom. Place the balls about an inch apart onto the floured work surface and cover them with a lightly oiled piece of plastic wrap. Allow the dough to rest for 30 minutes.
Once rested, roll the dough balls out into flat and round pitas, about 1/4-inch thick. Allow the dough to rest for 10 to 30 minutes. The longer the dough sits, the more likely it will form a pocket in the pita when cooking.
Brush a cast-iron skillet with a tiny bit of olive oil and place it over medium-high heat. Add the pita bread dough into the skillet and cook until bread begins to puff up and the bottom has browned, about two to three minutes. Flip and cook for two minutes more. Although it is ideal that the pita bread will begin to puff up and fill with hot air to get the perfect pockets, it is not necessary or always expected. Wrap the cooked bread in a clean dish towel as you continue cooking the rest of the pita to keep them warm.
Best if served immediately. If not, the pita will last in the airtight container at room temperature for about five to seven days.
Recipe adapted from Sweet Simple Vegan at https://sweetsimplevegan.com/homemade-pita-bread/.
This article originally appeared on Aberdeen News: Homemade pitas good for sandwiches, pizzas, to stuff and more

