Two quick graphic tricks that return big results in a Word document
Word offers tools that you can use to customize text or objects to make a point or to emphasize the document's purpose and mood. We'll probably always need Word to create plain text documents, but when you need more, Word can help. In this article, I'll show you two easy-to-implement graphic tricks that will change a document's mood from familiar (boring) to unexpected and even fun.
You can follow along using the downloadable .docx and .doc files. Or you can create your own as you go.
Crop a picture to a shape
Word can display pictures in a document. Once you insert the file, you can position and format the picture as needed. Depending on the document's purpose, you might want to emphasize the picture a bit -- or you might want to call attention to it quickly by adding a bit of pizzazz. Both can be quickly accomplished by changing the picture's shape.
Figure A shows a simple example. The picture's border color and the line across the bottom of the header complement the barn owl's coloring, but that's it. There's nothing wrong with the simple look -- and given the document's purpose and overall mood, simple might be the best choice.
Figure A
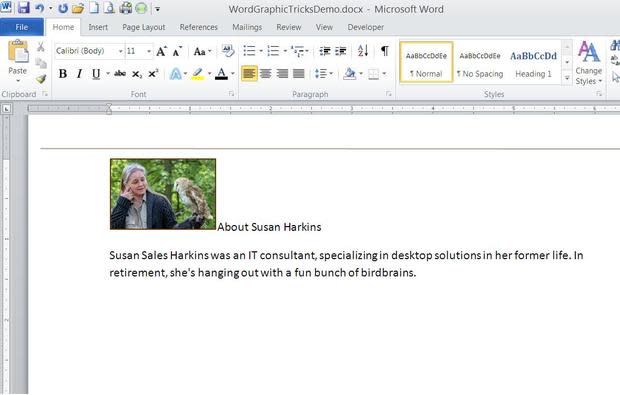
Picture files are almost always rectangular in shape.
Before you can spice things up though, you'll need a picture. Follow these steps to add a picture to a Word document:
Position the cursor where you want to add the picture.
Click the Insert tab.
In the Illustrations group, click Picture.
Using the resulting dialog, locate the picture and click Insert.
Once the picture is in your document, select it to display the contextual Format tab. From the Picture Border drop-down in the Picture Styles group, you can choose a color.
Word provides a number of ways to enhance the picture's display. The best way to learn about them is to explore the contextual Format tab. For instance, you can quickly create the effect shown in Figure B by selecting a built-in option from the Picture Styles gallery. There are too many features to highlight them all in this article, but don't neglect them. Explore them!
Figure B
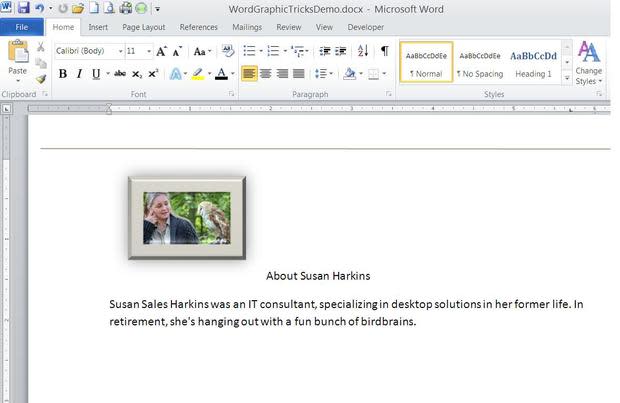
Quickly enhance pictures.
Now, let's suppose you want to emphasize the picture a bit. After exploring the available options, you might think of any number of ways to do so -- but for now, let's change the picture's shape as follows:
With the picture selected, click the contextual Format tab.
In the Size group, click the Crop option's drop-down.
From the resulting list (Figure C), choose Crop to Shape. The sub-menu will display a number of AutoShapes from which you can choose.
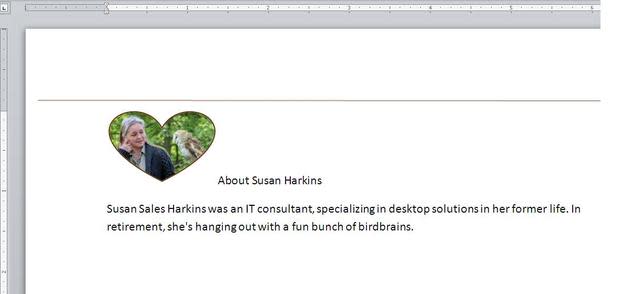
Figure CFigure C Figure D shows the result of choosing Heart from the Basic Shapes section.
Figure DFigure D

Word 2003 requires a bit more work, but the result is the same:
Insert the AutoShape using the Drawing toolbar.
Select the picture.
From the Format menu, choose Picture.
Click the Colors and Lines tab.
From the Color drop-down (in the Fill section), choose Fill Effects.
Click the Picture tab.
Click Select Picture and locate the file.
Click OK twice.
Create a SmartArt bullet list
Similar to changing a picture's shape, an ordinary list of bullet points can take on more flair when you use SmartArt. (SmartArt isn't available in Word 2003.) The bullet list in Figure E looks fine as is.
Figure E
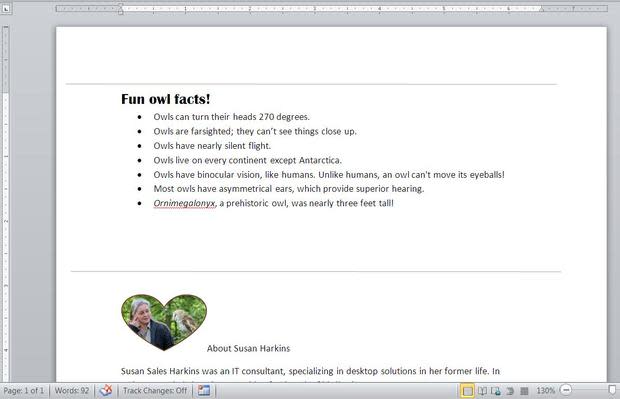
Word's default bullet lists look fine, as is.
If you want the list to stand out, consider using SmartArt as follows:
Select the list and press [Ctrl]+[X] to delete it (and copy it to the Clipboard -- we'll paste it back in a minute).
Click the Insert tab.
Click SmartArt in the Illustrations group.
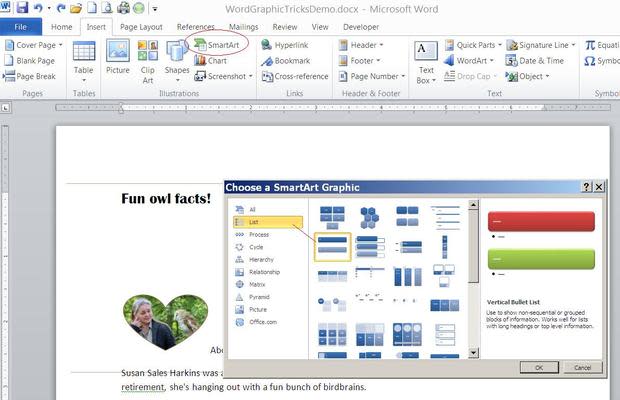
In the resulting dialog, select List (to the left).
Choose Vertical List 1 (Figure F).
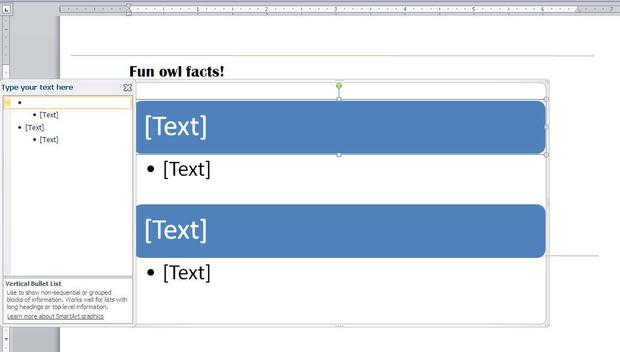
Figure FFigure F Next, click OK to insert the SmartArt bullet list (Figure G).
Figure GFigure G If necessary, click the expand arrow (circled above) to display the Text Pane (Figure H).
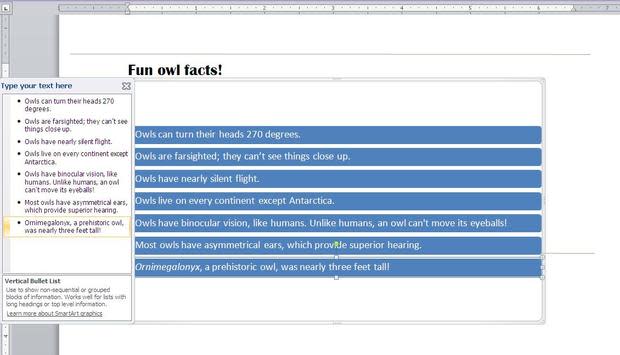
Figure HFigure H Select all of the sample bullet items.
Press [Ctrl]+[V] to copy the bullet list from the Clipboard into the SmartArt bullet list (Figure I).
Figure IFigure I

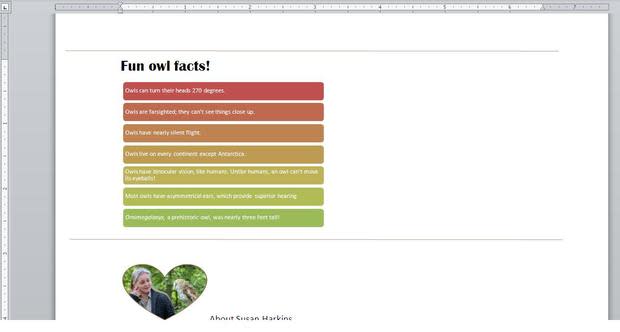
At this point, the SmartArt bullet list might need some tweaking. In Figure J, you can see that I reduced its size and changed the color.
Figure J
After inserting the SmartArt bullet list, you can treat it like another graphic.
Keep in mind that the text list is no longer text in the normal sense. It's now part of a graphic element. You can edit the text, but you must work within the confines of SmartArt. Fortunately, adjustments are easy to make.
To change the element's size, select it, and then use the selection handles -- these handles are at each corner and at the center of each border. Drag a corner to resize the element proportionally (maintain aspect ratio). To change the color, click the element, and then click the contextual Design tab. In the SmartArt Styles group, click Change Colors to display a gallery. In this example, I choose the second option from the left in the Colorful section.
SmartArt, like other formatting features, can be misused and overused. Remember that less is more; never use SmartArt just because you can.
Moody
My examples add fun and they certainly get the reader's attention. You can use these same tools to express any mood or emphasize a point, without being colorful or fun. Let your document's purpose guide you -- and remember, subtle is always in style.
Send me your question about Office
I answer readers' questions when I can, but there's no guarantee. When contacting me, be as specific as possible. For example, "Please troubleshoot my workbook and fix what's wrong" probably won't get a response, but "Can you tell me why this formula isn't returning the expected results?" might. I'm not reimbursed by TechRepublic for my time or expertise, nor do I ask for a fee from readers. You can contact me at susansalesharkins@gmail.com.

