This Viral Whole Foods Cake Won't Stop Selling Out, So I DIY'd It — And It Was Just As Delicious
I don't know about you, but this berry Chantilly cake from Whole Foods has been allllll over my FYP lately.
It's a vanilla cake with mascarpone and cream cheese frosting, topped with fresh berries. Yes please!
It all started 13 years ago in New Orleans, when a Whole Foods baker originated the recipe after recalling her grandmother's masterpiece. The cake was so good that the recipe spread, and a bunch of other stores started to sell it.
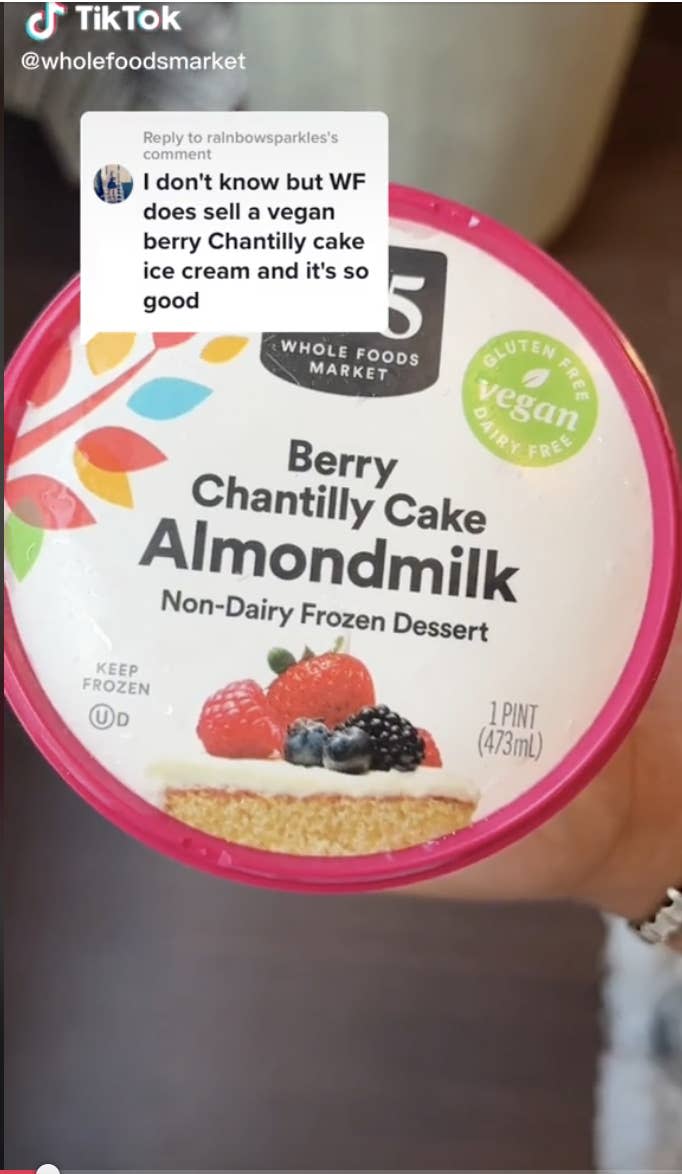
It's so popular that Whole Foods even decided to make it an ice cream flavor!
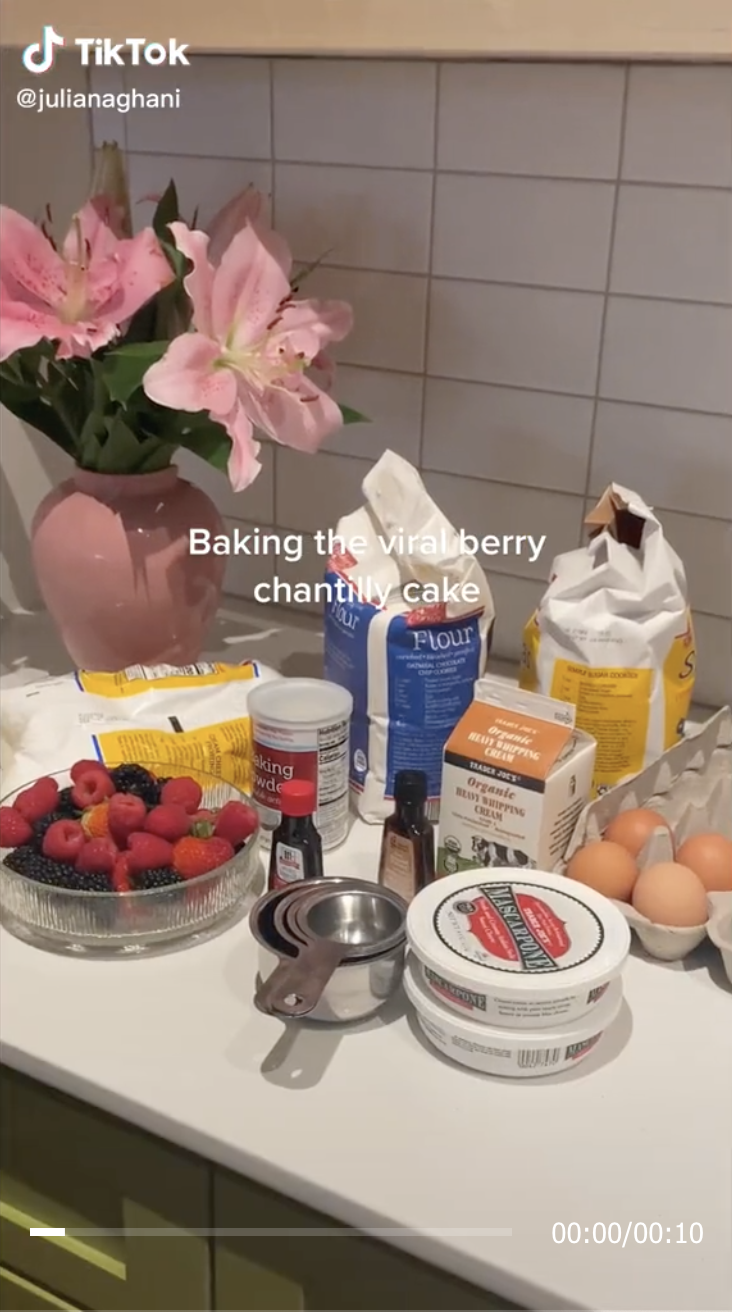
The cake has certainly seemed to take TikTok by storm and has inspired many users to re-create the dessert at home. One person who goes by @julianaghani re-created the recipe in a clip that now has over 1.3 million views.
After seeing all of the buzz on TikTok, I knew I needed to run to my nearest Whole Foods to try it. But to take it one step further, I decided to re-create the recipe at home, too.
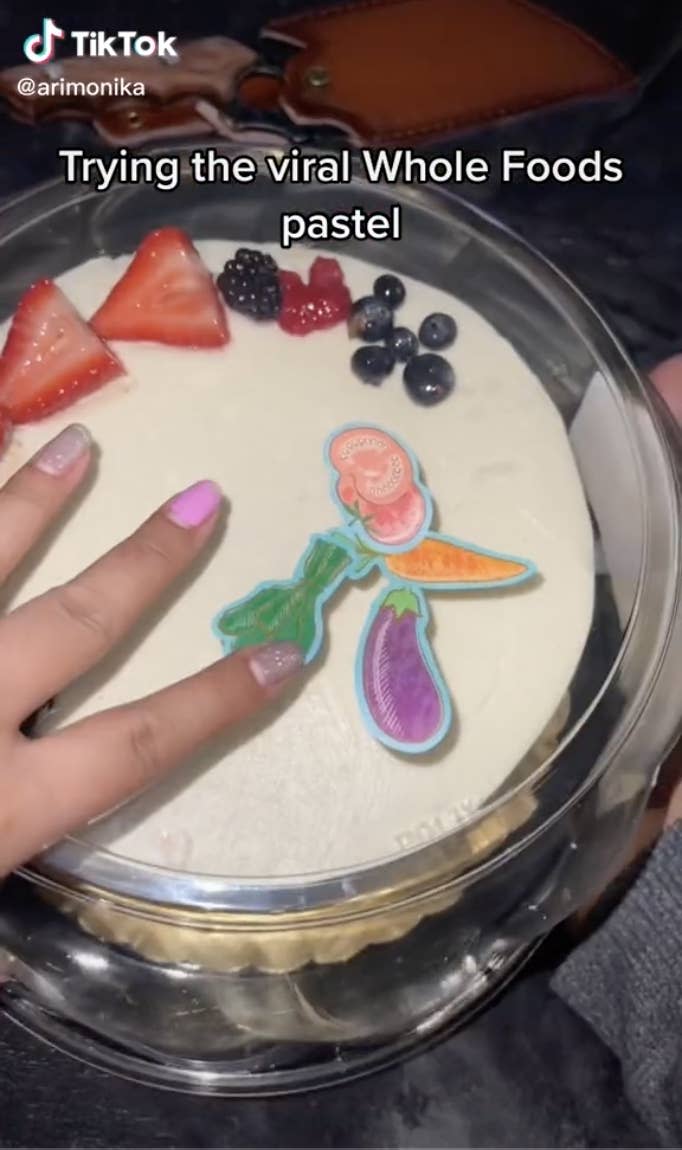
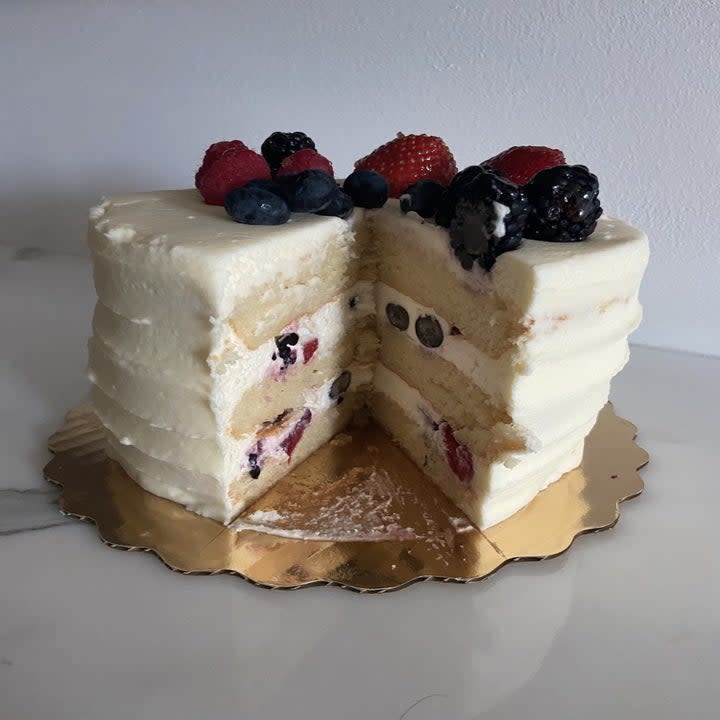
But first, to see what I'd even be DIYing, I got my hands on the $30 cake.
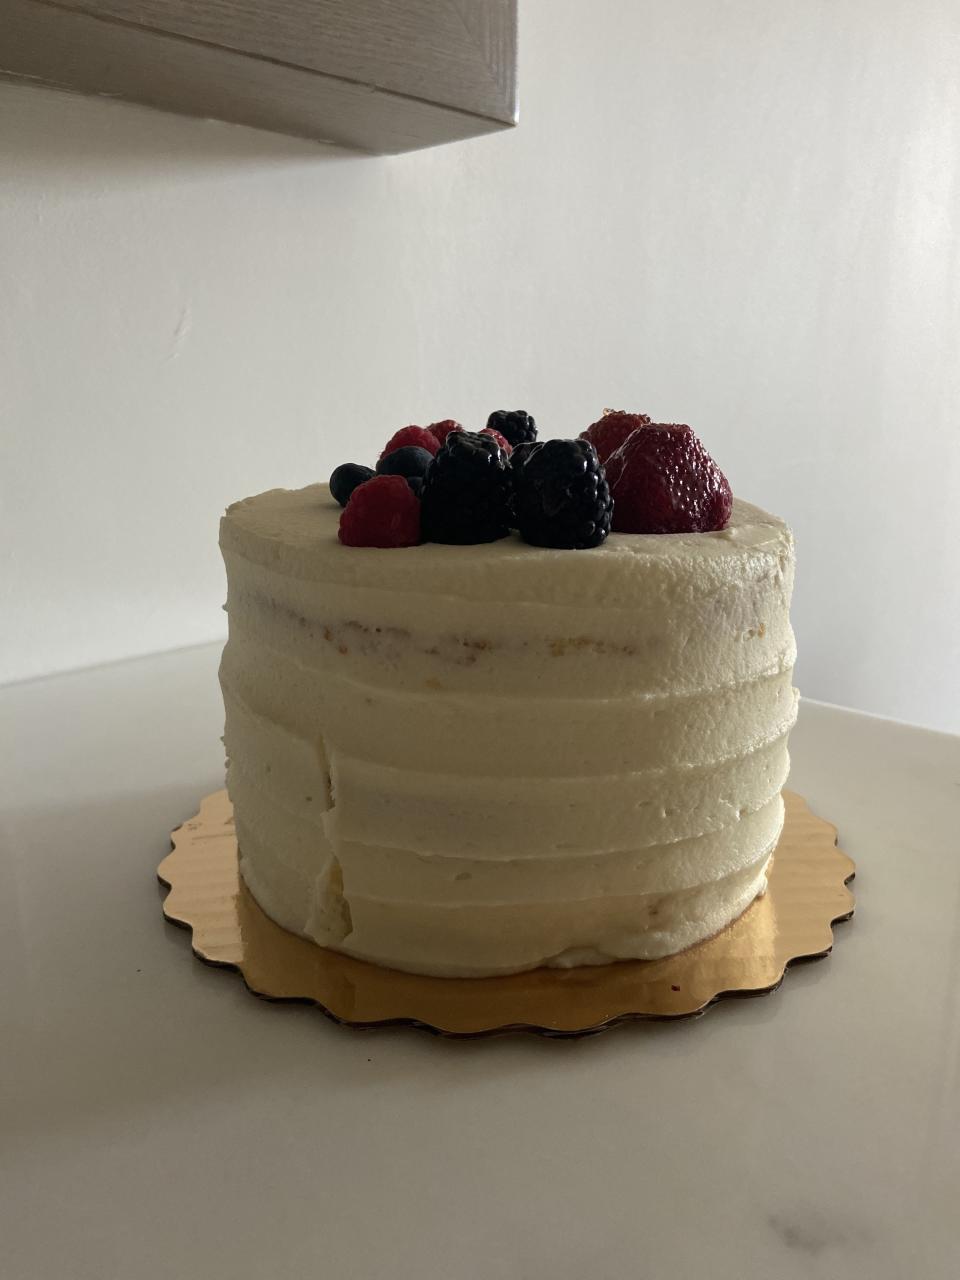
First of all, let's just admire how pretty this cake is. It certainly looks like cake royalty. I was definitely very excited to try it.
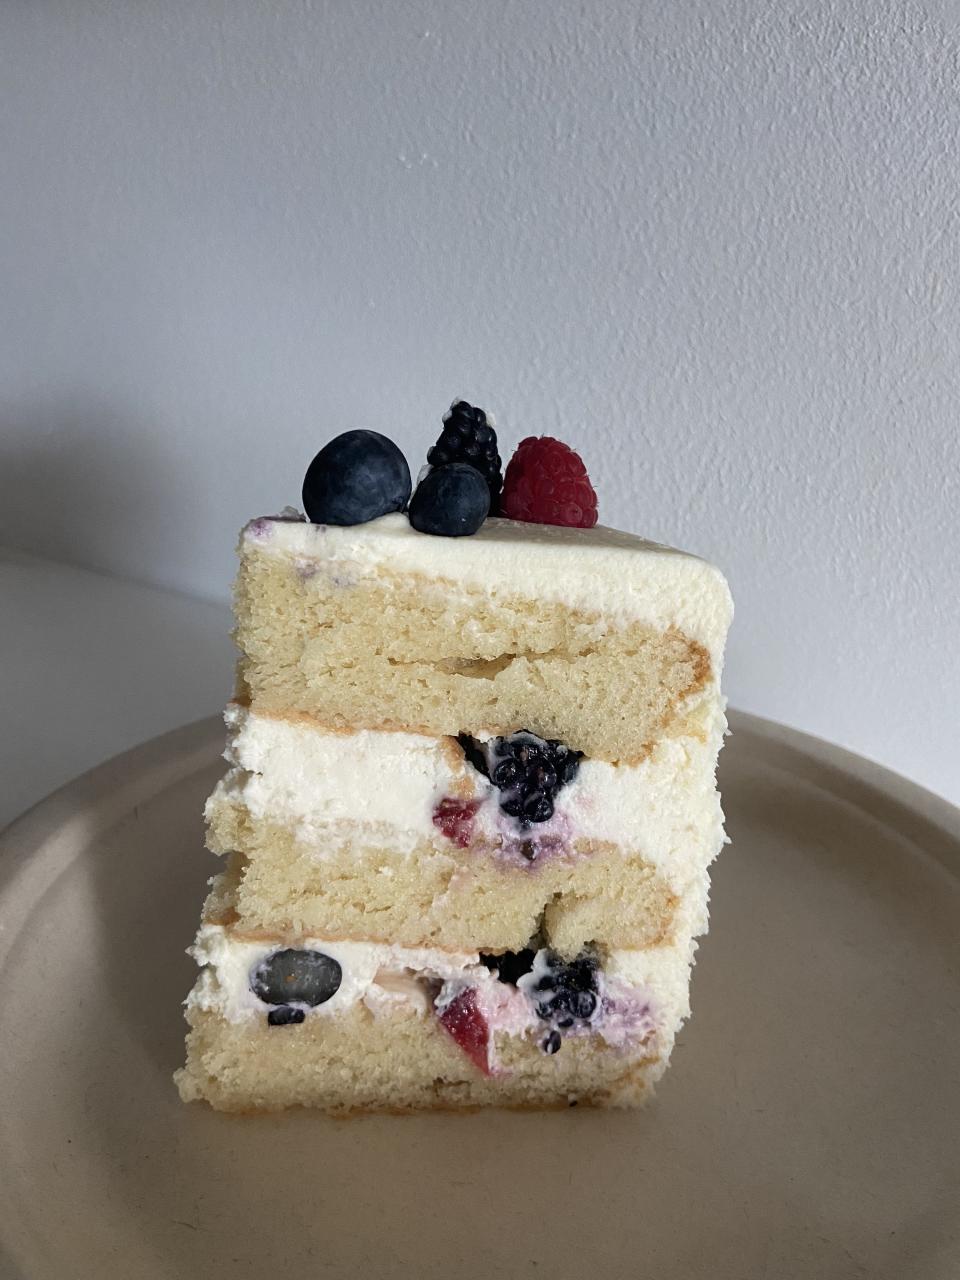
The 6-inch version has three layers of cake and frosting, with berries in the middle and on top.
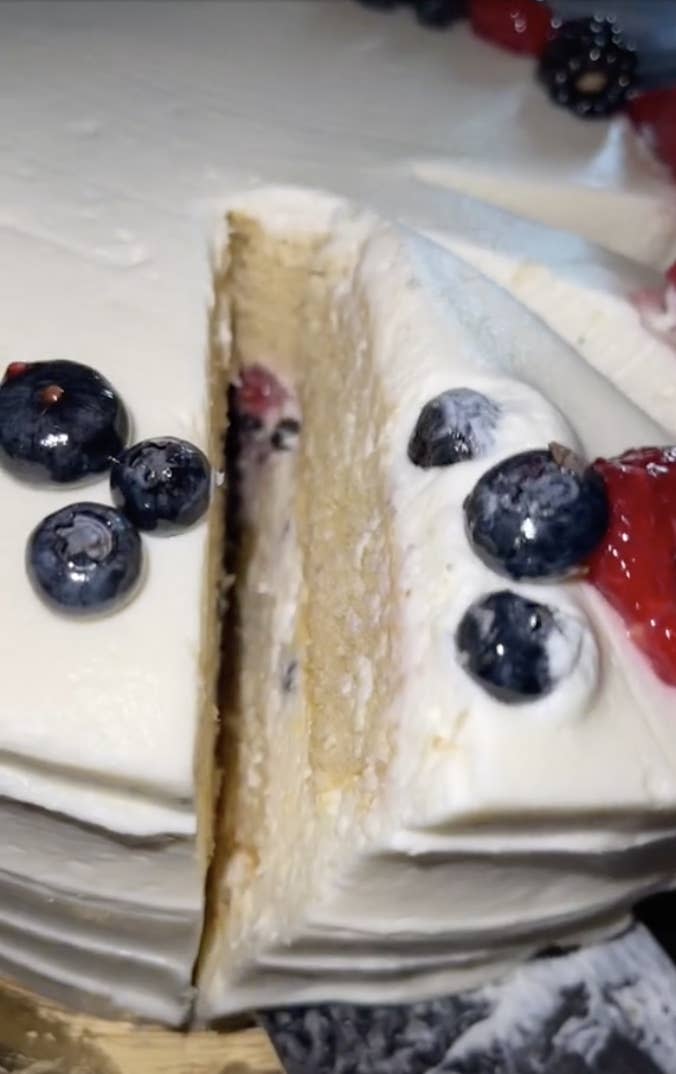
I was actually really pleasantly surprised at how light and "whipped" the frosting was. I was worried the frosting was going to be wayyy too sweet, but I thought there was a perfect amount of sugar in it. I also liked that the frosting complemented the natural sweetness of the berries.

However, the cake itself was a little dry, which was disappointing. Despite that, the cake as a whole was pretty good, and I can see why this would go viral on TikTok. It really reminded me of a strawberry shortcake — but somehow ✨elevated✨.
Now, it was time to bake the cake for myself. Whole Foods has not posted the official recipe for the cake anywhere, but there are some copycat recipes online. I ultimately decided to follow user @julianaghani's recipe, but made a few tweaks after reading some of the comments.

BTW, I am NOT a baking professional by any means — I am simply a girl who likes to eat cake. I hope this recipe will inspire some people to bake this dessert with their own twists on the original thing!
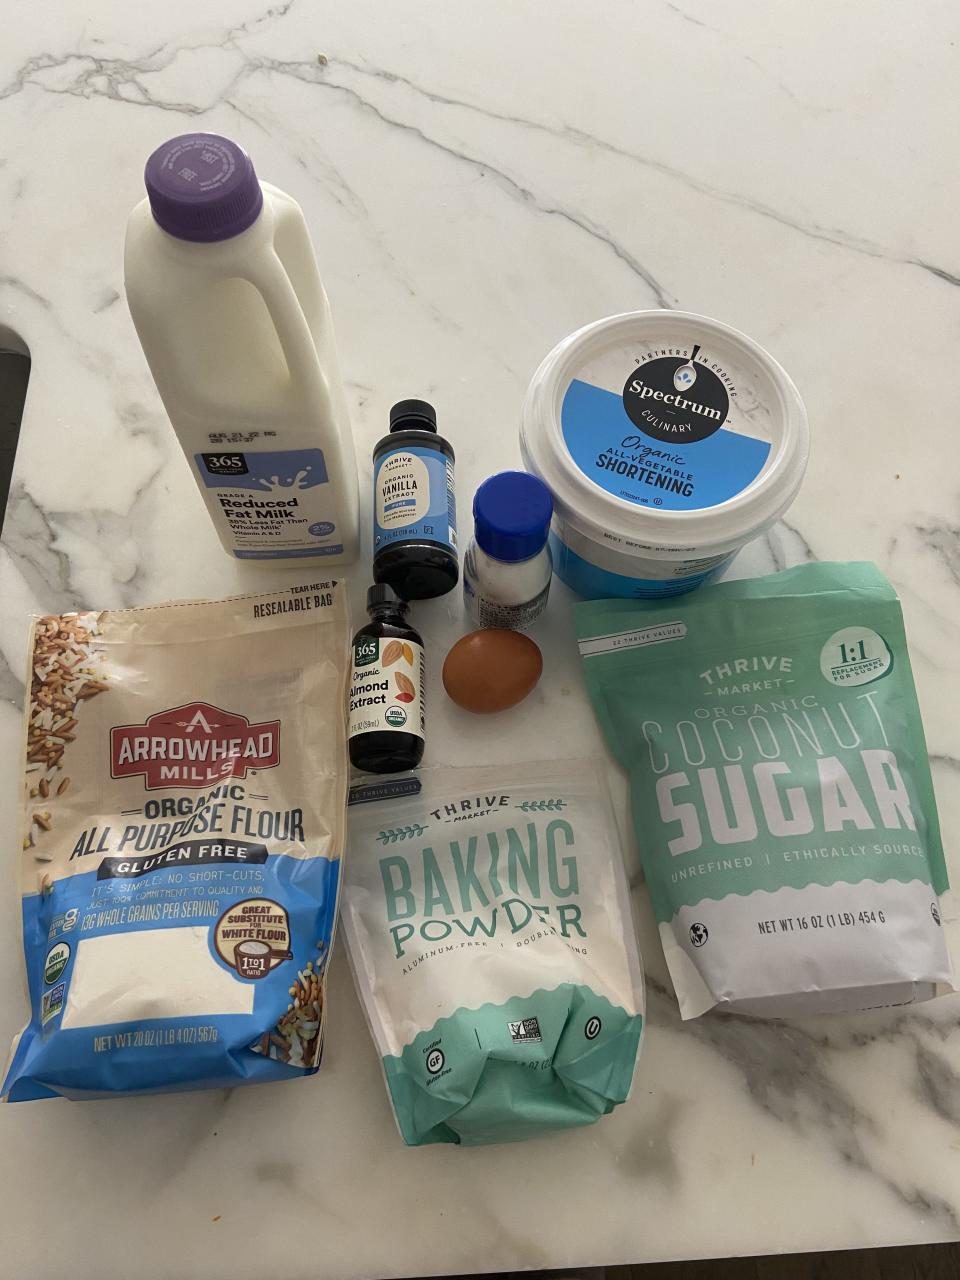
I began with the cake batter. For this, you'll need flour, 2% milk, vanilla extract, almond extract, shortening, baking powder, and sugar.
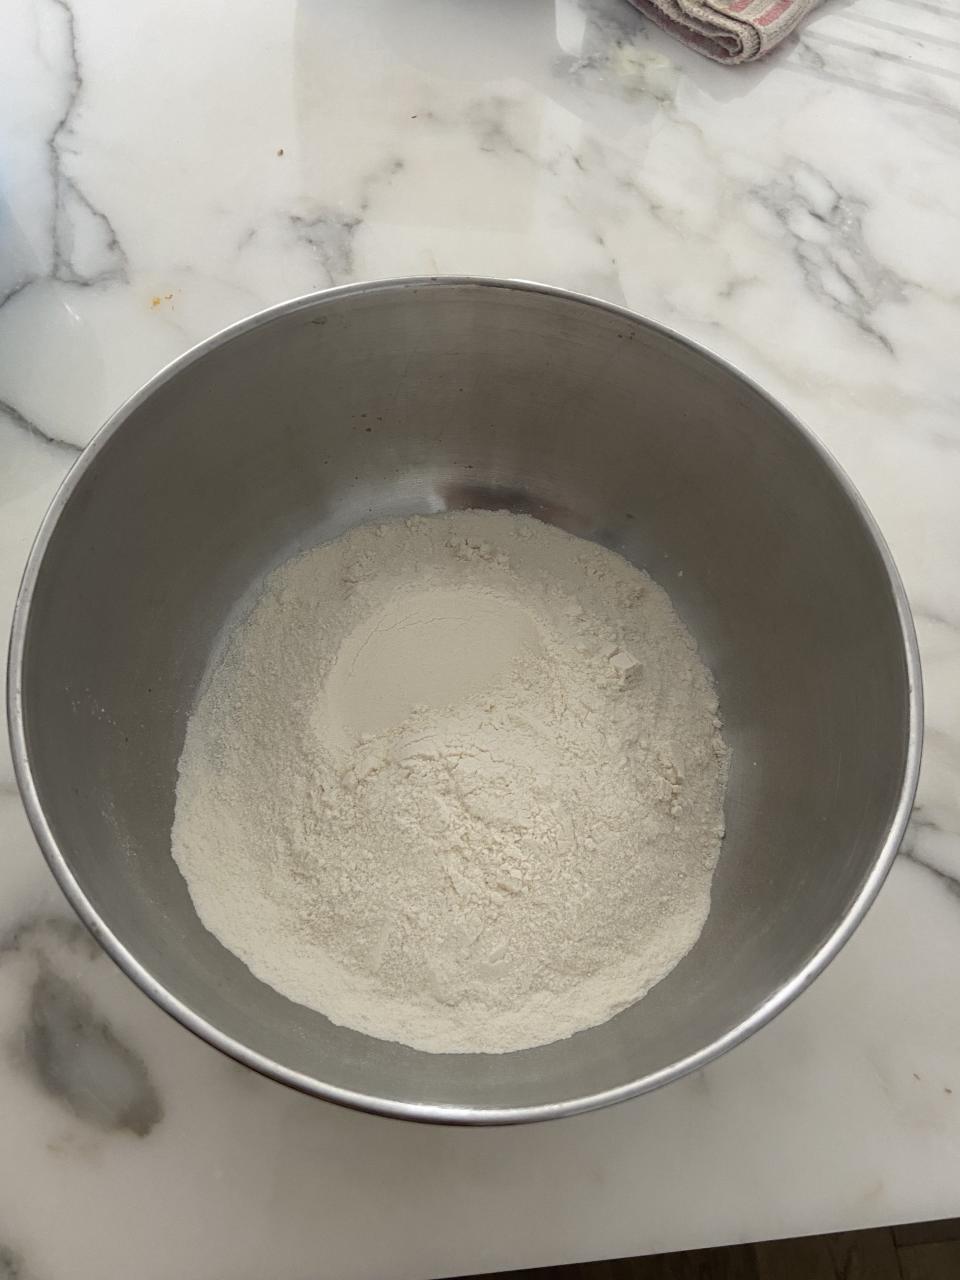
Before I started making the batter, I preheated my oven to 350 degrees. Once that was out of the way, I measured out 1 1/4 cups of flour into a large bowl.
I then poured in 1 cup of sugar.
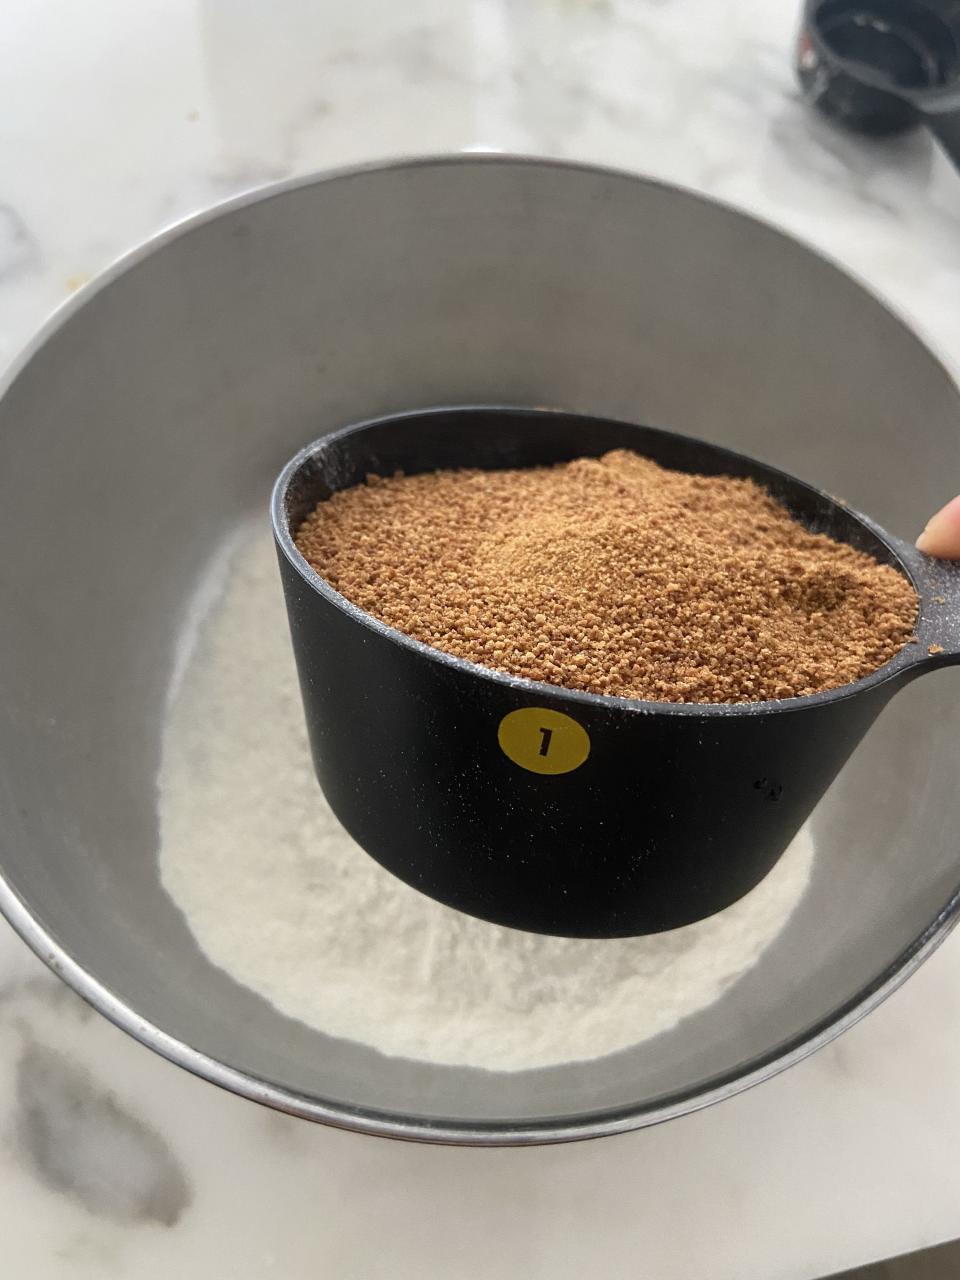
I used coconut sugar since that's what I had, but regular white sugar works as well. In most baking recipes, coconut sugar can be used as an alternative to white sugar at a 1:1 ratio. I should note that the coconut sugar did turn the cake brown, but it had no effect on the eventual flavor, just the aesthetic.
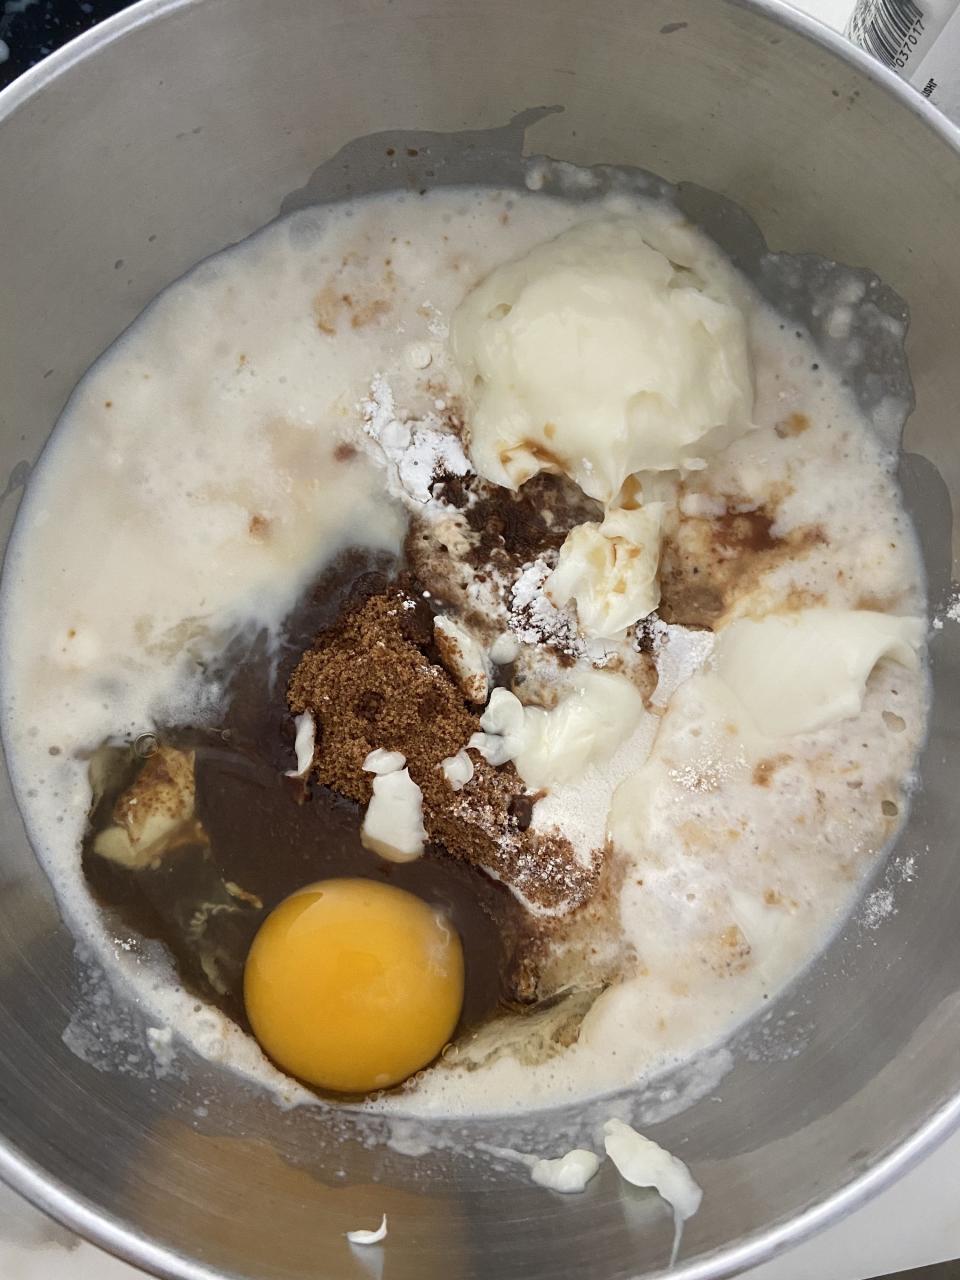
After the sugar, I added 1 1/2 teaspoons of baking powder, a 1/2 teaspoon of salt, 3/4 cup of milk, 1/3 cup of shortening, 1 egg, 1 teaspoon of vanilla extract, and 1 teaspoon of almond extract.
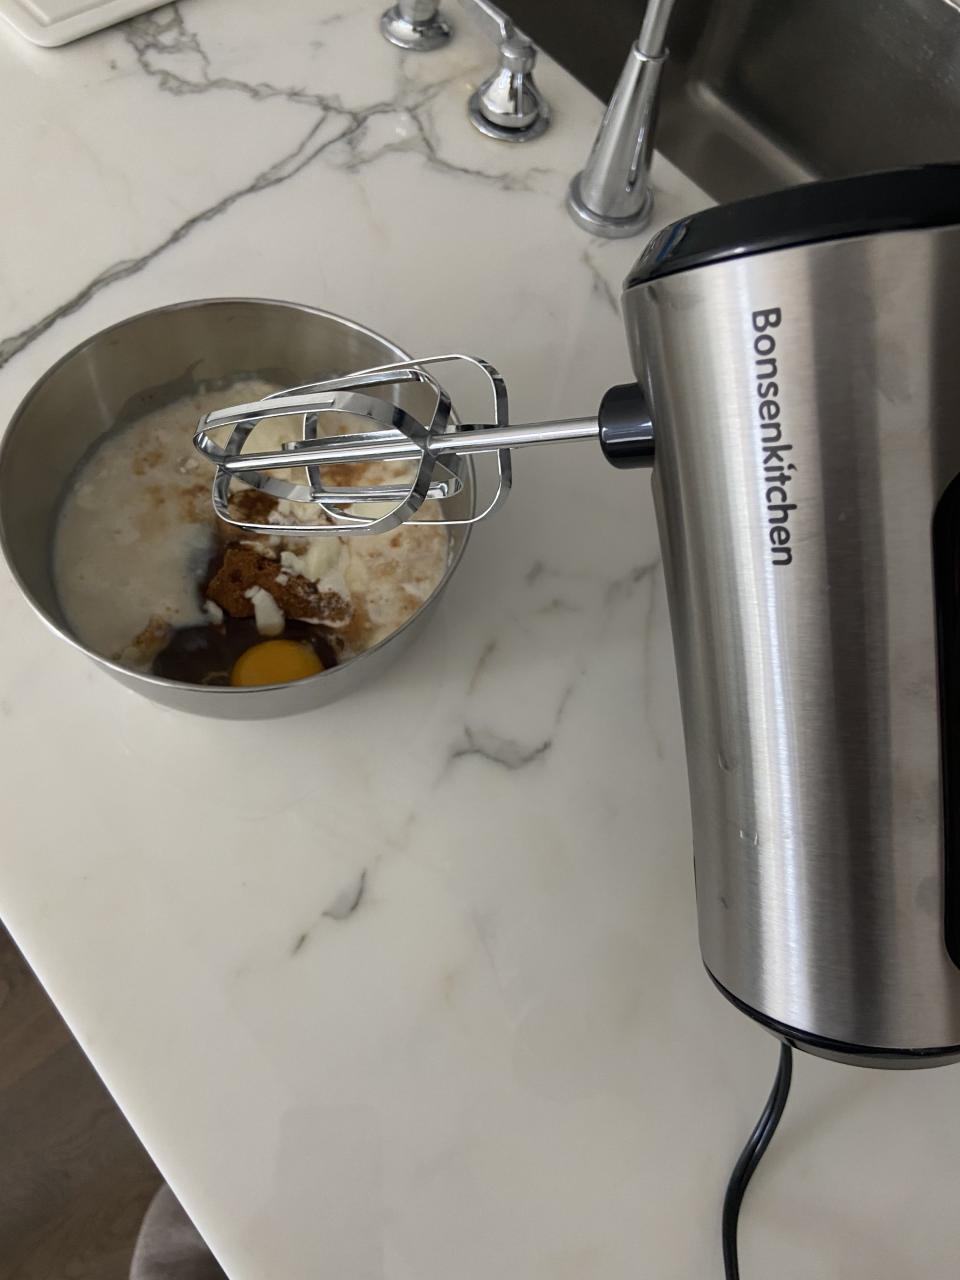
Then, using a mixer, I blended all of the ingredients until it turned into a smooth consistency.
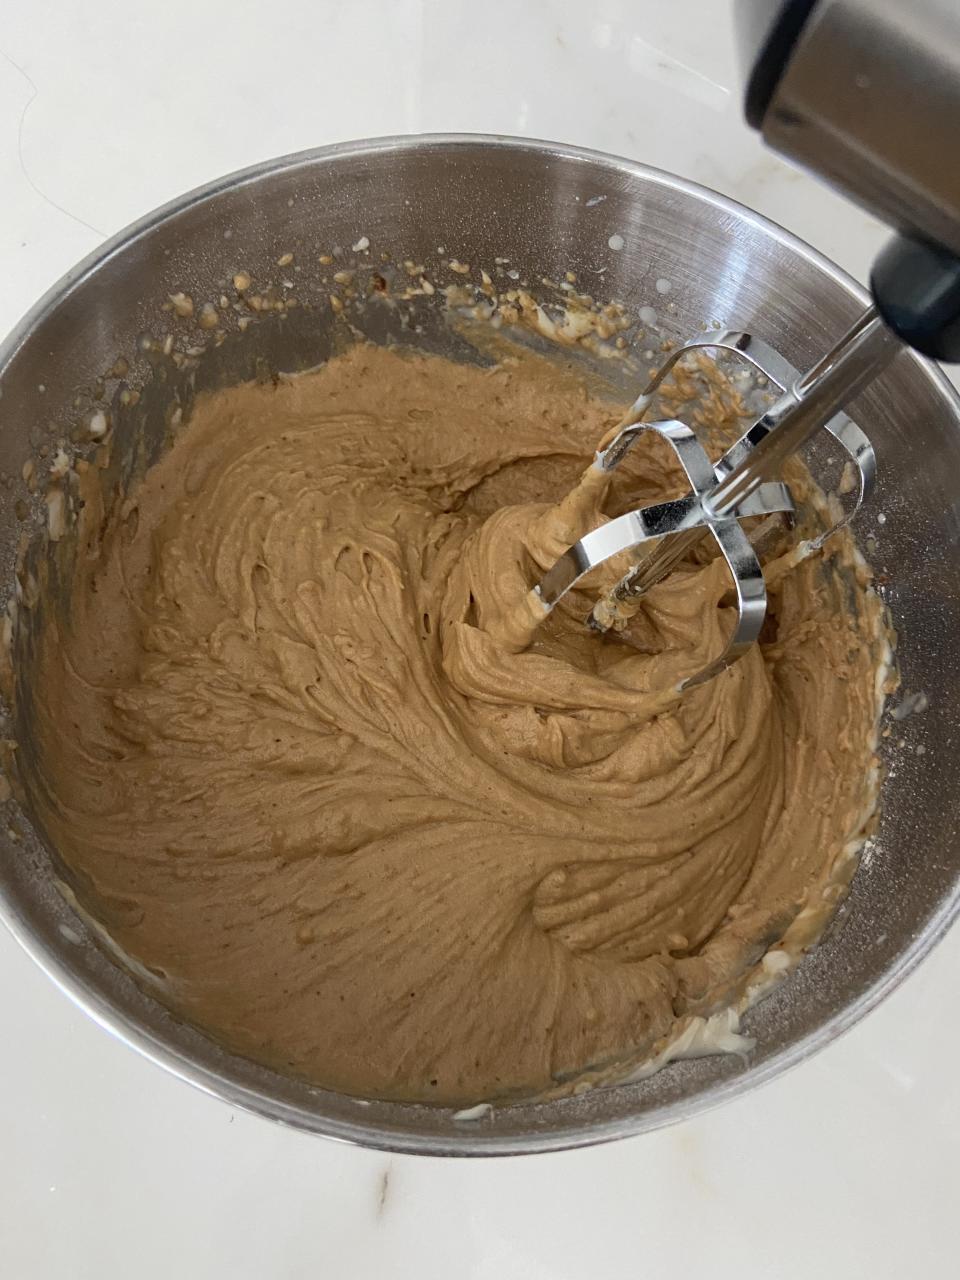
It turned out like this! The batter should be on the thicker side.
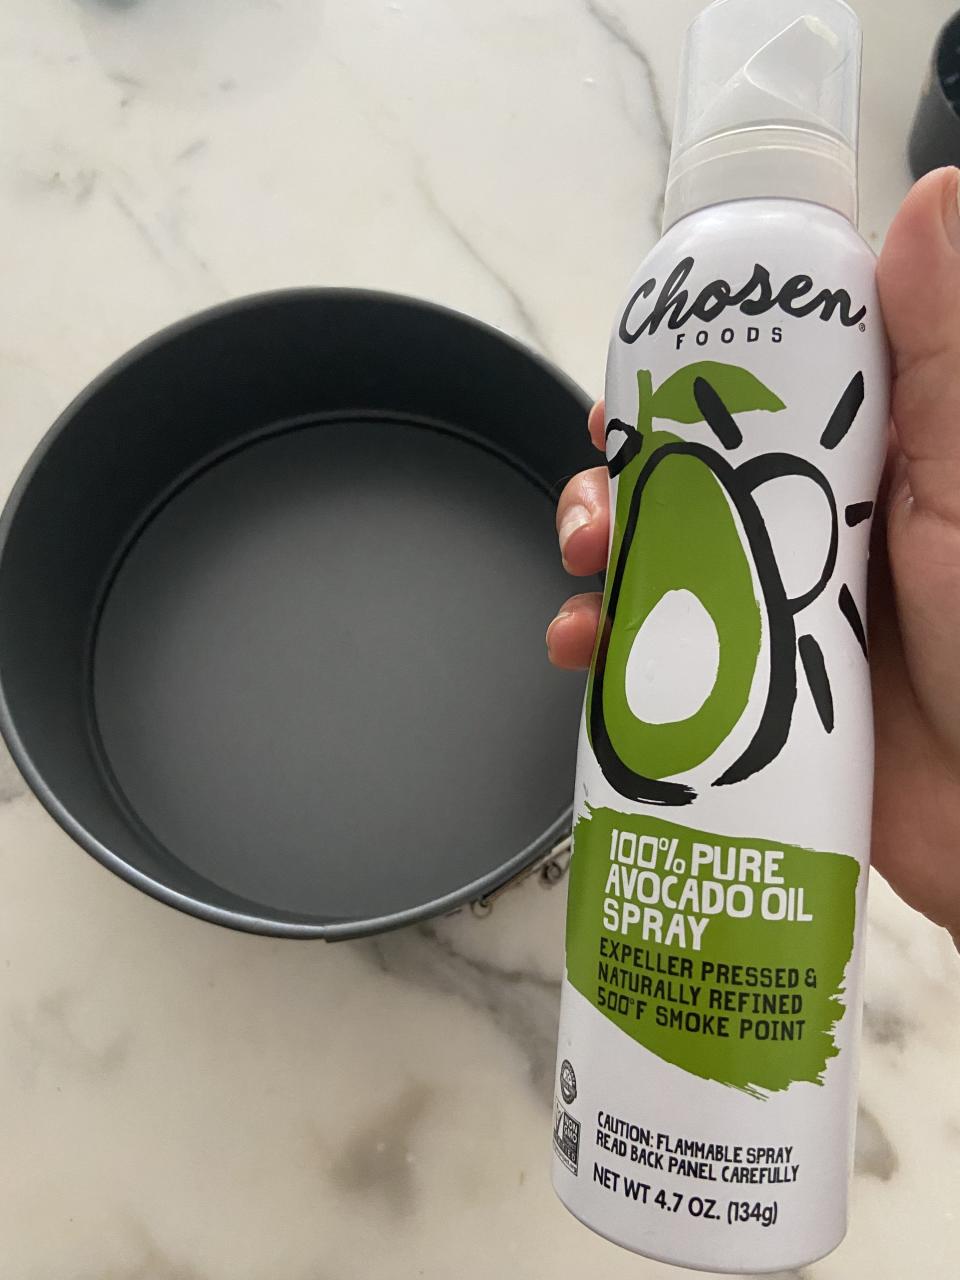
I then sprayed a light layer of avocado oil in a 6-inch cake pan before pouring in the batter.
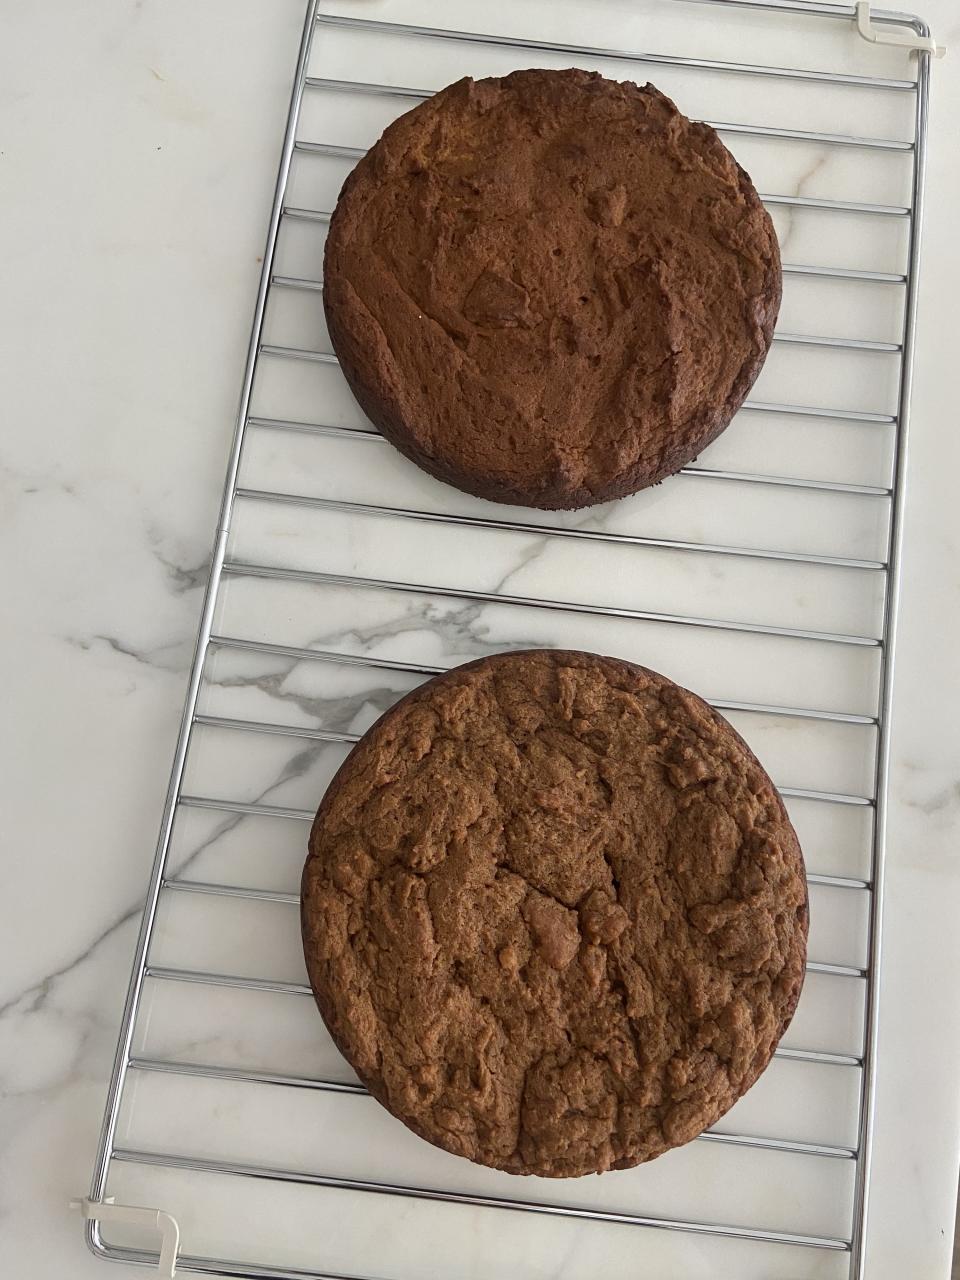
Once the batter was nicely lined in the pan, I placed it in the oven and let it bake for 30 minutes.
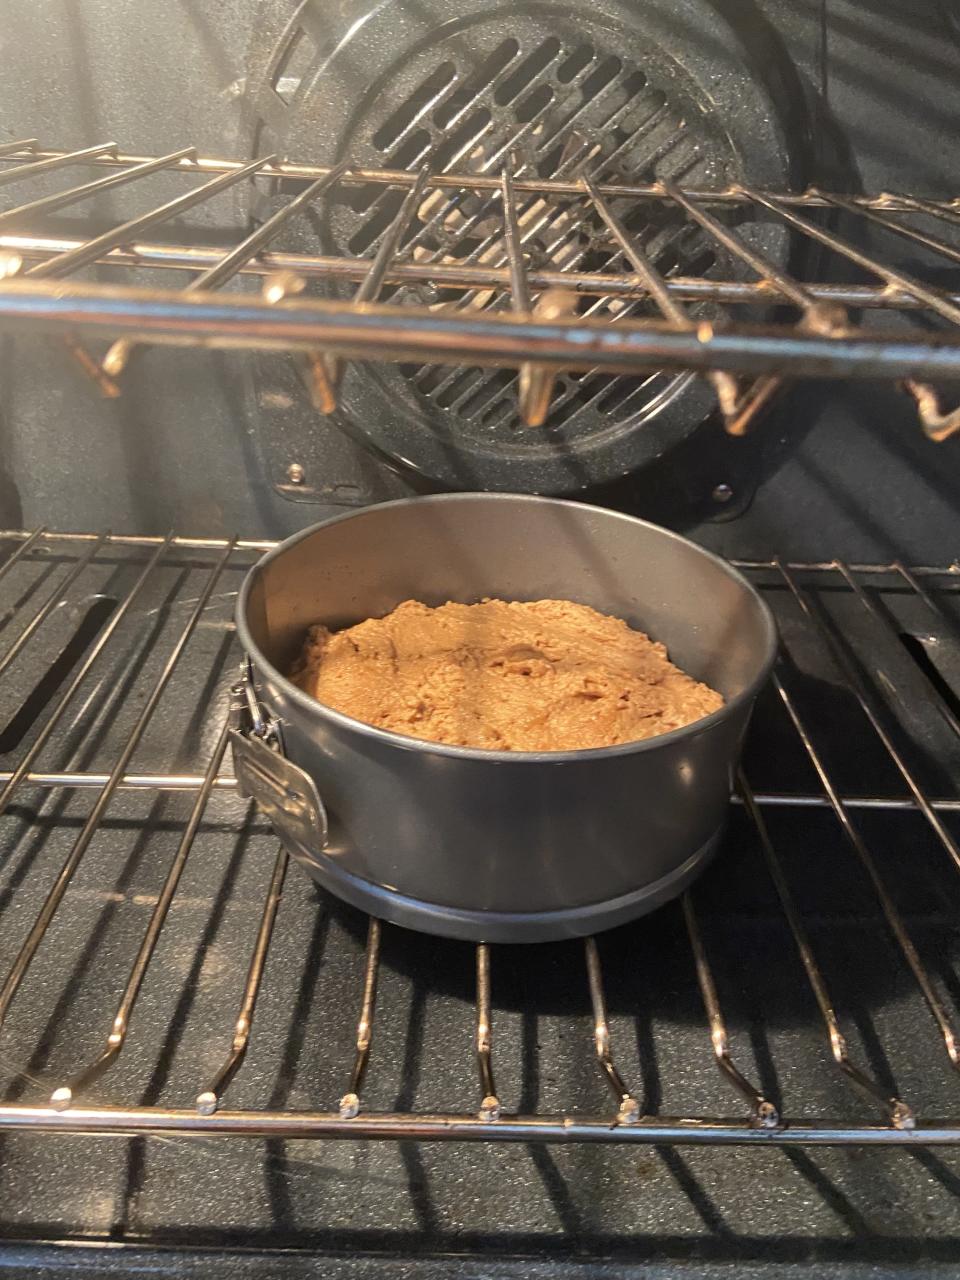
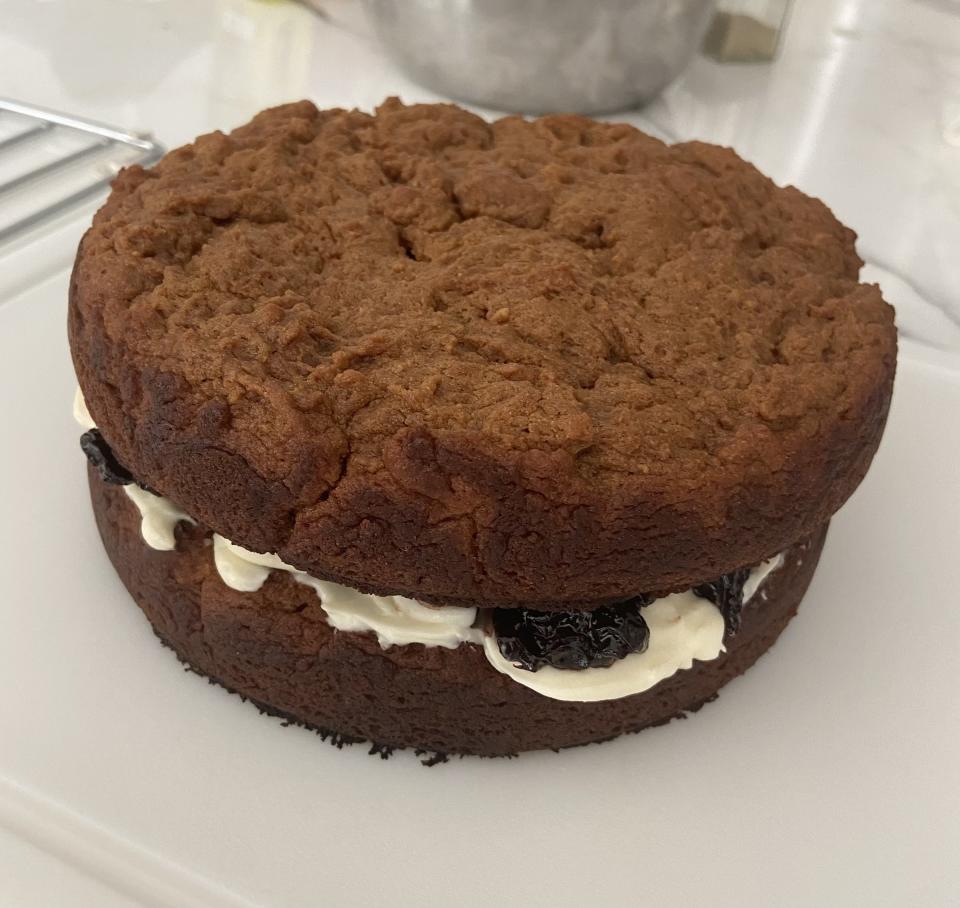
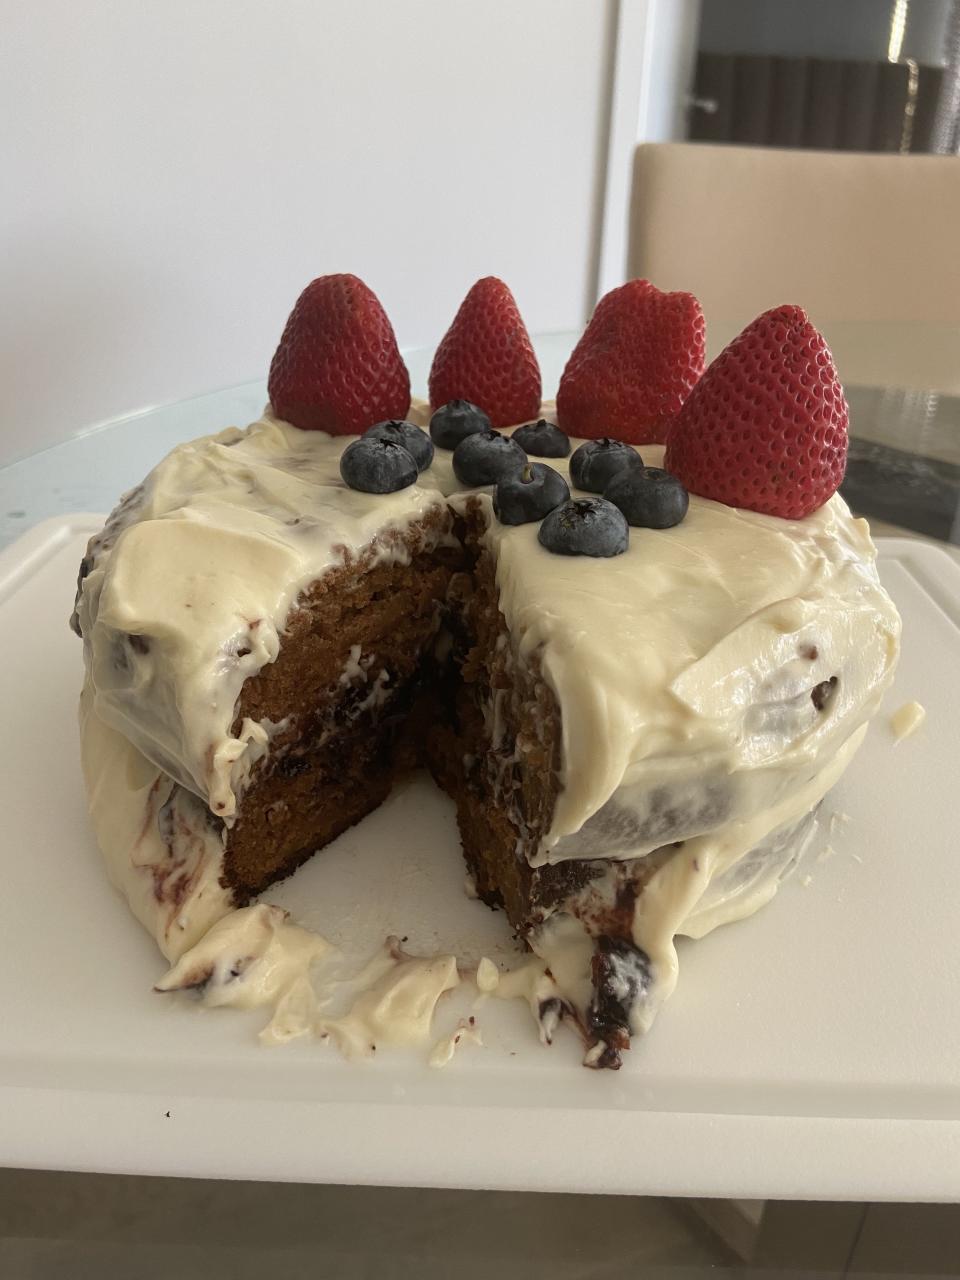
So, I actually ended up having to repeat this exact process to make another cake. I don't know if my baking powder was expired, but this cake did not rise, so there was only enough for one layer. In the TikToks I've seen, people bake one cake and cut it into layers, but since mine didn't rise, I basically just made another non-rising cake and put those two together. (You'll see what I mean in the pics further below.)
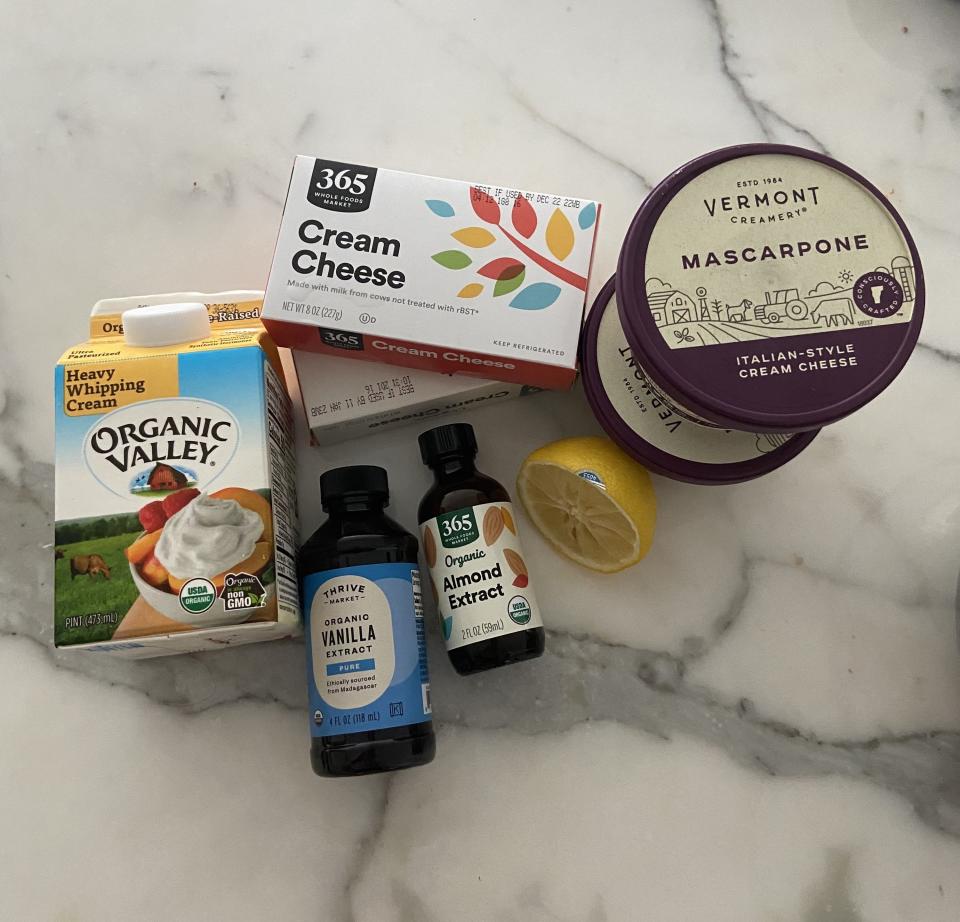
While the cake was in the oven, I started on the frosting. For that, I used 16 ounces of cream cheese, 16 ounces of mascarpone cheese, 22 ounces of powdered sugar (not pictured), 8 ounces of heavy whipping cream, 1 teaspoon of vanilla extract, 1 teaspoon of almond extract, and 1 teaspoon of lemon juice.
This ended up making A TON of frosting — more than enough to frost the entire cake twice. I would honestly recommend halving this recipe so you don't end up making more than you need.
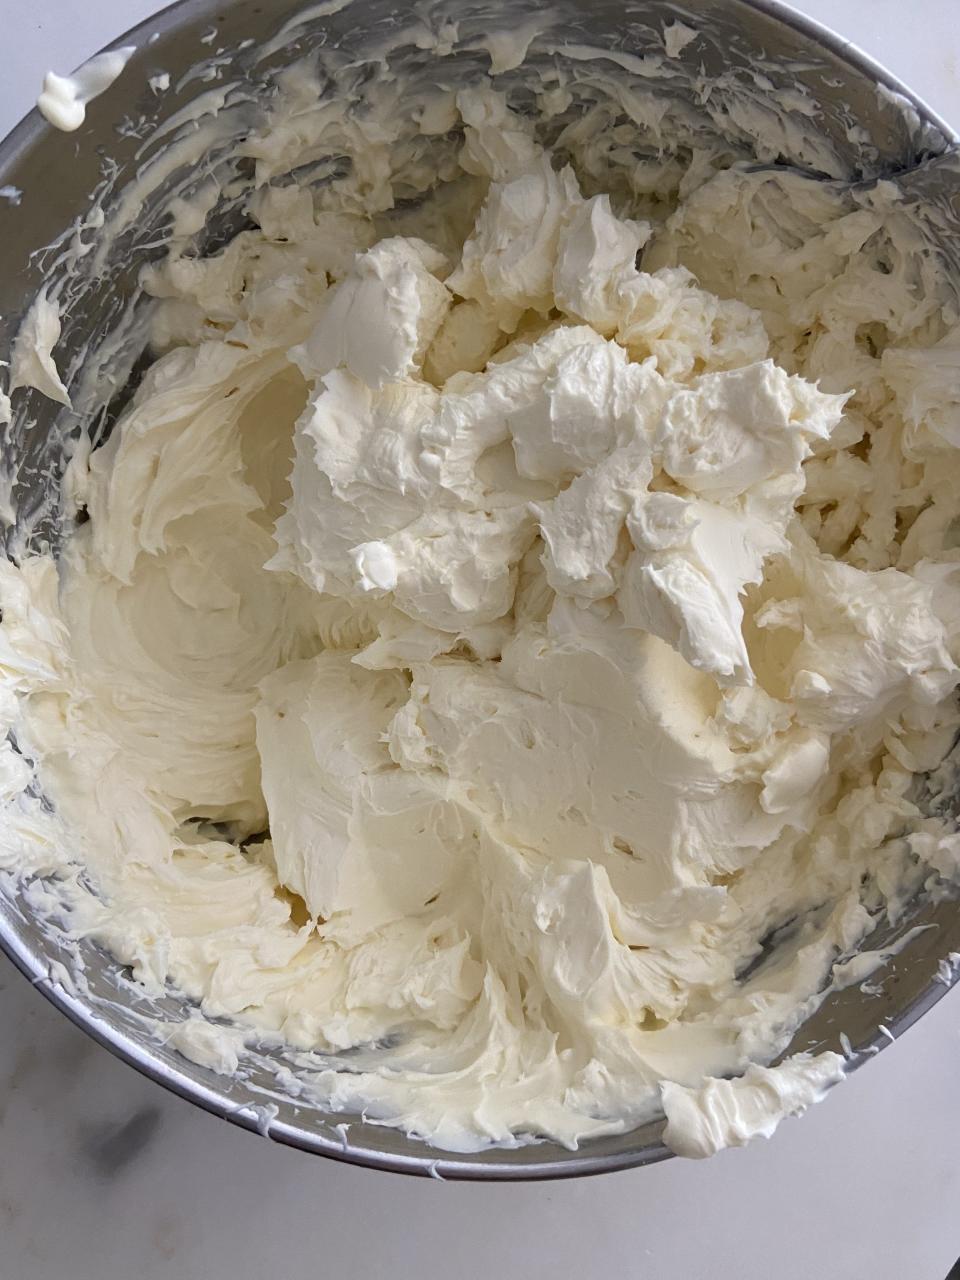
First, I added the cream cheese and mascarpone to another bowl.
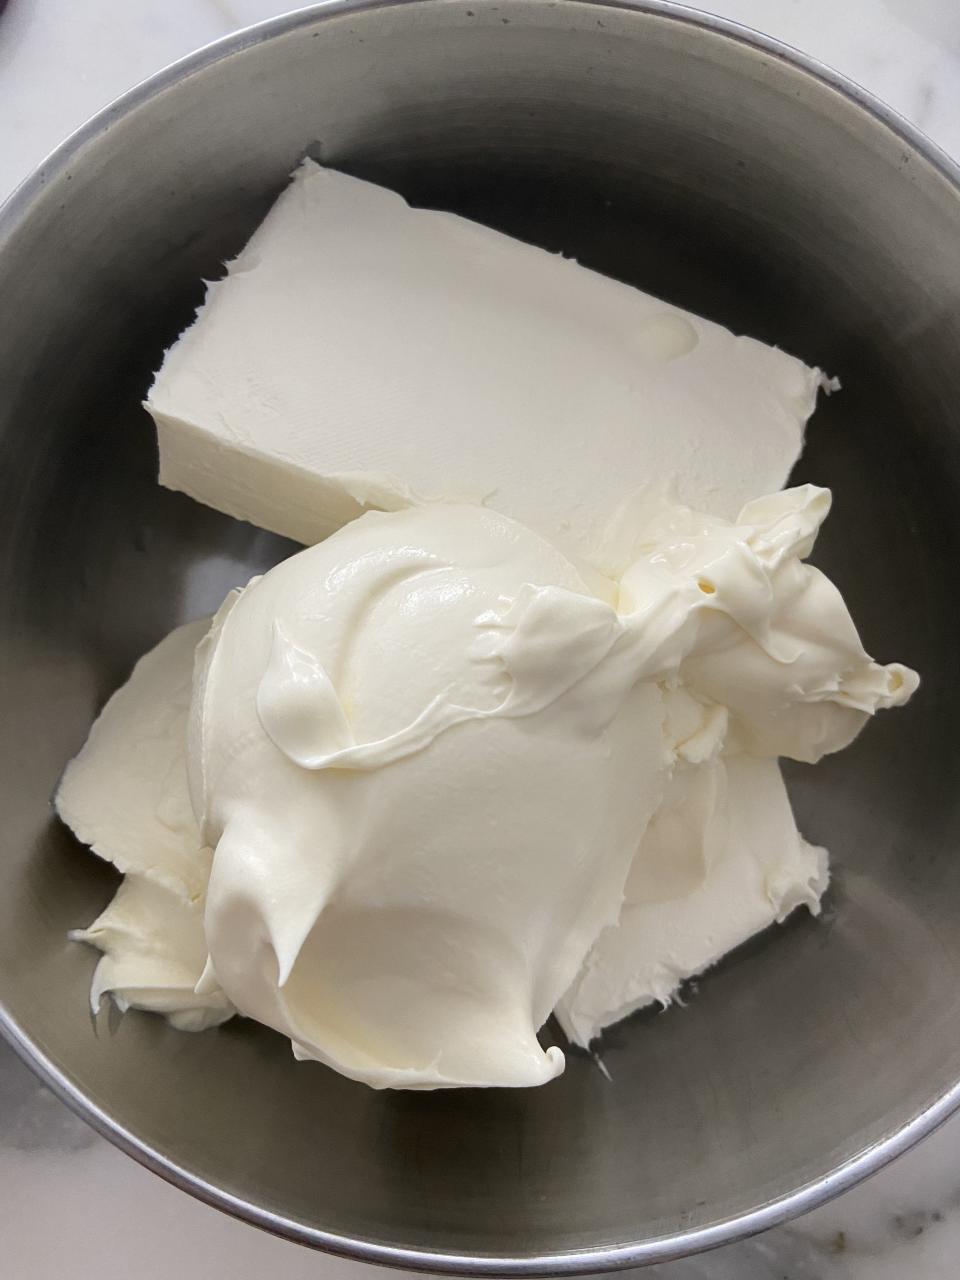
Using the mixer, I blended the two ingredients until it turned into somewhat of a cohesive spread.
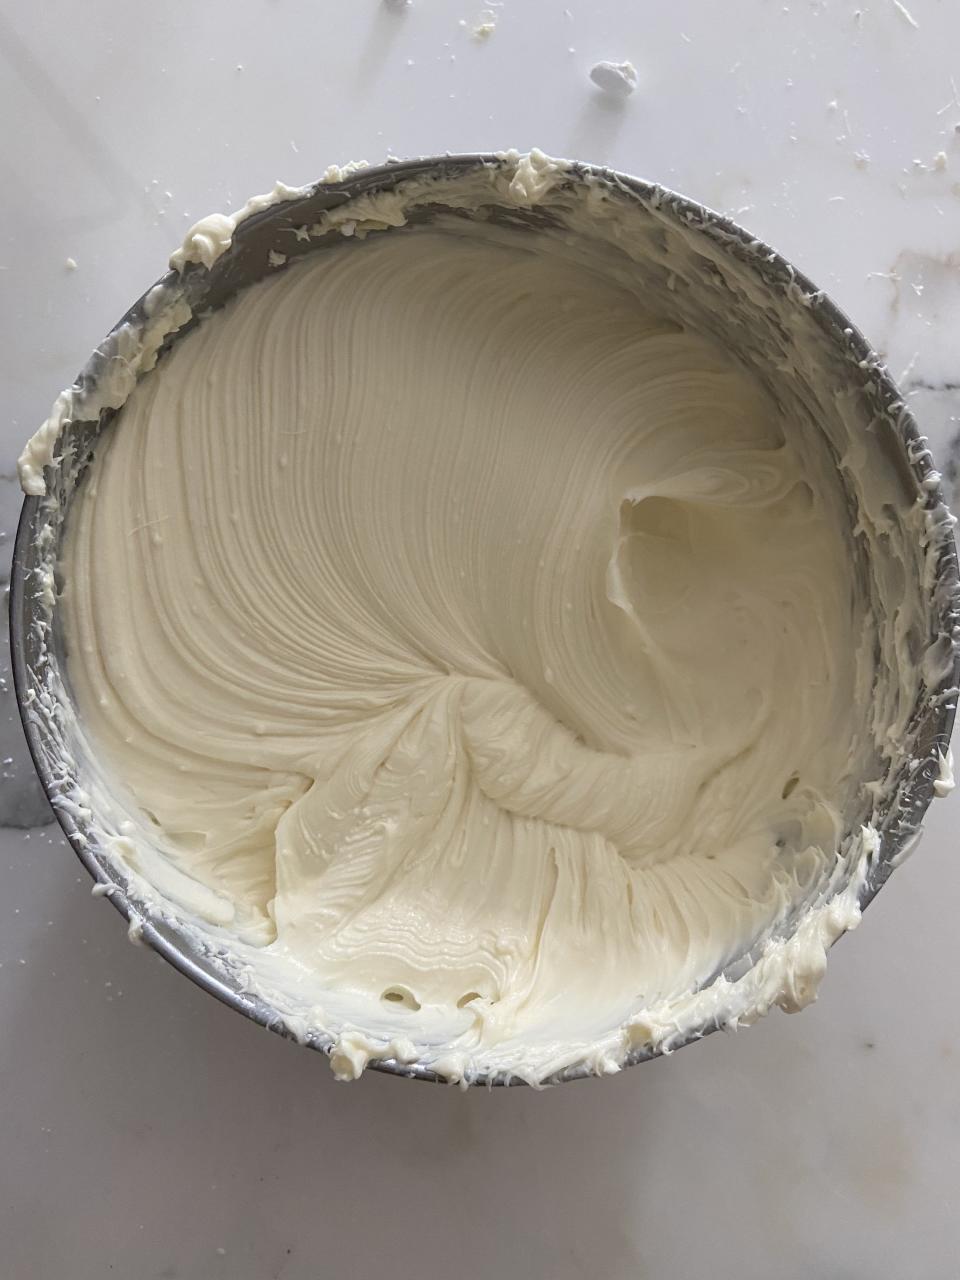
I then added the powdered sugar and continued blending until the sugar was thoroughly incorporated.
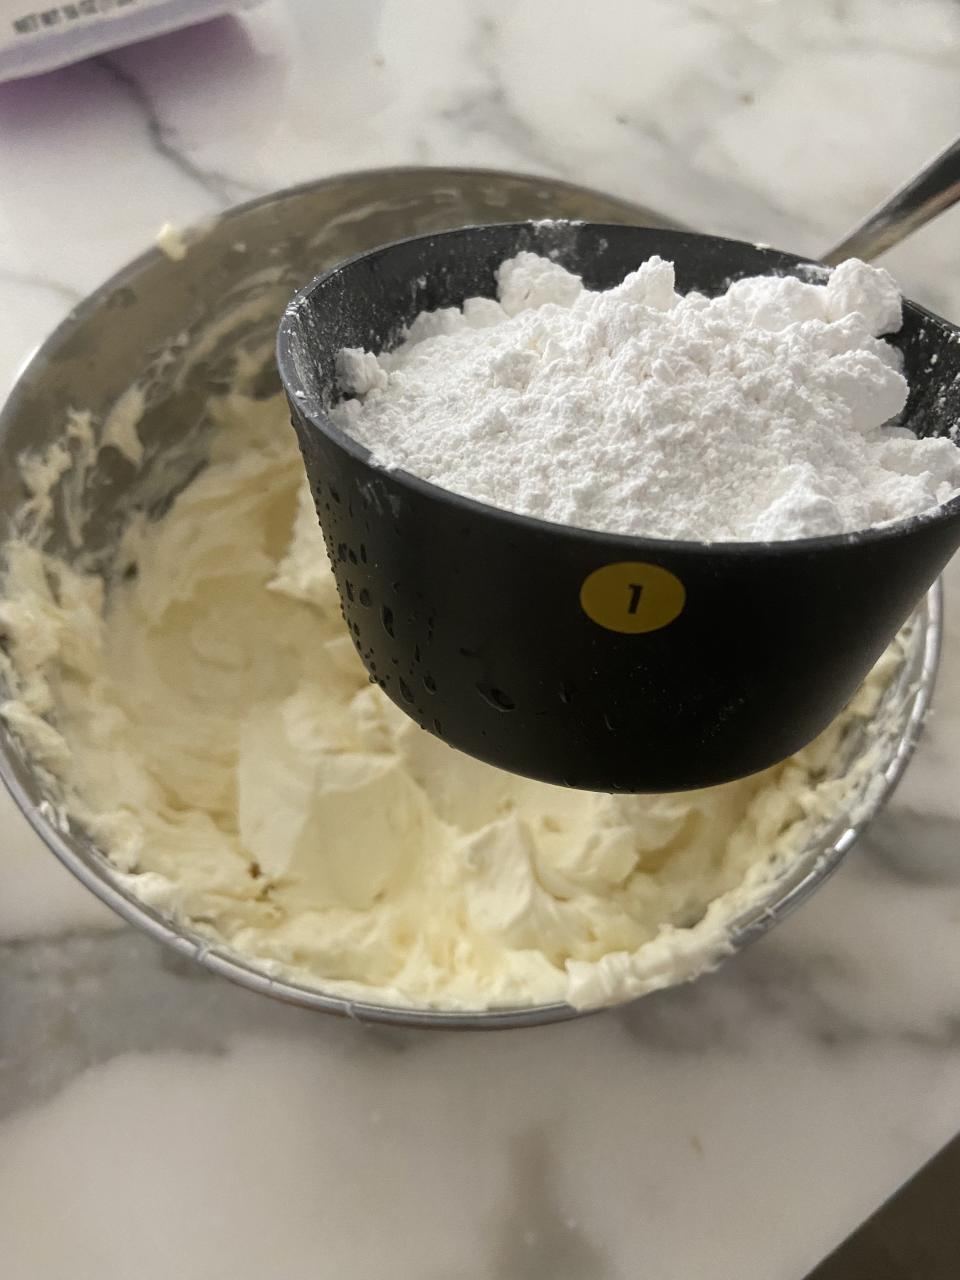
Progress! It started to look like a classic cream cheese frosting.
Then, in a separate bowl, I poured in the heaving whipping cream, vanilla extract, almond extract, and the lemon juice. I whisked the ingredients until I had a thick cream with soft peaks.
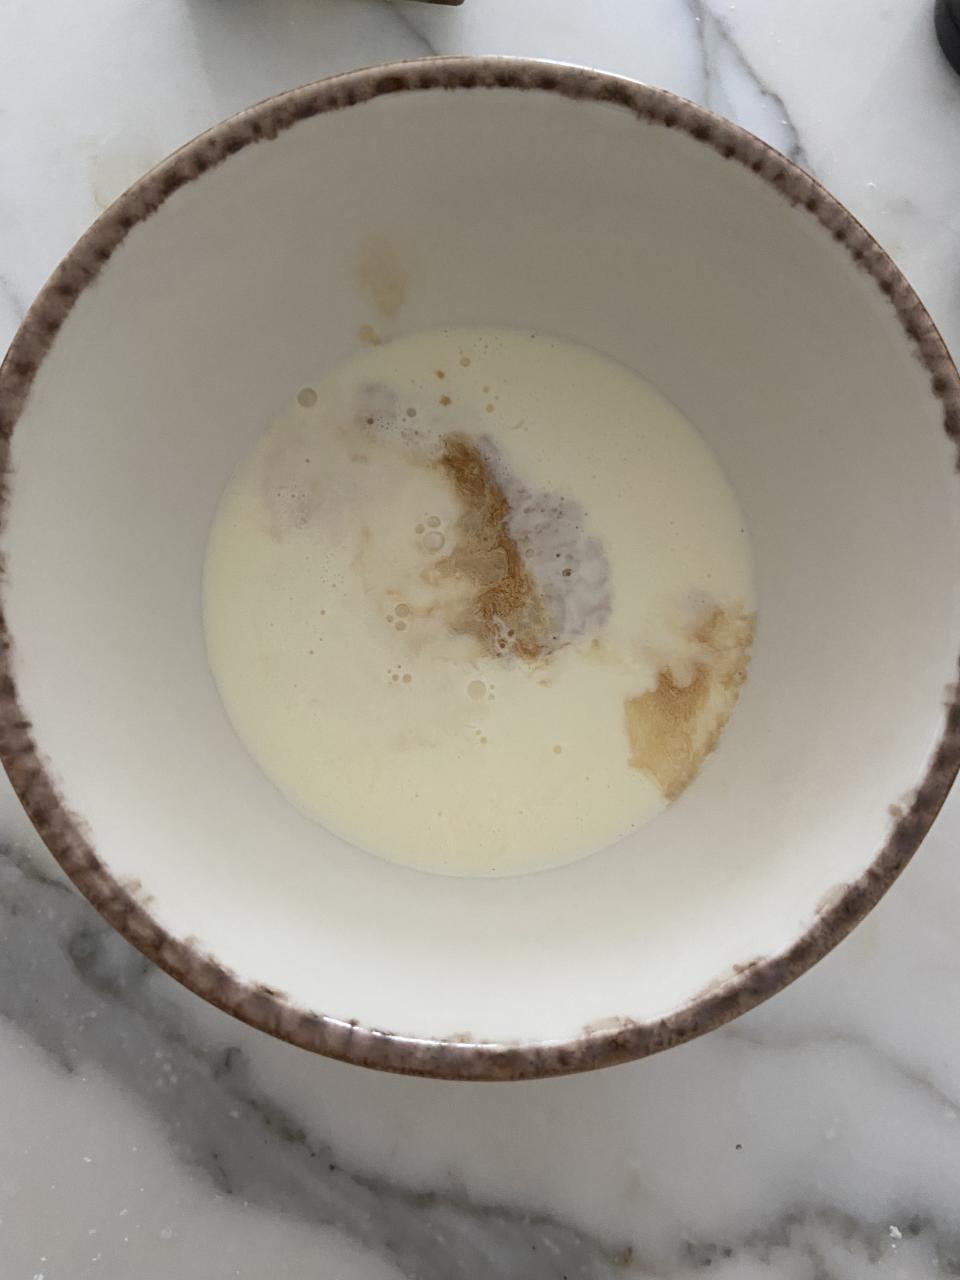
Be careful not to overwhip the cream! I slightly overdid mine and it started to curdle, so watch it carefully. (If it does start to curdle, it's not a big deal — the taste wasn't compromised, luckily!)
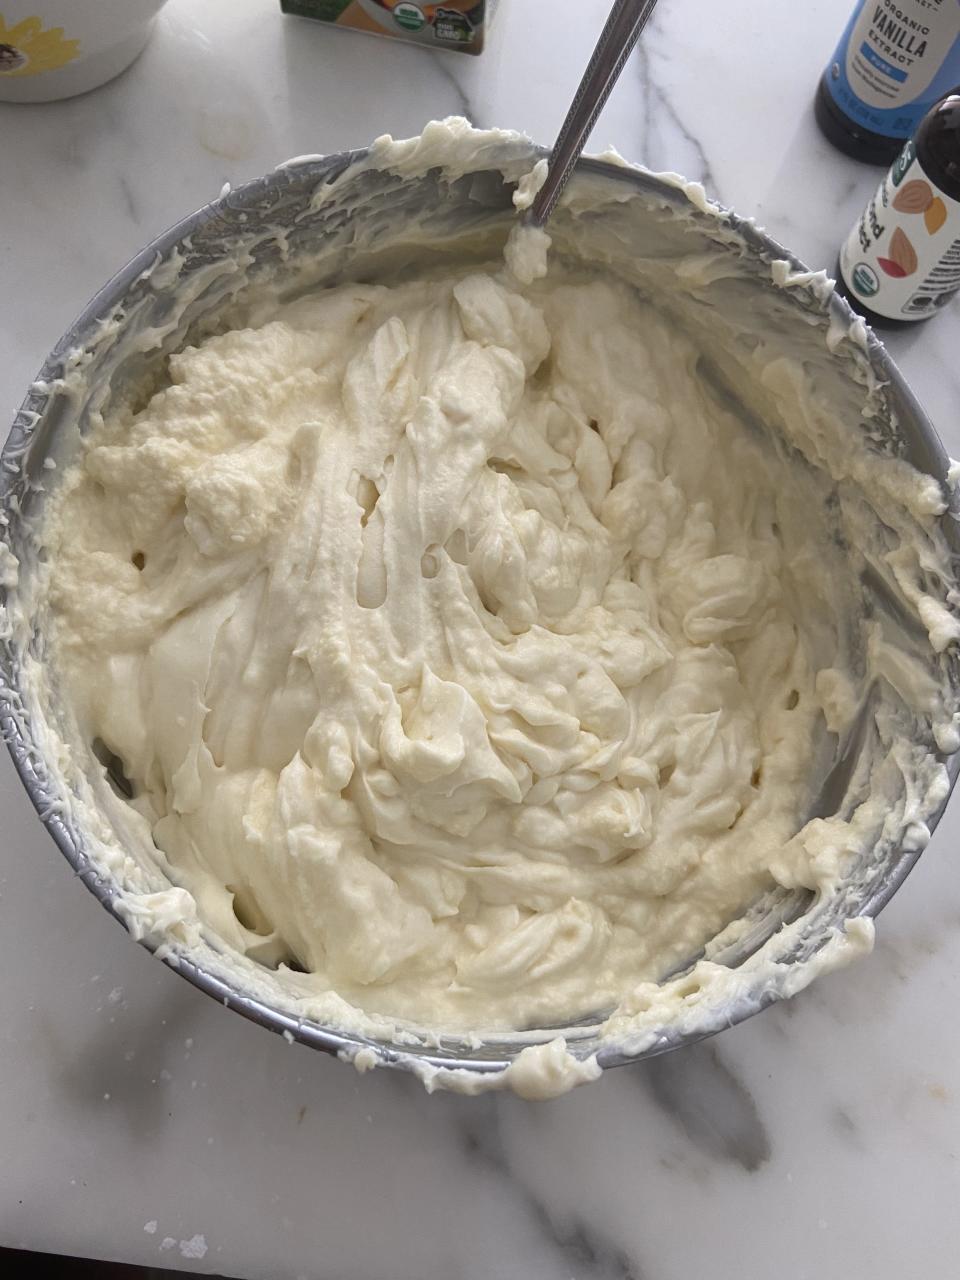
Then, I folded in the whip cream mixture with the cream cheese, using a spoon to lightly mix everything together.
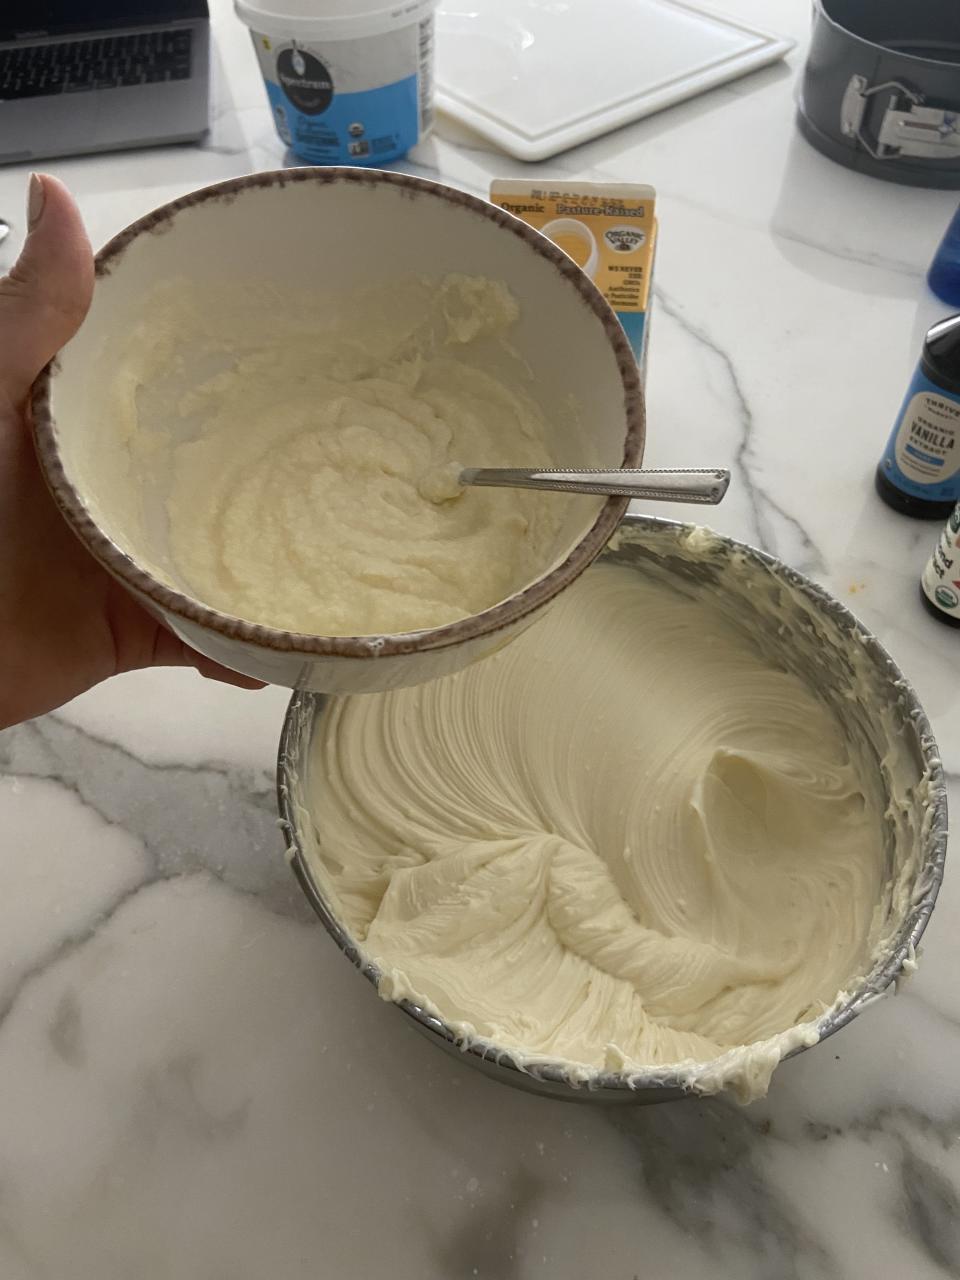
I ended up with this. I know it doesn't look too appetizing, but trust the process! I stored this in the fridge while I worked on the berry filling.
By the time I was done making the frosting, the cakes were ready, so I let them cool on a rack.
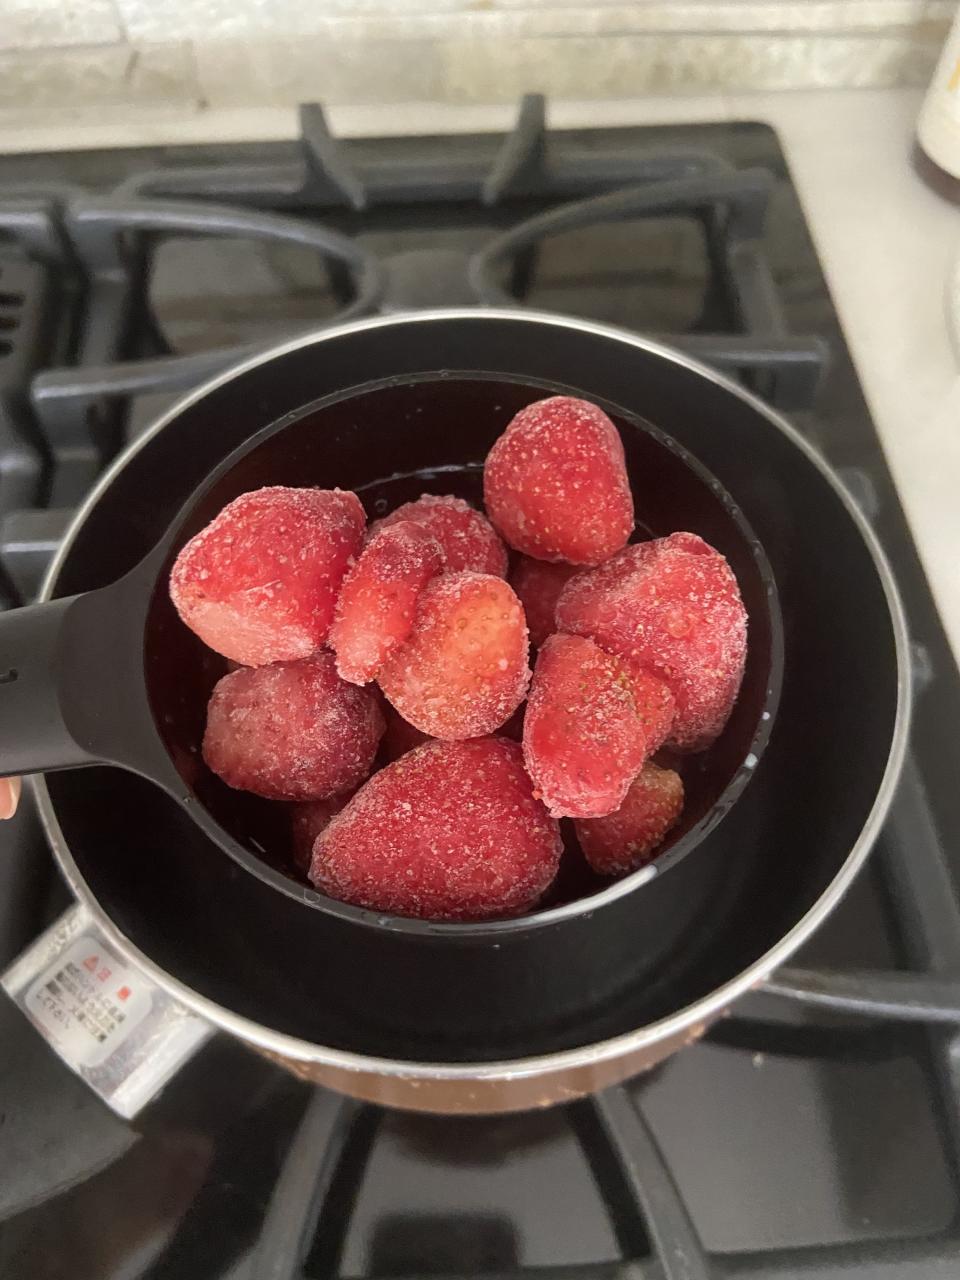
I then started working on the berry filling. For this, you'll need 2 cups of fresh or frozen berries of your choosing — I used frozen strawberries and blueberries. (The Whole Foods cake includes blackberries as well.)
If you want to simplify things a little and save some time, you can use any jar of store-bought fruit jam. I actually saw someone in the TikTok comments say that they used a jar of berry jam and it tasted amazing.
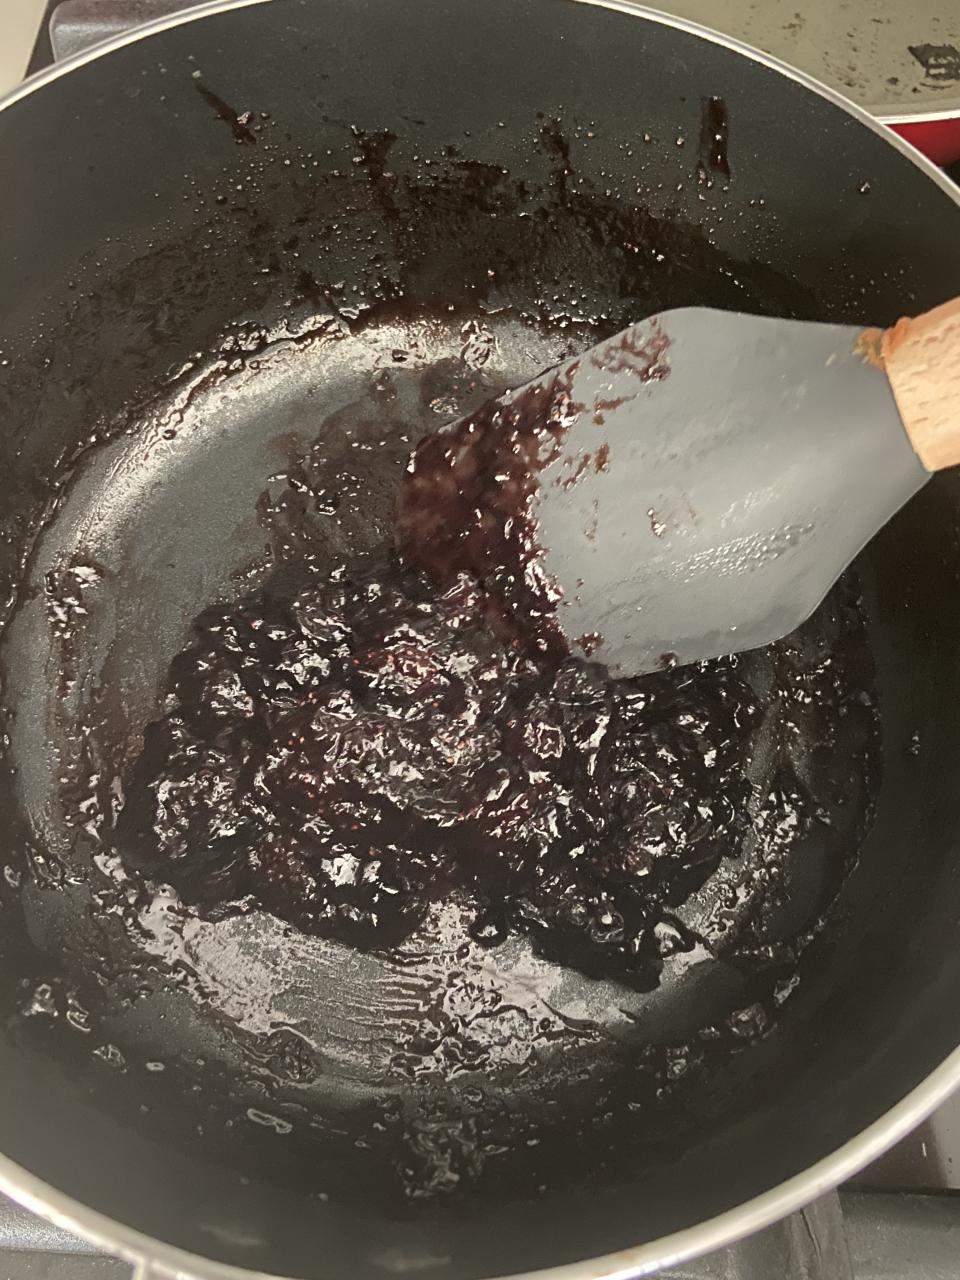
I continued by adding 2 cups of coconut sugar to the pot and covered it with a lid. I let it cook on medium heat.

After about 30 minutes, the mixture should thicken and be sticky. At this point, I added a teaspoon of lemon juice. I then turned the heat down to low and let the jam cook for another five minutes before removing it from the stovetop.
I let the jam cool for about 30 minutes, and then I assembled my cake:
I began by spreading some of the frosting on the first cake.

I then put a generous amount of the berry jam on top of the frosting.
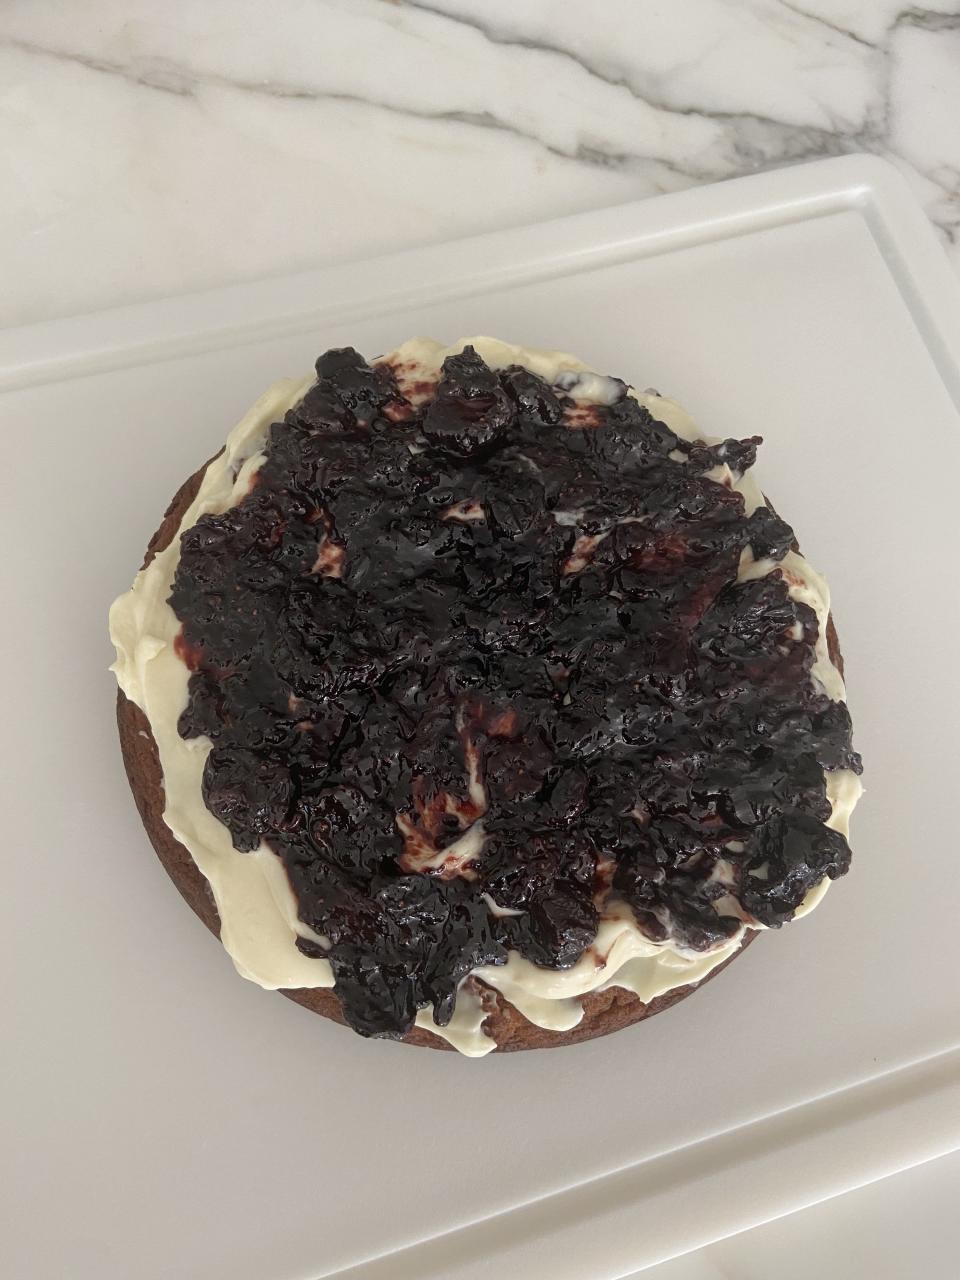
I placed the second cake on top, so it looked like a sandwich.
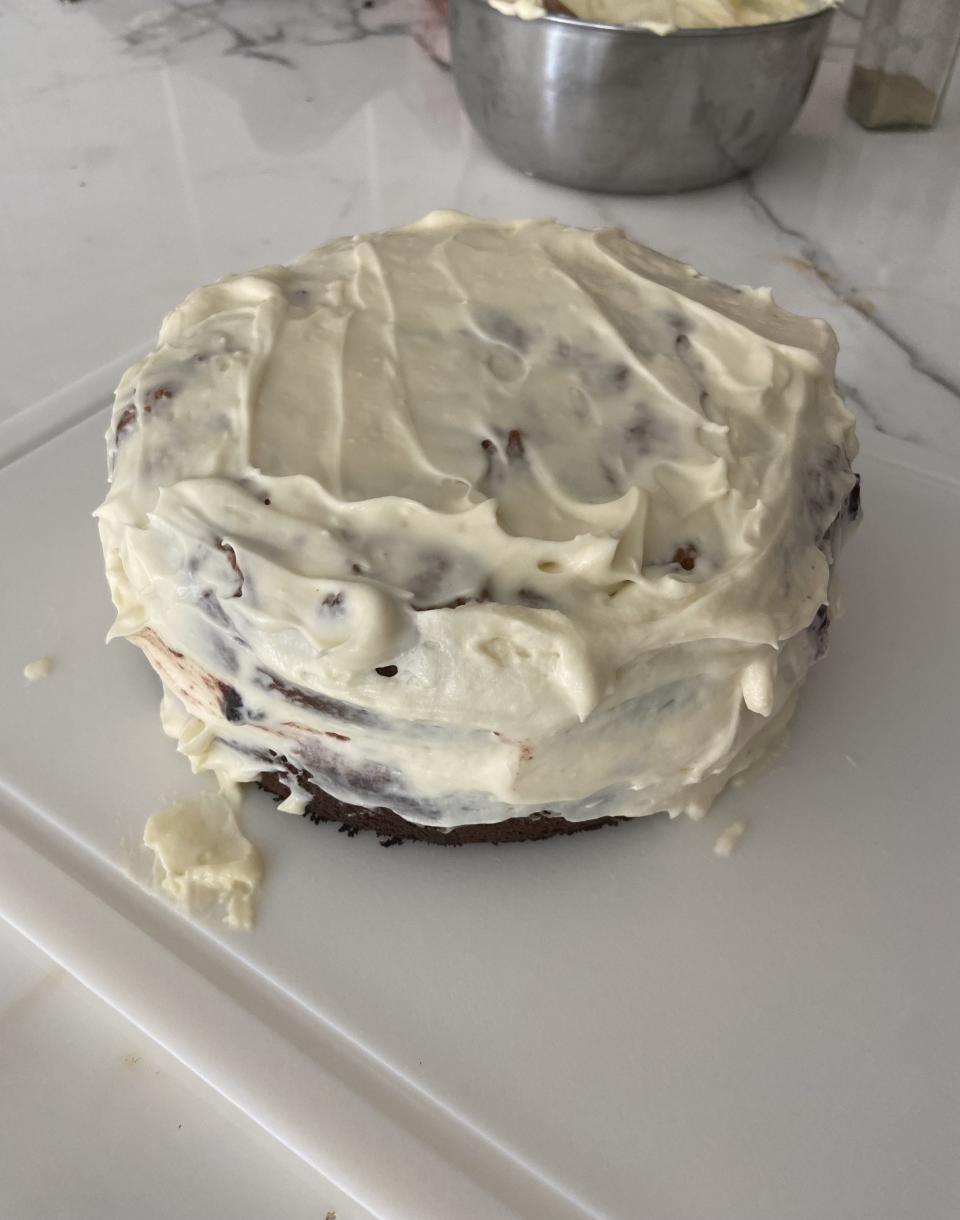
I then put the rest of the frosting all over the cake, including the sides. (Before y'all say anything, I know my frosting skills need some work. 💀)
Finally, I topped the cake with fresh strawberries and blueberries.
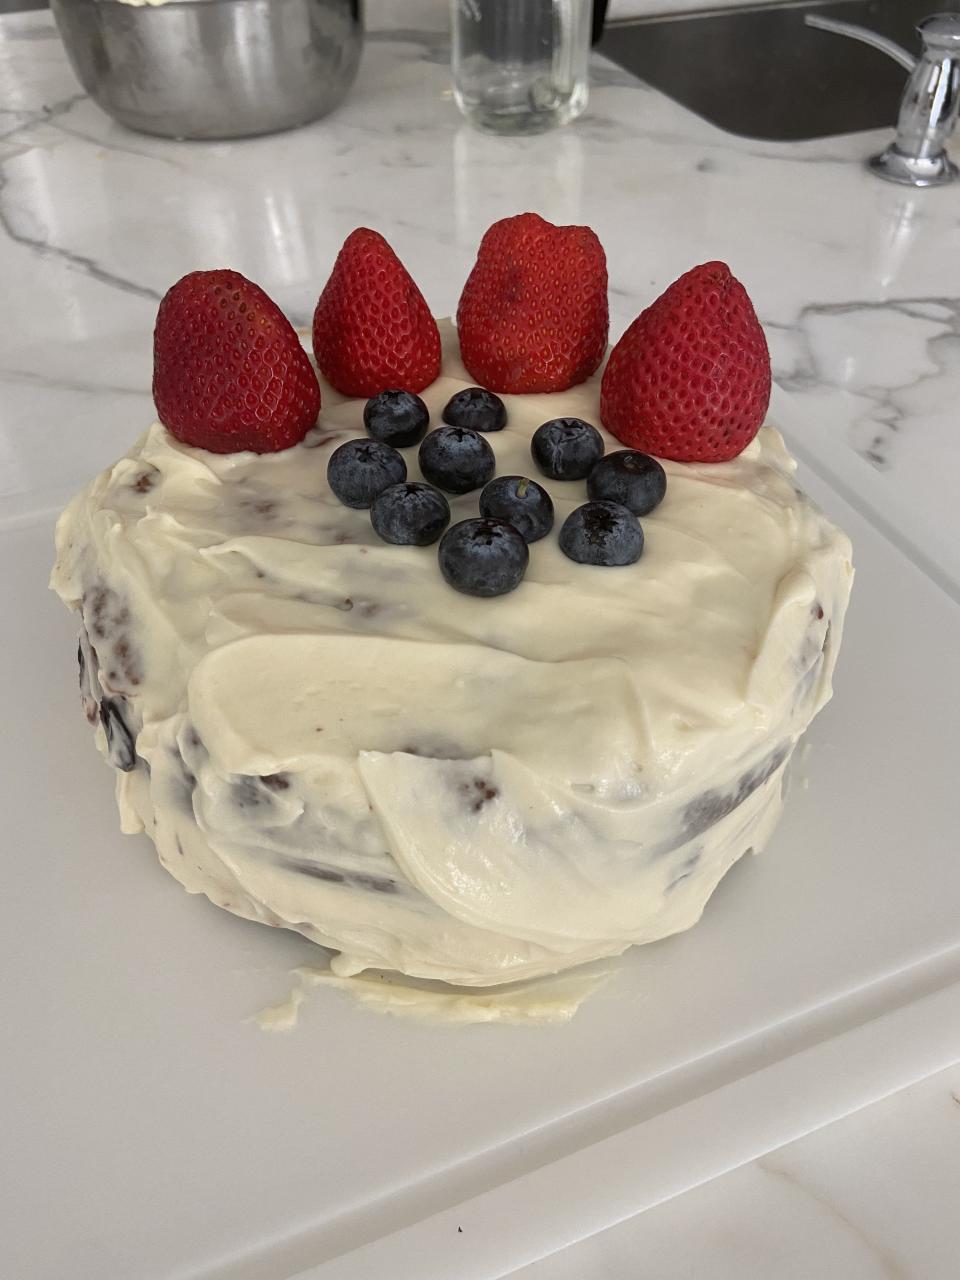
I promise, it looked wayyyy cuter in person. Despite its looks, I was so excited to take a bite of my masterpiece.
Of course, I had to snap a pic of me and my slice of cake. After looking at the slice, I was definitely pleased with the ratio of berry filling to cake to frosting.
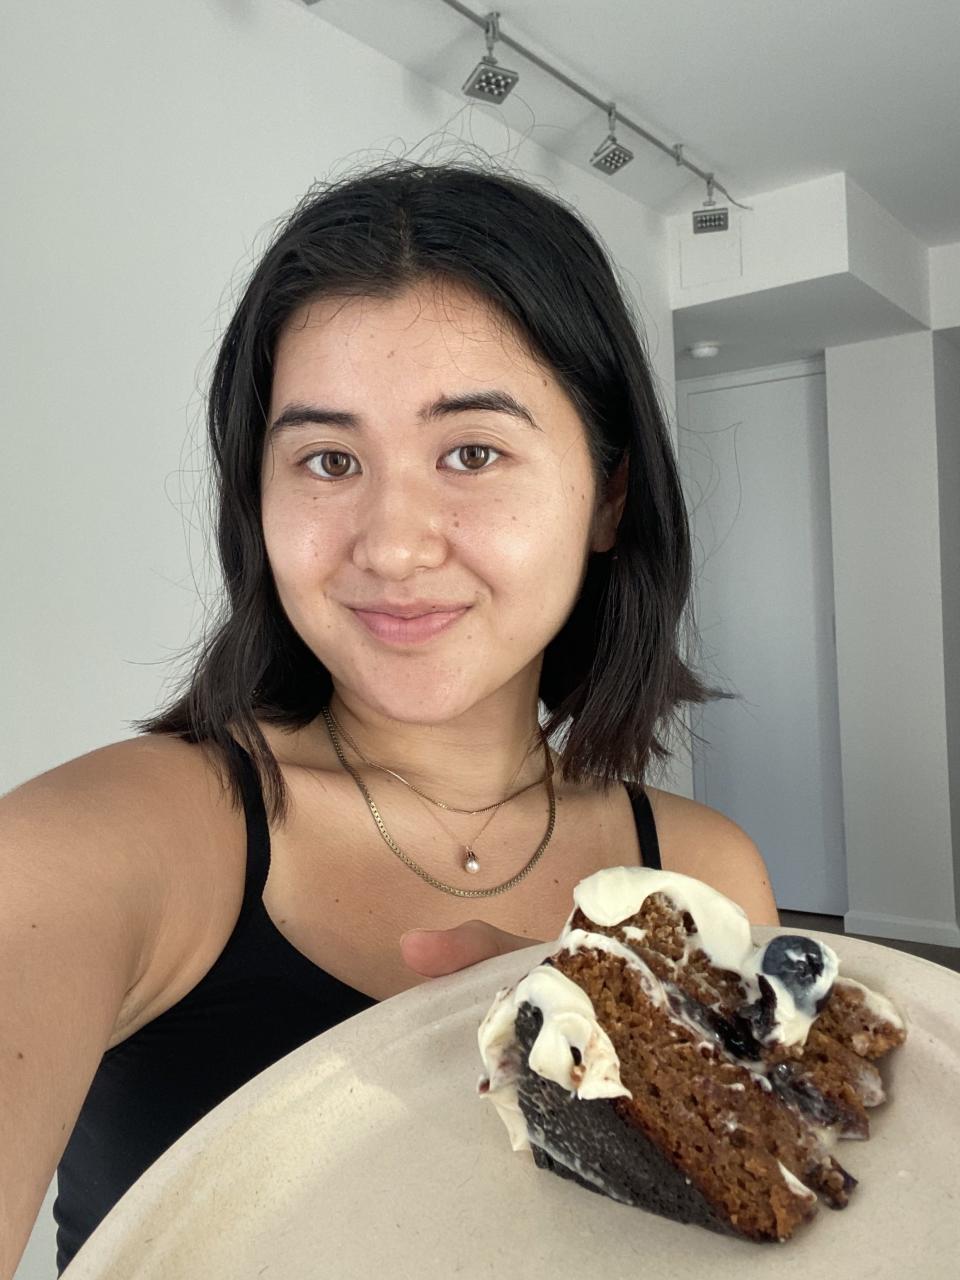
After taking the first bite, I was SO shocked by how delicious my version of the cake was. The Whole Foods one was certainly good, but the homemade version was better by far — and I'm not just saying that, because I have made some questionable-tasting dishes in my day.
Here are the two cakes — store bought and homemade — side by side. In terms of aesthetics, the Whole Foods one may have won. 😂
Flavor-wise, the homemade version is very comparable to the Whole Foods cake — which seems like a given because they are both berry Chantilly cakes — but the texture of the homemade frosting was light and melted in your mouth. The DIY'd cake was also very moist and had a perfect vanilla flavor compared to the store-bought one, which was dry and a bit bland.
Overall, I would highly recommend everyone make this cake! It does take quite some time — it probably took me around three hours to do everything, but that time would certainly be shorter if you used a store-bought jam and didn't have to go back and make another cake.
If I had to guess, I'd say I used about $30 worth of groceries to make this cake from scratch — however, I did buy the extra-large tubs of berries, which were the most expensive ingredients, so it would be cheaper if you buy the small containers. Since it's roughly the same price as the Whole Foods version (and even better-tasting), DIYing it is basically a no-brainer, especially when considering the fact that $30 bought enough groceries to make at least two entire cakes.
And lastly, if you don't believe me when I say my cake was DELICIOUS, here is actual testimony from a friend who tried it:


