Yes, These Curtains Are Made With Tape—Here's How
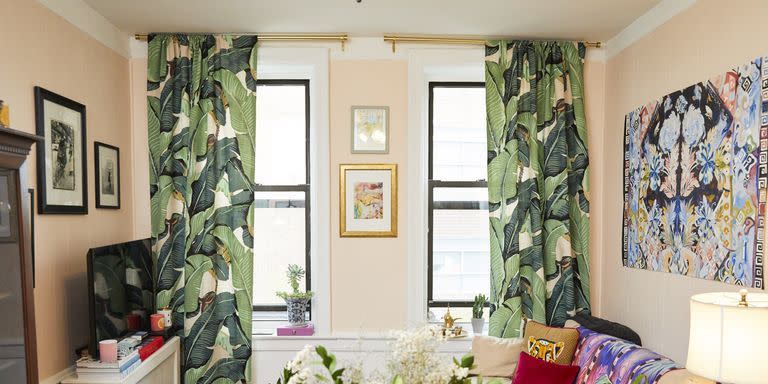
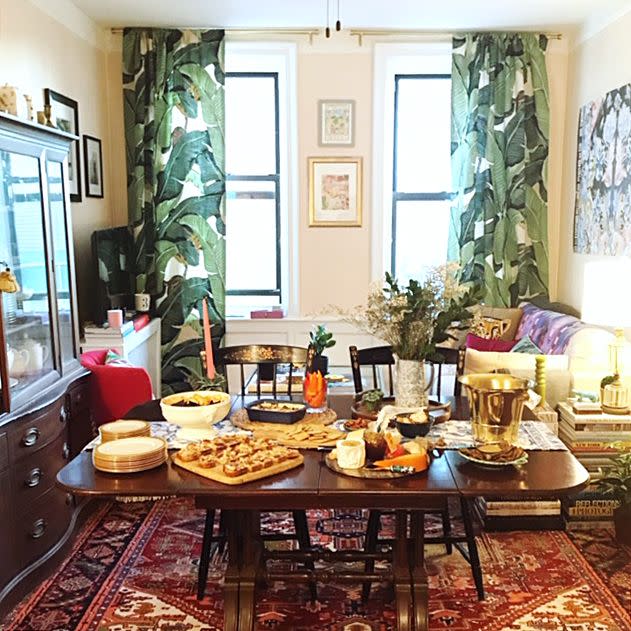
If the windows are the eyes of the home, then the window treatments are the eyebrows–and we know no face is complete without them. What I'm trying to say is: Curtains can make a room. So, when I finally moved into my first solo apartment, I was giddy to install statement-making curtains in one of my all-time—and the design world's most iconic—prints, CW Stockwell's Martinique. I knew the subtly hued, oversized palm print would be the perfect touch in my maximalist living room. But (sadly, I know), my budget wasn't unlimited. After nearly fainting of shock from some estimates for two simple panel curtains, I figured I would make them myself. How hard could it be?
As it turns out, kind of hard—but only because it took me a few tries to figure out the simplest way to do it. And that way involves tape. That's right, tape. So here's how it works.
1. Hang your rods
After a slight SNAFU hanging my curtain rods (a big thank you to Desir from Taskrabbit who came to the rescue once I realized this was a trickier task than anticipated—and virtually impossible without a ladder), I was ready to roll. I whipped out the sewing machine I'd scored at a tag sale a month earlier only to discover...it was in less than working condition. But, I was having guests over that evening and determined to have drapery by then, so...to Google I went. And that's where I discovered the magic that is fabric tape. Double-sided and semi-"permanent," this adhesive functions the same way a seam would. A quick trip to Michael's for it, and I was back on track.
2. Measure
Now, for the most important part in the process (especially if you're using a fabric that's near and dear to you!): measuring. Since the two windows in my living room are right next to each other will very little space in between, I decided to do a single panel for each one, treating the two windows almost as one large one. This made measuring SO much easier, since I used the full width of the fabric for each, so I only had to cut the length. I wanted my curtains to hit right above the floor, so I measured from the top of the rod to that space, then added two inches for a hem at the bottom and six inches for a pocket at the top.
3. Cut
When cutting large swaths of fabric, it can be difficult to maintain a straight, even line across—which, of course, is imperative for an even hem. A crooked bottom and your curtains will look sloppy and off-kilter. If you don't have access to a T-square, set your line by measuring your length at regular points across the fabric and making marks, then cutting to connect the dots.
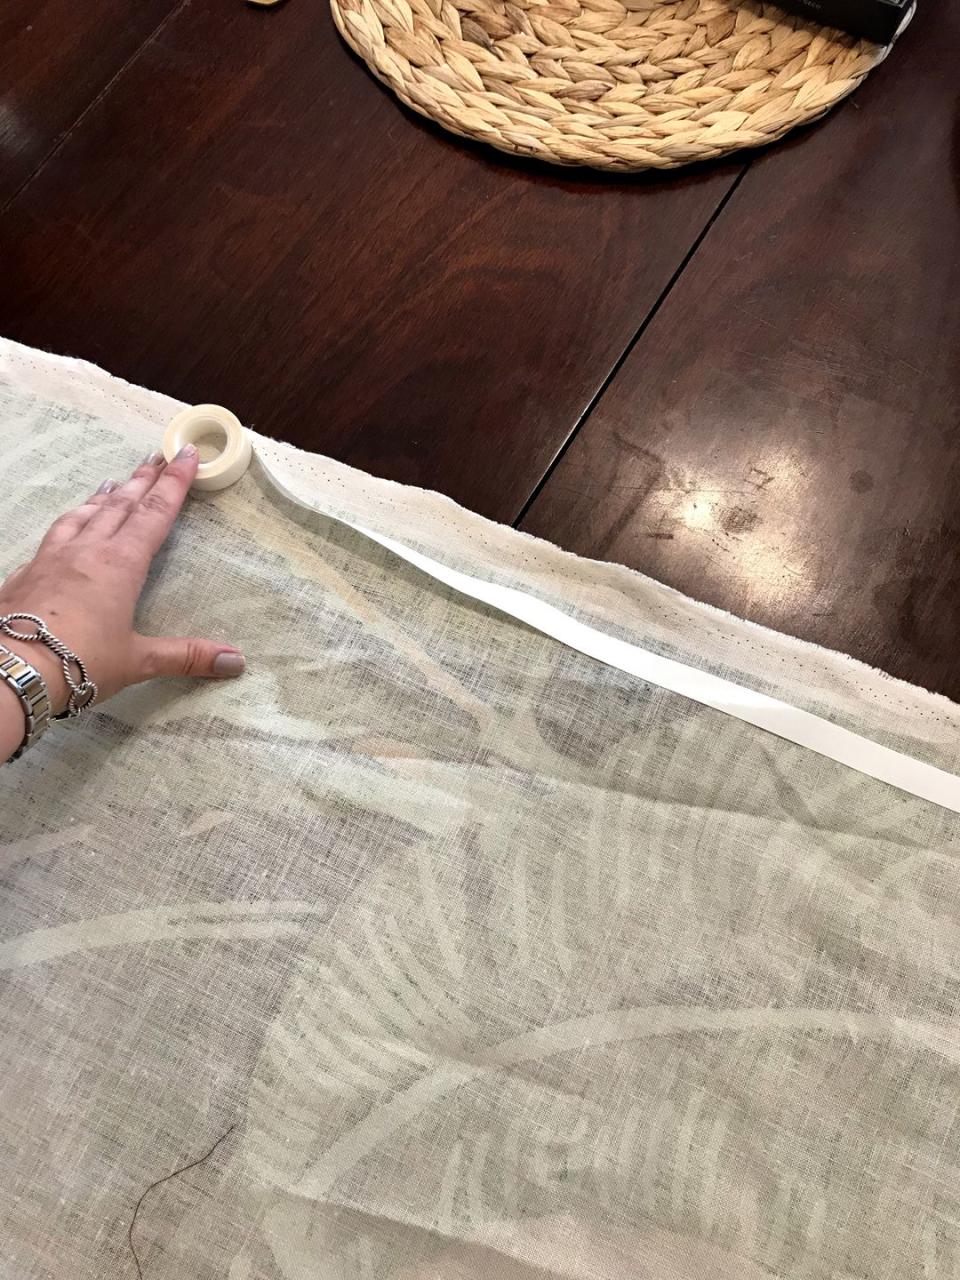
4. Tape your edge (optional)
At this point, you can move straight into folding down a hem, but if you want an extra layer of protection against frayed edges, I recommend folding the edge in first. To do this, lay down a line of tape right at the edge of the fabric on its backside, peel off the backing, and simply fold it over to stick, creating a clean edge.
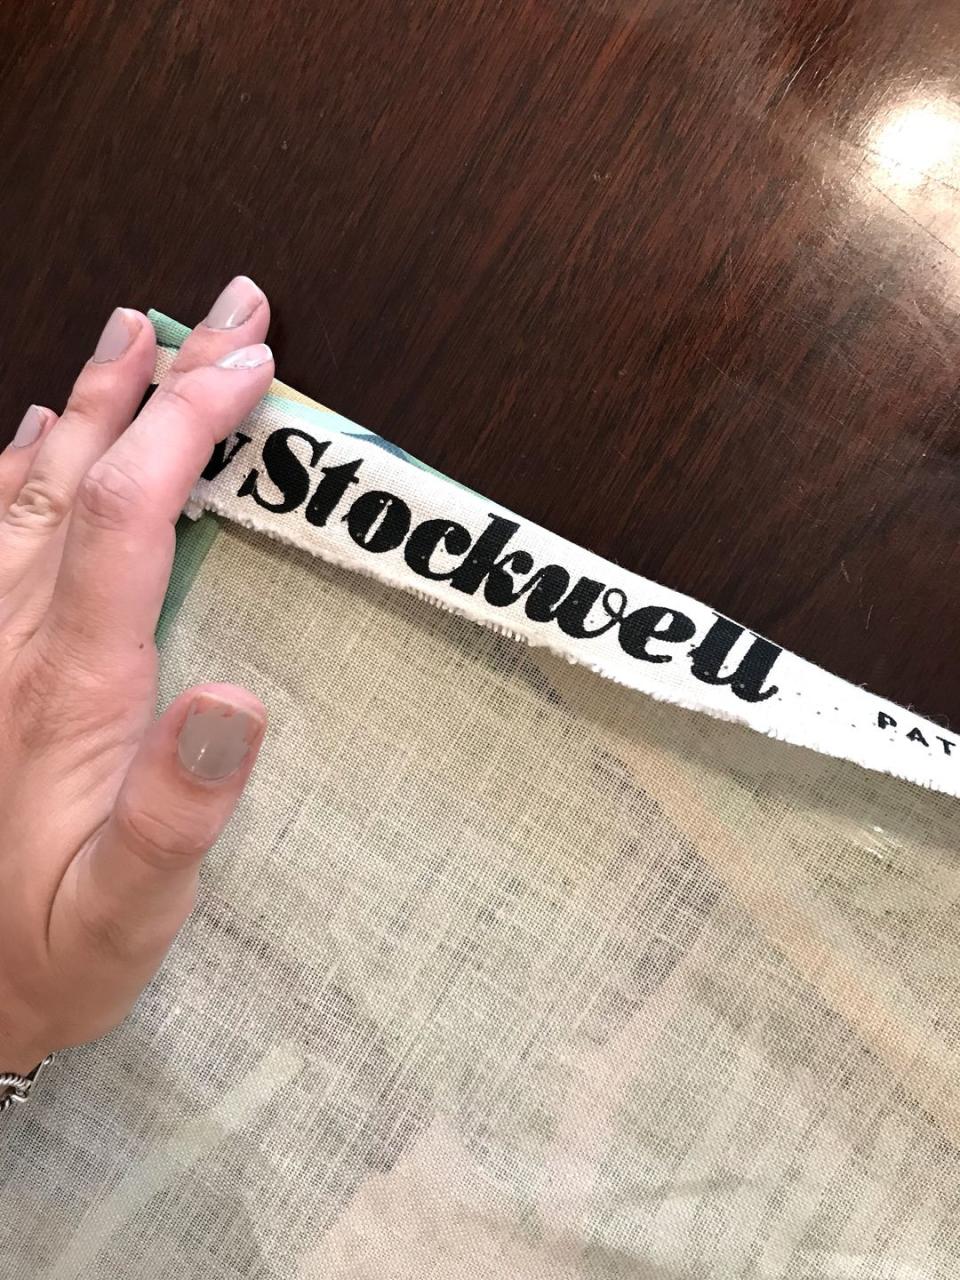
5. Tape your hem
Now, you can make your hem. To measure the hem, use a T-square or the same connect-the-dots technique as for cutting. Lay your tape out along the line, peel off the backing, and fold the fabric edge up on top of the tape, pressing firmly to secure it in place. Complete on the bottom and two sides—but not the top.
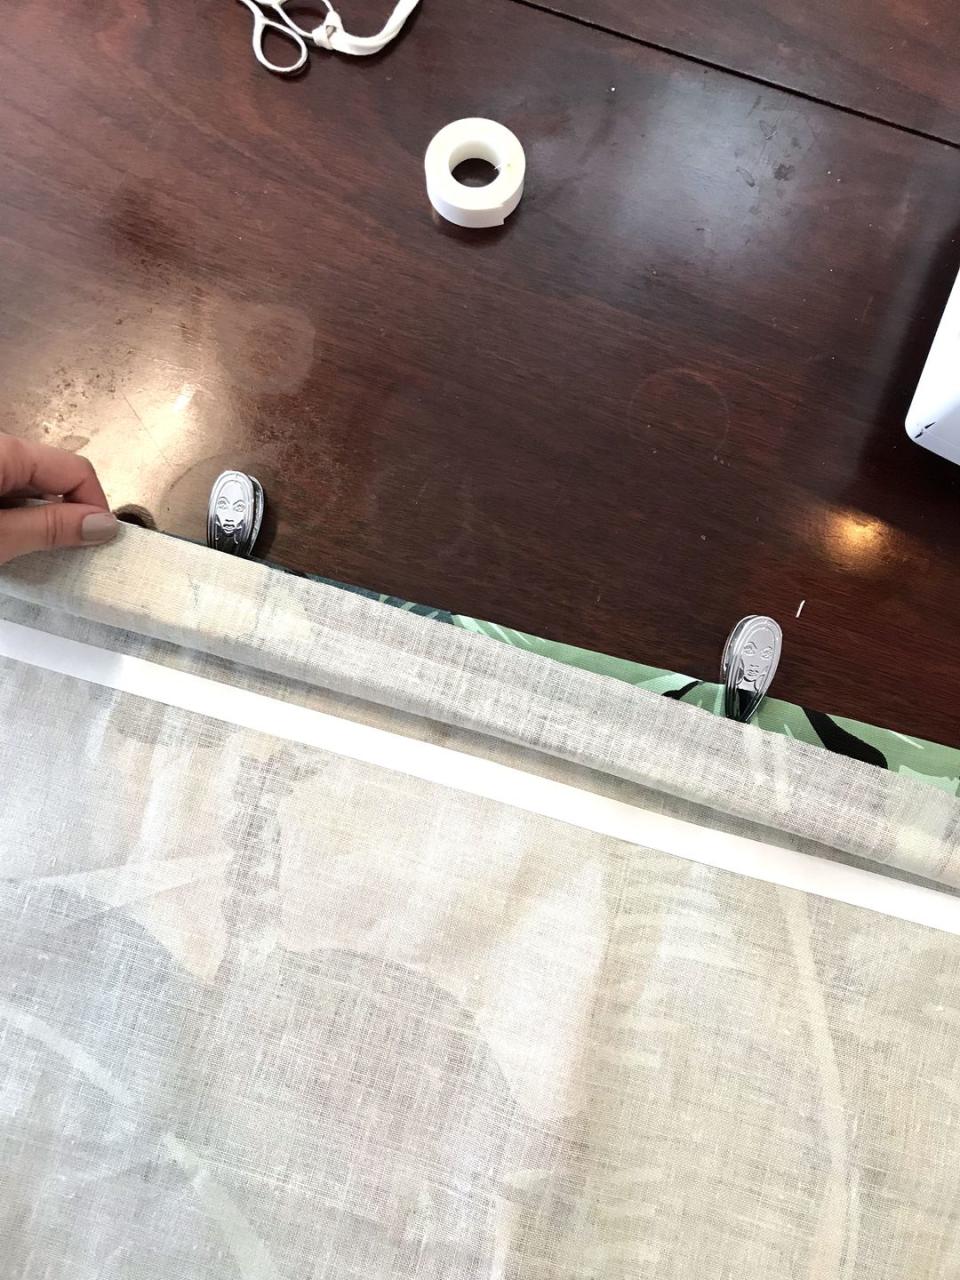
6. Create your pocket
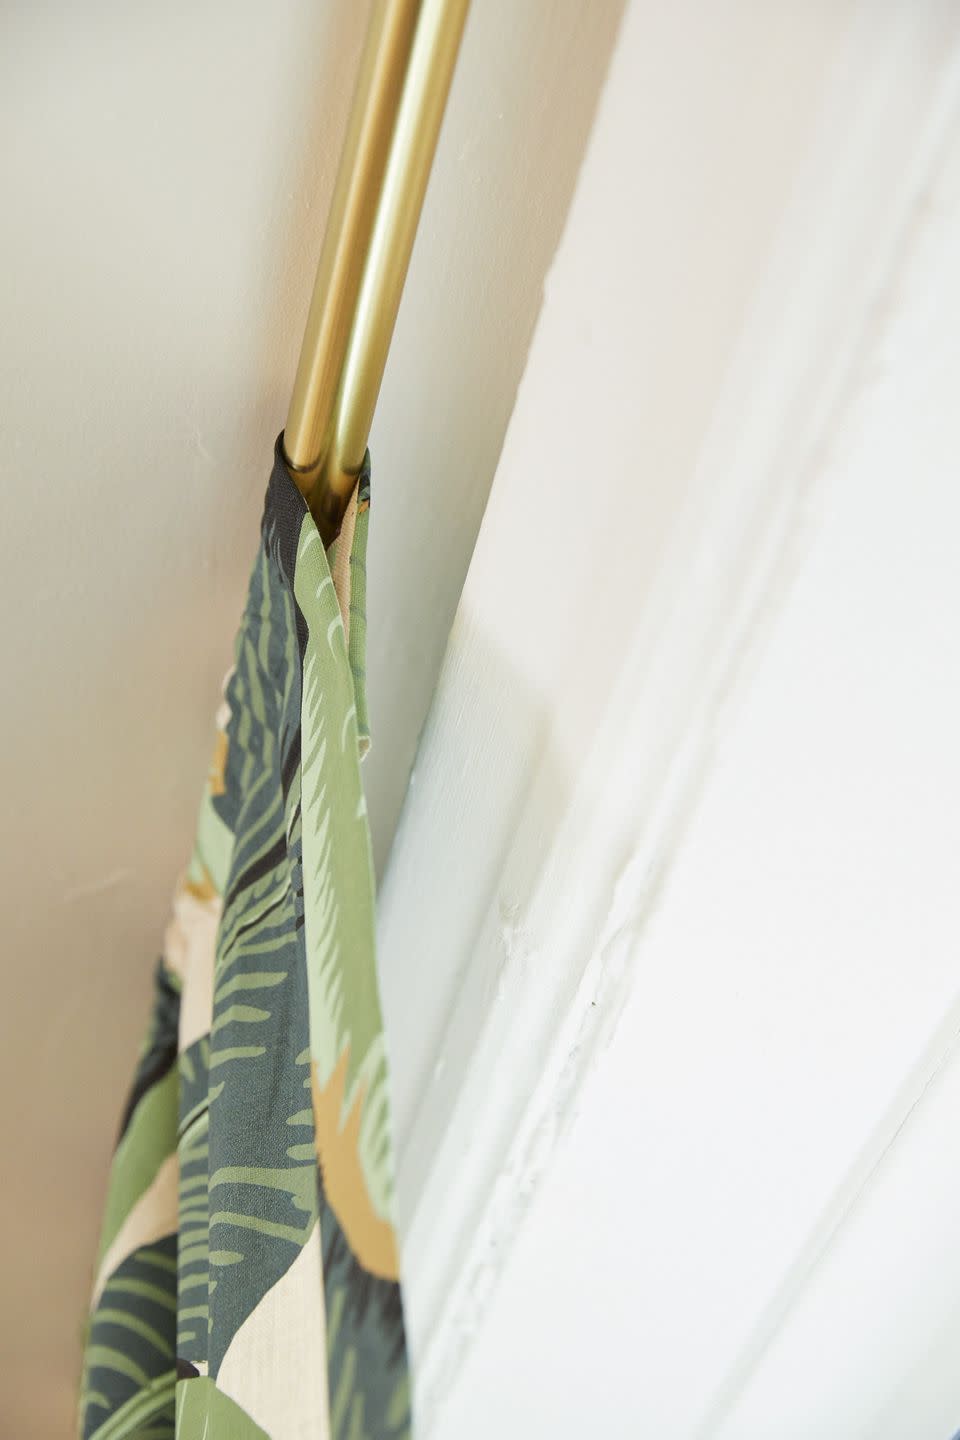
...because the top is where you'll create your pocket, aka the folded-over part of fabric that the curtain rod will slide into. Measure the rod, then mark that width, plus an additional one to two inches from your top edge. Apply tape—you know the drill—peel off backing, fold over, and press.
7. Hang
Now you have your panel—it's time to hang it! Remove the rod from its brackets and slide the panel on, bunching evenly to one side. Insert the rod in its brackets, screw on finials and let the curtain fall. Voilà!
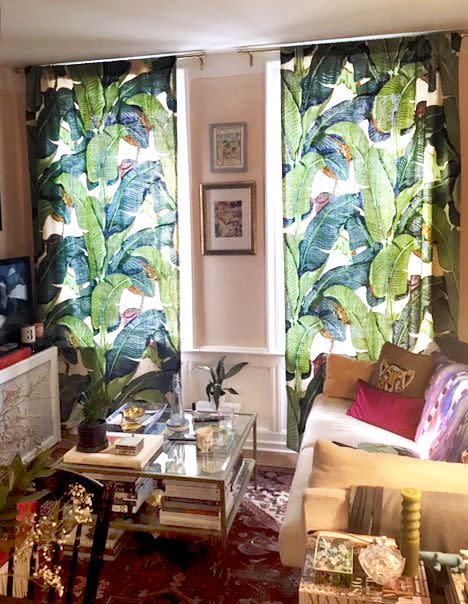
An optional additional step would be to install curtain tiebacks to hold curtains in place when they're open. Since I love the look of my fabric, I opted to skip that step so the pattern is more visible—if I were to add some, I'd go for these! Which look do you prefer: tied-back or free-flowing?
You Might Also Like

